Start With the Right Countertop Material
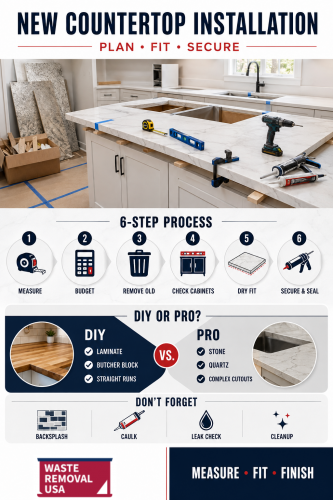 The first countertop installation decision is material. The right choice depends on budget, cooking habits, maintenance expectations, kitchen layout, and whether you plan to install the countertop yourself.
Common options include:
- Laminate
- Butcher block
- Solid surface
- Granite
- Quartz
- Marble
- Tile
- Concrete
- Stainless steel
Decide What You Can DIY
A DIY countertop installation is most realistic when the counter is light enough to handle, the layout is simple, and the material can be cut safely with standard tools. A straight laminate counter over level base cabinets is very different from a large quartz island with seams, sink cutouts, and overhangs. DIY may make sense for:- Small laminate counters
- Simple butcher block sections
- Utility room counters
- Laundry room counters
- Straight runs with no complicated seams
- Small bathroom vanity tops
- Temporary work surfaces
- Granite
- Quartz
- Marble
- Large islands
- Long spans
- Heavy slabs
- Undermount sinks
- Waterfall edges
- Large overhangs
- Complex seams
- Uneven cabinets
- Structural support concerns
Measure the Kitchen Carefully
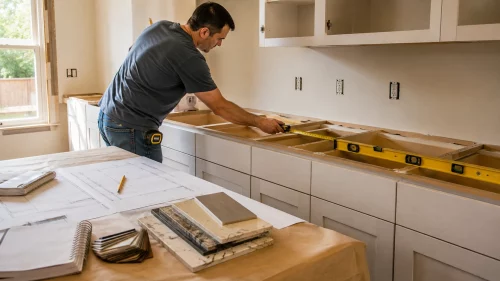 Good countertop installation starts with accurate measurements. Measure the cabinet run from wall to wall, front to back, and across corners. Note appliances, sinks, walls that are out of square, end panels, overhangs, and finished edges.
Measure:
- Cabinet length
- Cabinet depth
- Island size
- Sink location
- Cooktop location
- Wall gaps
- Appliance openings
- Overhangs
- Back corners
- Finished exposed ends
Budget for More Than the Countertop
Countertops installation costs can include more than the surface material. Removal, disposal, sink changes, plumbing reconnection, backsplash work, cabinet repairs, edge profiles, delivery, fabrication, and labor can all affect the final price. Angi’s 2026 countertop installation cost guide reports a broad cost range depending on material, kitchen size, labor, and project complexity. That range is useful because countertop projects vary so widely. Budget for:- Countertop material
- Template or measuring service
- Fabrication
- Delivery
- Removal of old counters
- Sink or cooktop cutouts
- Edge style
- Support brackets
- Backsplash changes
- Plumbing disconnect and reconnect
- Caulk, sealant, adhesive, and fasteners
- Cleanup and debris handling
Prepare the Kitchen Before Removal
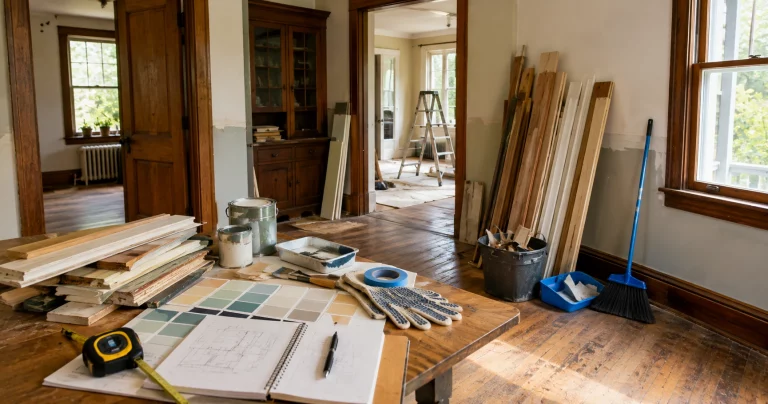
Before removing old countertops, clear the work area completely. Empty the counters, remove small appliances, clear sink cabinets, take down fragile wall decor, and protect nearby floors. Preparation may include:- Turning off water supply lines
- Disconnecting the sink if needed
- Unplugging appliances
- Moving the stove if required
- Protecting floors
- Removing drawers near work areas
- Covering nearby cabinets
- Setting up debris staging
- Making a path to the exit
Remove the Old Countertop
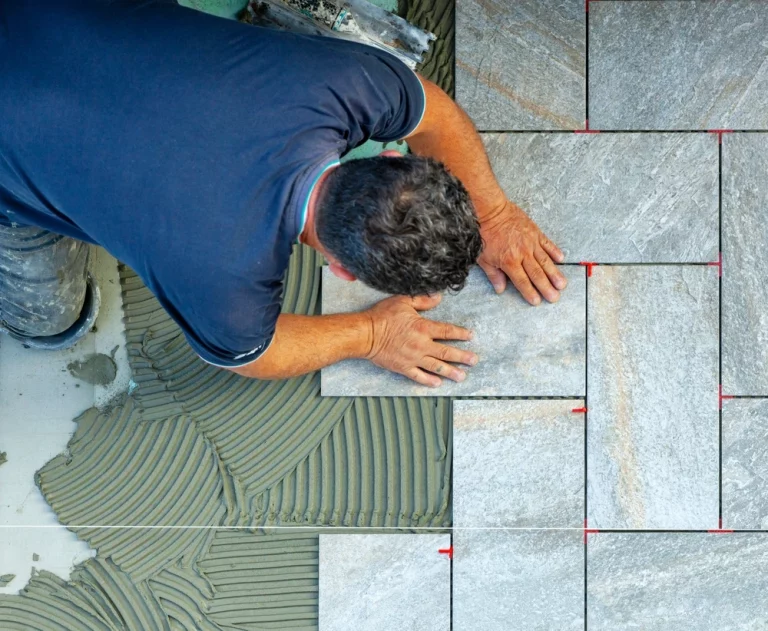
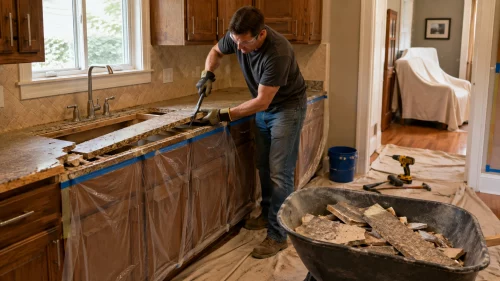 Old countertop removal depends on how the existing surface was installed. Laminate counters may be screwed to cabinets from below. Stone counters may be attached with adhesive and require careful lifting. Tile counters can create more mess because tile, mortar, and underlayment may come apart in pieces.
Basic removal steps may include:
- Shut off and disconnect plumbing if the sink is being removed.
- Remove sink clips, caulk, and old sealant.
- Check under the counter for screws or brackets.
- Score caulk along walls and backsplash edges.
- Loosen fasteners carefully.
- Lift the old counter with help.
- Remove leftover adhesive or debris.
- Inspect the cabinets underneath.
Check and Repair the Base Cabinets
Cabinet countertop installation only works well when the cabinets are level, stable, and properly secured. Countertops follow the base below them. If cabinets are uneven, loose, bowed, or damaged, the new counter may not sit correctly. Check for:- Loose cabinets
- Uneven cabinet tops
- Water damage
- Soft particleboard
- Missing screws
- Weak corner joints
- Uneven walls
- Sagging sections
- Out-of-square corners
Dry Fit Before Securing
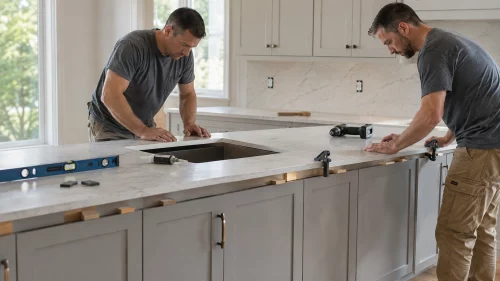 Before fastening anything, dry fit the countertop. Set it in place, check wall gaps, confirm overhangs, and make sure appliances, sinks, and corners align.
During the dry fit, check:
- Front overhang
- Side overhang
- Wall fit
- Seams
- Sink opening
- Cooktop opening
- Cabinet alignment
- Dishwasher clearance
- Door and drawer operation
Cutouts for Sinks and Appliances
Sink and cooktop cutouts require careful measuring. Many products include templates. Follow the manufacturer’s instructions exactly, and confirm which side of the line to cut. For laminate and butcher block, some DIYers can make cutouts with the right saw, masking tape, clamps, and support. For stone, quartz, marble, or solid surface counters, cutouts should normally be handled by fabricators. Be especially careful around undermount sinks. They require precise edges, proper support, sealing, and often professional installation. A weak or poorly sealed sink cutout can lead to water damage.Secure the Countertop Correctly
Securing the countertop depends on the material. Laminate counters may be attached from inside the cabinets with screws or brackets. Butcher block may need room for seasonal wood movement. Stone and quartz often use adhesive, shims, seams, and support methods selected by the installer. Common fastening methods may include:- Screws through cabinet corner blocks
- Angle brackets
- Construction adhesive where appropriate
- Silicone where appropriate
- Specialty clips
- Support brackets for overhangs
Install or Update the Backsplash
Some countertop installation projects include a new backsplash. Others leave the existing backsplash in place. If you are removing old counters, the backsplash may crack, loosen, or need replacement. Backsplash options include:- Tile
- Stone strips
- Laminate backsplash
- Solid surface backsplash
- Painted wall with caulked joint
- Peel-and-stick tile for light-duty updates
Seal, Caulk, and Clean Up
After the counter is installed, finish the edges, seams, sink areas, and wall joints. Some materials need sealing; others do not. Granite, marble, and butcher block may need sealing or oiling. Quartz usually does not need sealing, but the seam and sink areas still need attention. Laminate needs careful edge protection because water can damage the substrate. Finish by:- Caulking wall joints
- Sealing material if required
- Cleaning adhesive residue
- Checking seams
- Inspecting sink edges
- Removing dust and debris
- Testing drawers and doors
- Reconnecting plumbing
- Checking for leaks
Plan for Countertop Waste and Reuse
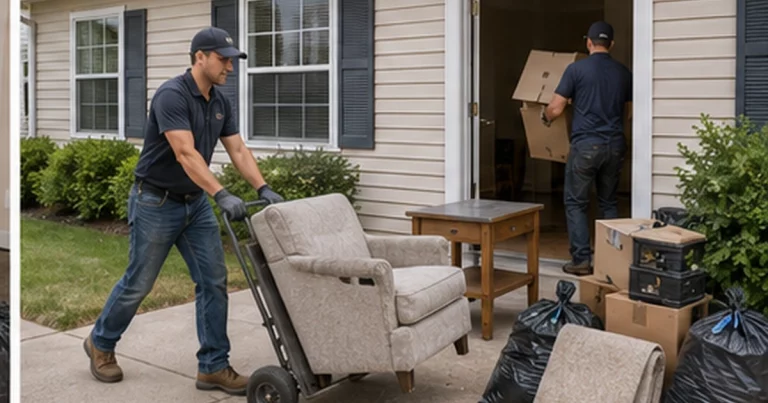
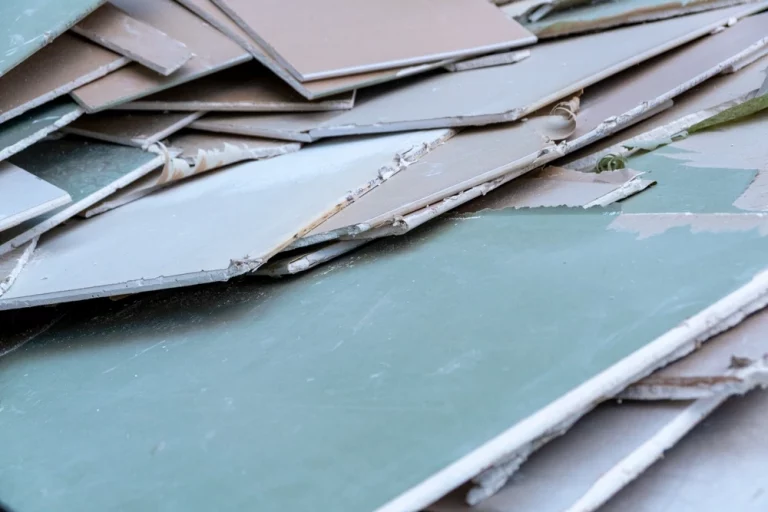
Old countertops may be heavy, awkward, sharp, or mixed with adhesive, tile, sink parts, or cabinet debris. Some materials may be reusable if removed carefully. Others may need disposal. EPA’s construction and demolition materials reuse guidance encourages salvaging and reusing building materials where practical, including cabinets, fixtures, lumber, hardware, and similar renovation materials. Before throwing everything away, consider whether clean sections of butcher block, solid cabinets, hardware, or fixtures can be reused, donated, or repurposed. Broken laminate, damaged particleboard, cracked stone, tile scraps, and adhesive-covered pieces may not have many reuse options. For smaller countertop and cabinet projects, ask ahead about approved materials, weight limits, and pickup rules so the cleanup plan matches the actual debris from the job.Maintenance After Installation
Countertop care depends on the material. General maintenance tips include:- Wipe spills quickly.
- Use cutting boards.
- Use trivets under hot pans.
- Avoid harsh abrasives unless approved.
- Keep sink seams dry.
- Clean with material-safe products.
- Reseal stone when needed.
- Oil butcher block as recommended.
- Do not stand on countertops.
- Check caulk lines periodically.