How Do You Choose the Right DIY Home Improvement Project?
 Start with a problem rather than a trend.
Walk through the home and make a list of things that:
- Need repair
- Waste space
- Look worn
- Make cleaning difficult
- Create drafts
- Lack adequate storage
- No longer fit how you use the room
Repairs
These address something that is broken or deteriorating. Examples include:- Failed caulk
- Loose cabinet hardware
- Dripping faucet
- Damaged trim
- Small drywall holes
Functional Improvements
These make the house work better. Examples include:- Shelving
- Closet organization
- Better lighting
- Weatherstripping
- Entryway storage
Cosmetic Improvements
These primarily change appearance. Examples include:- Paint
- Cabinet hardware
- Decorative trim
- Backsplash
- Updated mirrors
Match the Project to Your Skill Level
A successful home improvement DIY project should challenge you without putting your house or safety at unnecessary risk.Beginner-Friendly Projects
Good starting projects include:- Painting
- Replacing knobs and pulls
- Adding freestanding storage
- Weatherstripping doors
- Simple caulking
- Hanging lightweight decor
- Installing manufacturer-approved shelving
- Basic landscaping
Intermediate Projects
These can require more precision or specialized tools:- Installing floating flooring
- Tiling a backsplash
- Replacing certain faucets
- Installing trim
- Building simple shelving
- Repairing drywall
- Refinishing cabinets
Projects That Often Need Professionals
Think carefully before DIYing:- Structural wall changes
- Roof repairs requiring roof access
- Electrical-panel work
- New circuits
- Gas piping
- Major plumbing relocation
- Foundation work
- Significant HVAC modifications
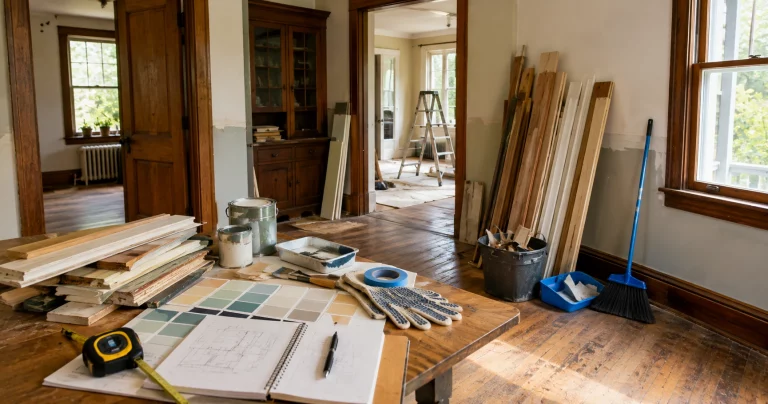
Make a Project Plan Before Buying Materials
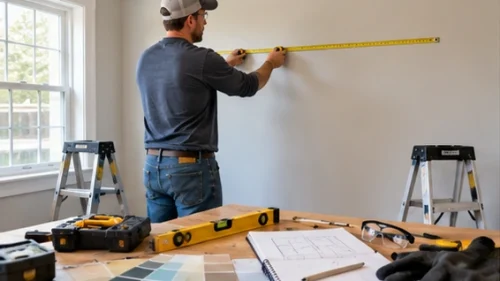 A simple plan prevents abandoned projects and repeated hardware-store trips.
Write down:
- Desired result
- Measurements
- Materials
- Tools
- Preparation work
- Installation sequence
- Drying or curing time
- Cleanup and disposal
- Estimated cost
- Contingency
- Tile
- Flooring
- Wallpaper
- Paint
Budget for More Than the Finish Material
Homeowners often calculate only the obvious purchase. A flooring project, for example, may also require:- Underlayment
- Transition strips
- Trim
- Adhesive
- Leveling compound
- Blades
- Spacers
- Disposal
- Primer
- Patch compound
- Sandpaper
- Brushes
- Rollers
- Tape
- Drop cloths
What Safety Gear Should DIY Homeowners Own?
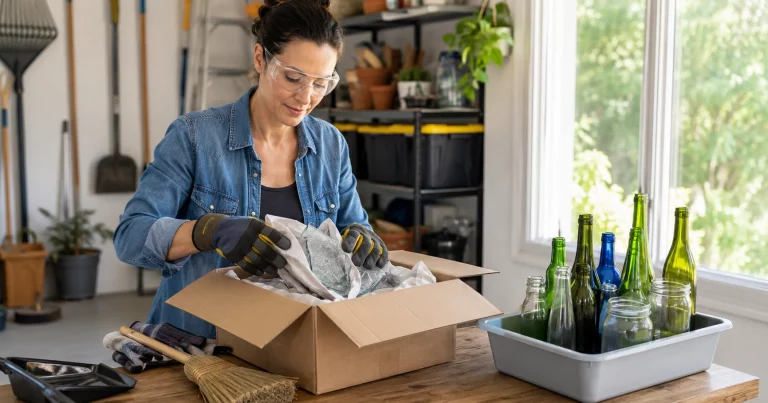
Your exact equipment depends on the project, but useful home improvement essentials include:- Safety glasses
- Work gloves
- Hearing protection
- Dust protection appropriate to the hazard
- Sturdy footwear
- Knee pads where useful
- Adequate task lighting
- First-aid supplies
- Guards
- Cords
- Batteries
- Handles
Know What’s Behind the Wall Before Drilling or Cutting
Walls and floors can conceal:- Electrical wiring
- Plumbing
- Gas lines
- HVAC components
- Structural framing
- Outlets
- Switches
- Plumbing fixtures
- Electrical panels
- Utility rooms
Be Careful with DIY Electrical Projects
The source article described light replacement by suggesting homeowners simply turn off power and match colored wires. Electrical work is more complicated than wire color alone. Electrical Safety Foundation International recommends using qualified electricians for home electrical work. For any electrical task you are legally and technically qualified to perform:- Turn off the correct circuit.
- Prevent accidental re-energizing where appropriate.
- Verify the conductors are de-energized with a suitable tester.
- Follow equipment instructions.
- Follow local electrical code.
- New circuits
- Panel work
- Unfamiliar wiring
- Damaged conductors
- Aluminum wiring concerns
- Repeated breaker trips
- Burning odors
- Heat-damaged devices
Check Older Homes Before Creating Dust
DIY renovation can expose hazards that were safely contained before work began.Lead Paint
Homes built before 1978 may contain lead-based paint. Activities such as:- Sanding
- Scraping
- Drilling
- Window replacement
- Demolition
- Cutting painted surfaces
Asbestos
Older materials that may contain asbestos can include certain:- Floor tiles
- Flooring backing
- Adhesives
- Ceiling products
- Pipe insulation
- Siding
- Roofing materials
What Are the Best Quick Home Improvement Ideas?
High-impact projects do not necessarily require major construction. Here are several practical options.1. Repaint a Room
Painting remains one of the easiest ways to change a space. Start by repairing:- Nail holes
- Dents
- Small cracks
- Loose paint
- Flooring
- Furniture
- Hardware
- Trim
- Surface condition
- Staining
- Major color changes
- Manufacturer specifications
- Temperature range
- Recoat time
- Coverage guidance
2. Update Cabinet Hardware
Replacing cabinet knobs or pulls can modernize a kitchen or bathroom without replacing cabinetry. If the replacement uses the same hole spacing, the project may require little more than a screwdriver. For a new hole pattern:- Measure carefully.
- Create or buy a drilling template.
- Test the layout before drilling every door.
- Protect finished surfaces while drilling.
3. Refresh Existing Cabinets
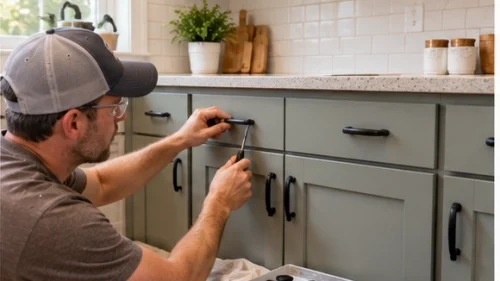 If the cabinet boxes are sound, refinishing may be more practical than replacement.
Depending on the material, the process can include:
- Cleaning
- Degreasing
- Light sanding
- Priming
- Painting
4. Replace Worn Caulk
Fresh caulk can improve the appearance and water resistance of areas around:- Sinks
- Tubs
- Showers
- Backsplashes
- Trim
5. Replace a Faucet
A straightforward like-for-like faucet replacement can be manageable for some homeowners. Before starting:- Shut off the water supply.
- Verify that the shutoffs actually stop water.
- Protect the cabinet below.
- Document existing connections.
- Follow the manufacturer’s installation instructions.
- Check carefully for leaks afterward.
6. Add Practical Storage
Storage improvements can change how a room functions without construction. Consider:- Wall shelves
- Closet organizers
- Cabinet pullouts
- Pegboards
- Entryway hooks
- Under-bed storage
- Garage wall systems
- Wall construction
- Expected weight
- Installation method
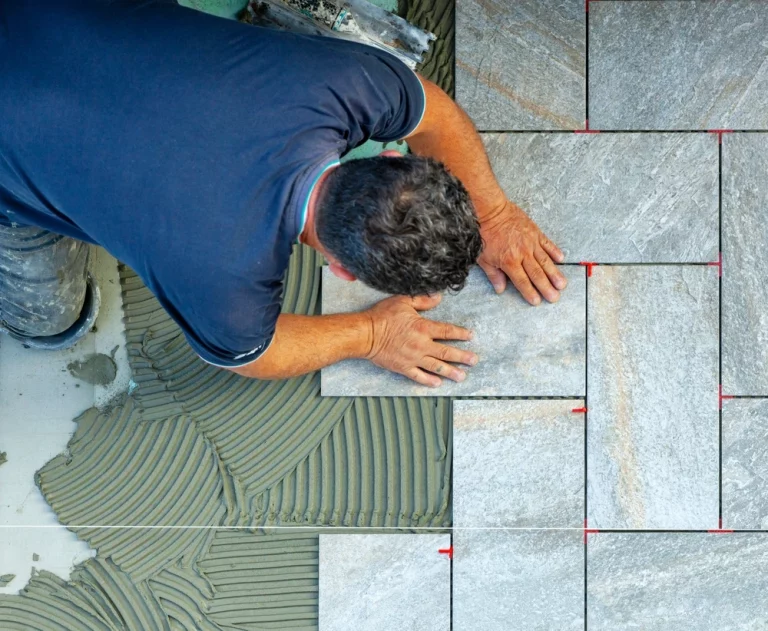
7. Add a Backsplash
A backsplash is a manageable intermediate DIY project. Plan the layout before mixing adhesive. Identify:- Center lines
- Outlets
- Corners
- Edge treatments
- Pattern transitions
8. Install Floating Flooring
Click-lock luxury vinyl plank, laminate, and certain engineered products can be practical DIY flooring options. Preparation is critical. The subfloor may need to be:- Clean
- Dry
- Flat
- Structurally sound
- Expansion space
- Underlayment
- Moisture control
- Room transitions
- Acclimation where applicable
9. Upgrade Interior Trim
Baseboards, window trim, chair rails, or simple wall molding can add architectural detail. For successful trim installation:- Measure actual corners rather than assuming every corner is exactly 90 degrees.
- Test cuts before fastening expensive material.
- Locate framing where needed.
- Fill appropriate nail holes.
- Caulk paint-grade gaps selectively.
10. Improve Outdoor Living Space
DIY outdoor projects can include:- Garden edging
- Mulch beds
- Simple pathways
- Raised planters
- Outdoor seating areas
- Low-voltage landscape lighting
- Pergolas
- Decks
- Retaining walls
- Permanent fire features
- Electrical installations
What Are the Best DIY Energy-Efficiency Improvements?
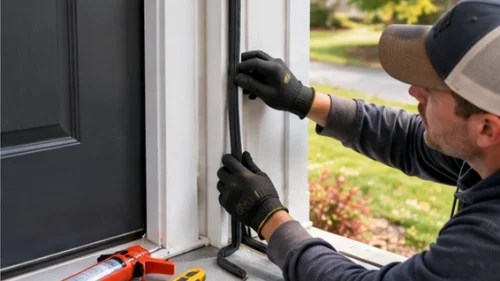 Some of the best home improvement projects are nearly invisible once completed.
ENERGY STAR identifies sealing air leaks and improving insulation as potentially cost-effective ways to improve comfort and energy efficiency.
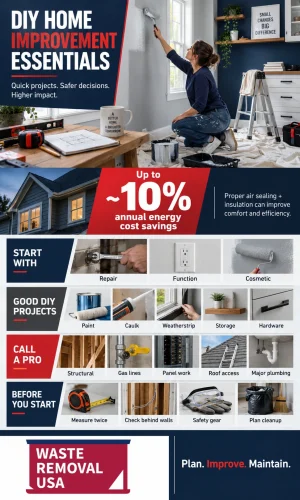
Current ENERGY STAR guidance estimates properly sealing and insulating a home can save up to approximately 10% on annual energy costs, depending on the house and existing conditions.
See the ENERGY STAR DIY sealing and insulation guide.
Weatherstrip Doors
Inspect exterior doors for:- Visible gaps
- Worn weatherstripping
- Failed door sweeps
- Air movement
Seal Appropriate Air Leaks
Potential air-leak locations include:- Window and door trim
- Utility penetrations
- Attic openings
- Plumbing penetrations
- Chimneys
- Furnace flues
- Hot components
- Certain recessed lighting
Improve Attic Insulation Carefully
Attic insulation can be a worthwhile DIY project in an accessible, uncomplicated attic. ENERGY STAR recommends addressing air leaks before adding insulation. It also advises getting professional assistance first when an attic has conditions such as:- Wet insulation
- Mold
- Rotted framing
- Improperly vented bath or dryer exhaust
- Knob-and-tube wiring
- Serious ventilation problems
What Maintenance Projects Make the Biggest Difference?
Good DIY home improvement includes preventing damage, not just adding new finishes. Regularly inspect:Plumbing
Look beneath sinks and around appliances for:- Leaks
- Swollen cabinetry
- Corrosion
- Dampness
Exterior Caulk and Sealants
Check vulnerable joints around:- Doors
- Windows
- Exterior penetrations
Gutters and Drainage
Keep drainage paths clear and make sure downspouts direct water appropriately away from the home.HVAC Filters
Replace filters according to equipment and filter-manufacturer recommendations. A universal “every 30 days” schedule is not appropriate for every system or filter.Roofing
Look from the ground for:- Missing shingles
- Damaged flashing
- Gutter problems
When Should You Get a Permit?
Permit requirements vary by location and scope. Cosmetic work such as painting usually does not require a permit. Work more likely to require permits or inspections includes:- Structural modifications
- Additions
- New electrical circuits
- Significant plumbing work
- Decks
- Major HVAC changes
- Some window or door alterations
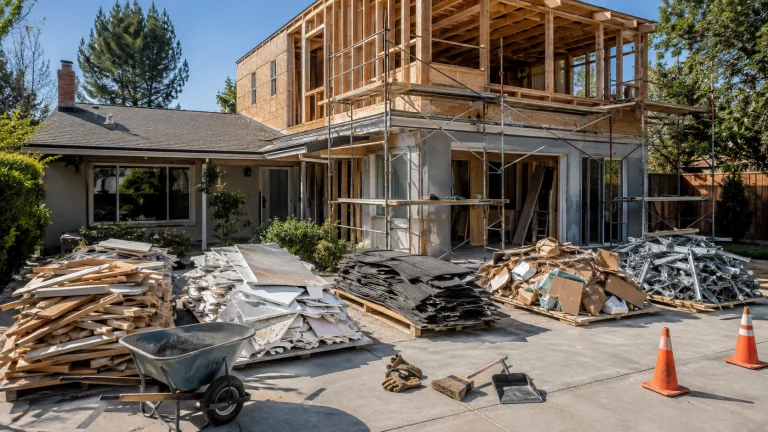
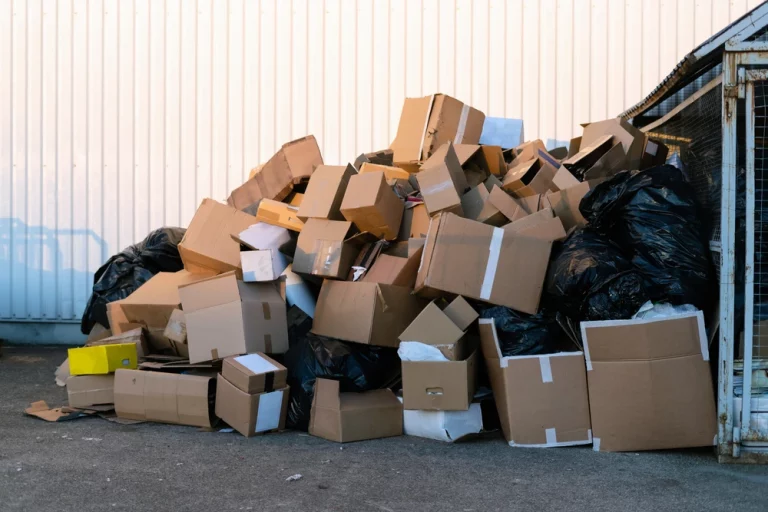
How Should You Manage DIY Renovation Debris?
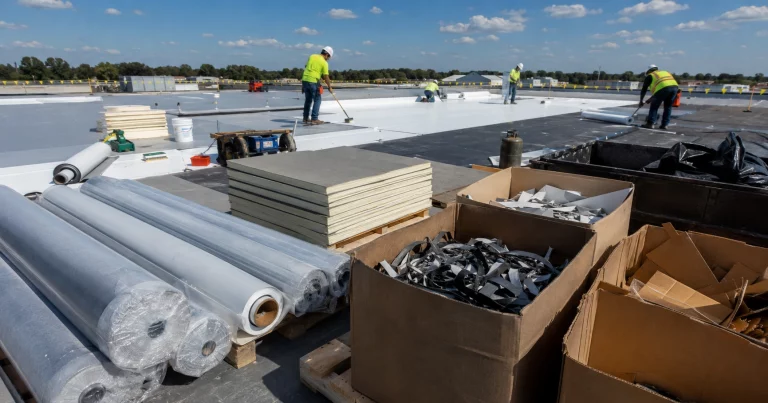
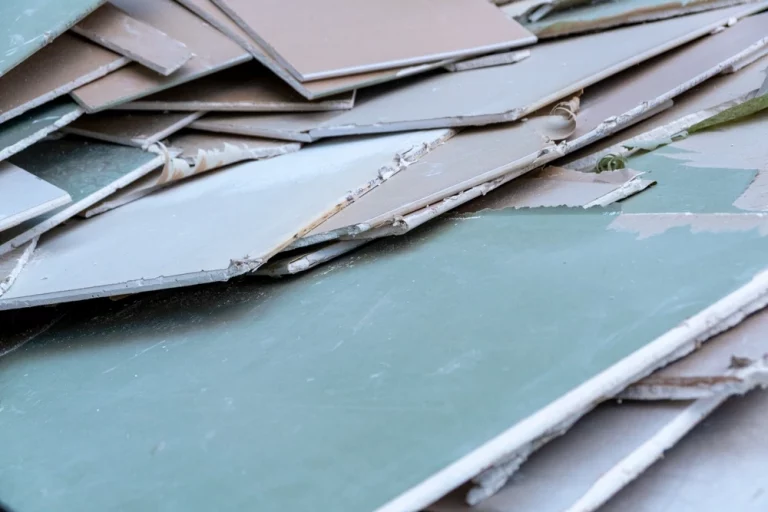
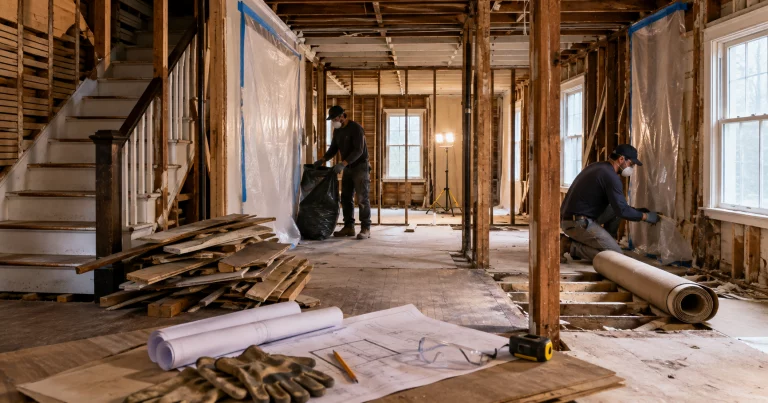
Plan cleanup before demolition begins. Common project debris can include:- Drywall
- Wood
- Flooring
- Cabinets
- Tile
- Trim
- Packaging
- Batteries
- Chemicals
- Electronics
- Suspected asbestos-containing materials
- Lead-contaminated waste where special rules apply
- Fluorescent lamps
How Can You Keep a DIY Project From Becoming Overwhelming?
Break the project into stages. Instead of: “Redo the kitchen” write:- Remove unwanted items.
- Repair walls.
- Paint.
- Refinish cabinets.
- Replace hardware.
- Install backsplash.
- Finish trim.
- Clean.
- Lost tools
- Accidental damage
- Trips
- Duplicate purchases