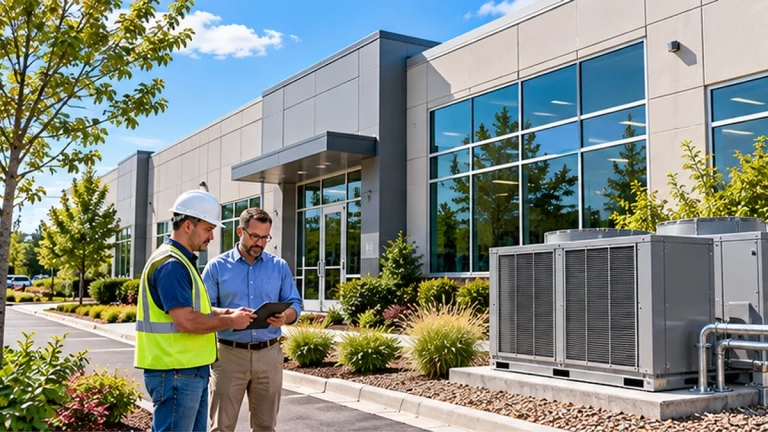
- Where will the cellar be located?
- What root cellar temperature and humidity range are you trying to maintain?
- How will fresh air enter and warm air leave?
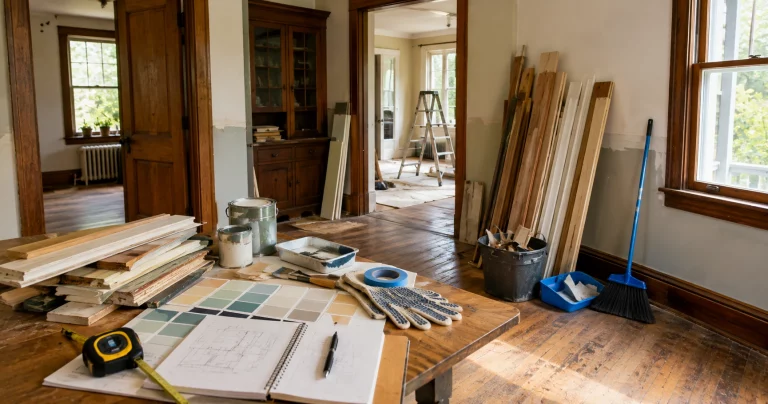
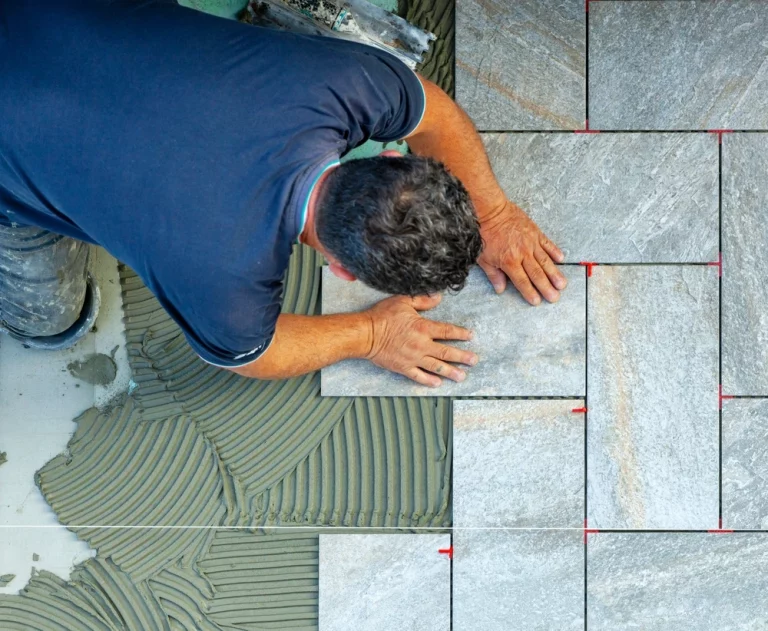
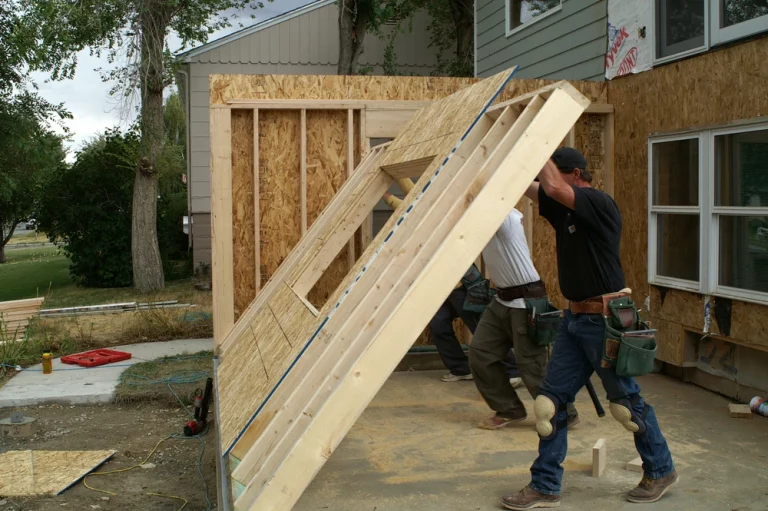
- What materials will keep the structure stable, dry, and insulated?
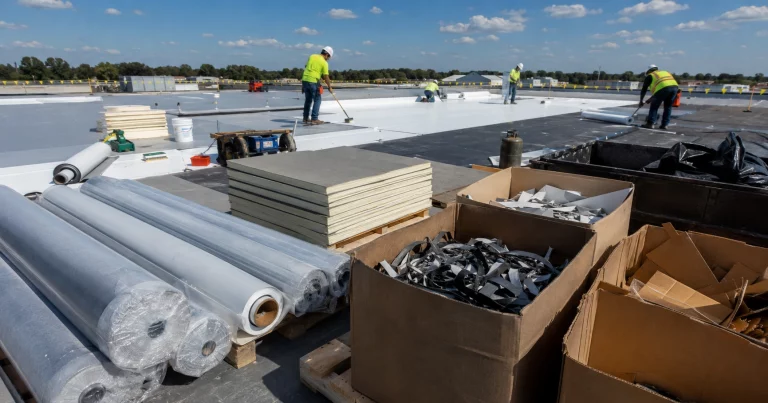
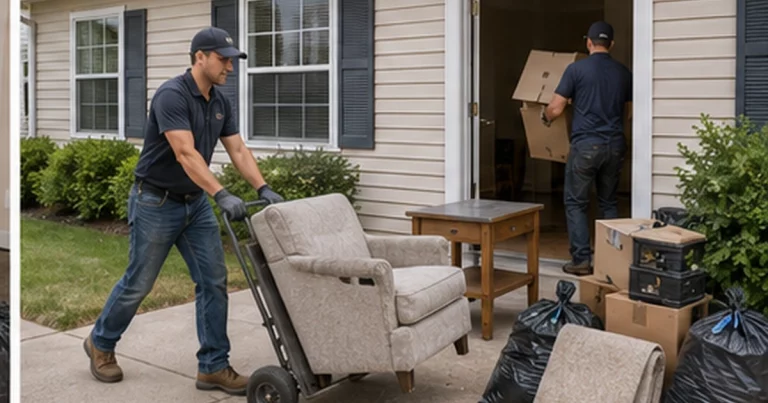
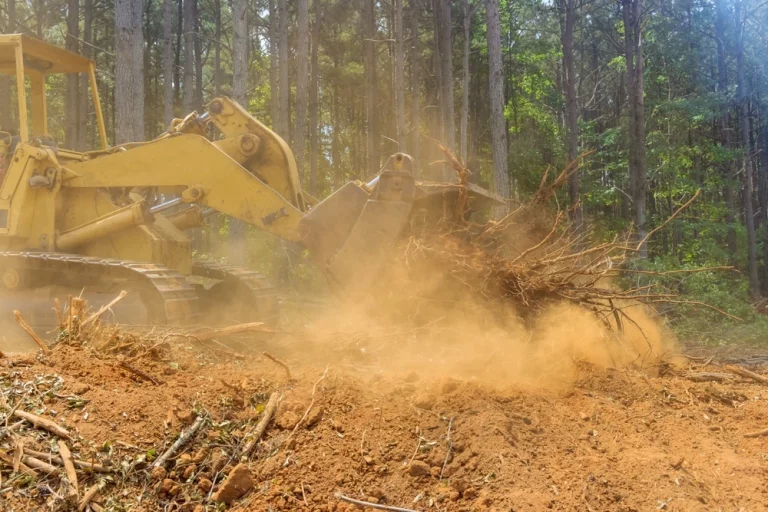
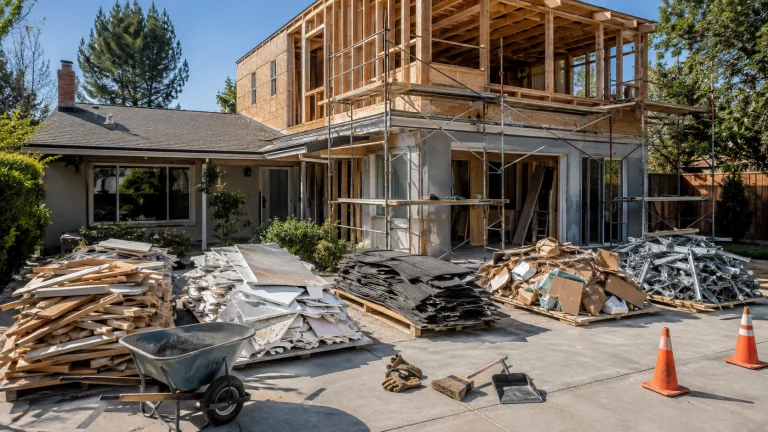
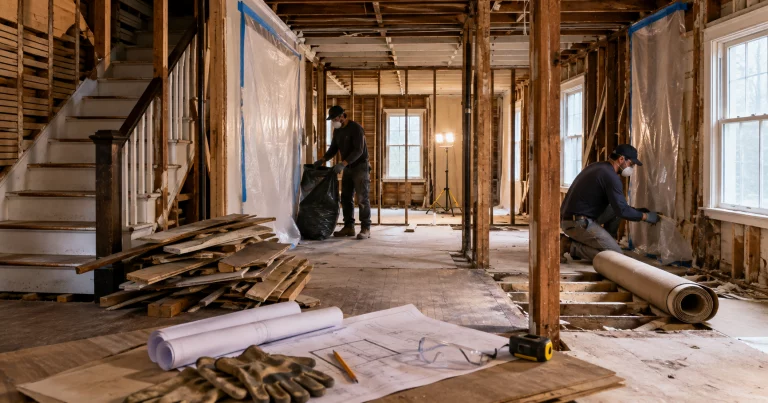
- How will you handle soil, concrete, blocks, and construction debris during the project?
What Is a Root Cellar?
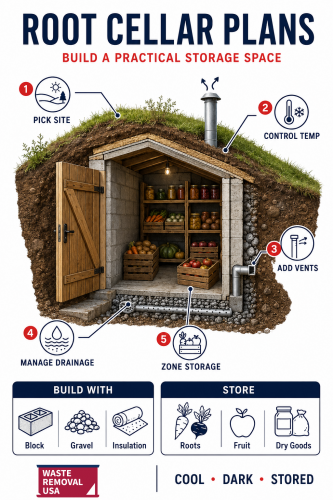 A root cellar is a cool, dark, ventilated storage area designed to slow spoilage in produce. Traditional versions are built into the ground, a hillside, a basement corner, or a buried structure because soil helps moderate temperature swings.
The ideal design depends on your climate. In colder regions, the challenge may be keeping the cellar from freezing. In warmer regions, the challenge is getting deep enough, shaded enough, and ventilated enough to stay cool.
Root cellar storage is most useful for crops that benefit from cool, humid conditions. University of Missouri Extension notes that many root crops store best around 32 to 40 degrees Fahrenheit with high relative humidity, while onions, pumpkins, squash, and sweet potatoes require different storage conditions.
That is why one large room is not always better. A smaller, well-managed storage space with zones for different crops can perform better than an oversized cellar that is hard to keep humid or cool.
Root Cellar Temperature and Humidity
Root cellar temperature is usually the most important performance factor. Many common storage crops do best just above freezing, but not all produce wants the same conditions. General targets include:- Root crops such as carrots, beets, turnips, and parsnips: cold and very humid
- Potatoes: cool, dark, and moderately humid
- Apples and pears: cold and moist, but separated from vegetables
- Onions and garlic: cool and dry
- Pumpkins and winter squash: warmer and drier than root crops
- Sweet potatoes: warmer storage and protected from chilling
Choosing the Right Location
The best location for root cellar construction is naturally cool, shaded, well-drained, and easy to access. Good options may include:- A north-facing hillside
- A basement corner against an exterior wall
- A partially buried room
- A buried concrete or block structure
- A crawlspace or under-porch area, if conditions are safe and dry
- A small exterior structure covered with soil and insulation
Root Cellar Plans: Common Design Options
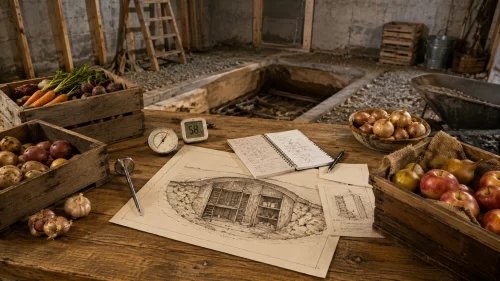 There is no single best plan. The right design depends on budget, climate, available space, drainage, and storage goals.
Basement Root Cellar
A basement root cellar is often the easiest place to start. It may involve enclosing a cool corner, insulating interior walls, adding vents to the outside, and installing shelves. This option produces less excavation debris and may cost less than building a separate underground structure. It works best when the basement already stays cool and dry.Hillside Root Cellar
A hillside design uses the natural slope for insulation and easier access. The entrance can be placed on the downhill side, while the earth covers the roof and walls. This can be an efficient layout, but drainage and retaining-wall strength are critical. Water should move around the structure, not into it.Concrete Block Root Cellar
Many people researching how to build a root cellar want a block design because concrete masonry units are widely available and familiar to builders. A block cellar can be durable, but it needs a stable footing, reinforcement where required, drainage, waterproofing, ventilation, and a roof system designed for the load above it. For Spanish-speaking homeowners searching “cómo hacer una bodega de bloques,” the basic concept is similar: plan the foundation, drainage, block walls, ventilation, insulation, shelving, door, and moisture control before construction begins.Buried Container or Culvert Cellar
Some modern root cellar plans use a buried precast structure, culvert, or prefabricated unit. These can reduce masonry work, but they still require excavation, safe installation, drainage, ventilation, and access planning. Do not bury a container that is not designed to hold soil loads. Earth pressure can crush weak walls and roofs.Amish-Inspired Root Cellar Plans
Searches for Amish root cellar plans often refer to simple, practical designs that rely on earth sheltering, thick walls, natural materials, minimal electricity, and straightforward shelving. Amish-built underground food storage is usually valued for simplicity and durability rather than complicated equipment. You can borrow that mindset without copying a specific plan: use natural insulation, build strong walls, keep the space dark, create airflow, and store crops in simple crates, shelves, or bins.How to Build a Root Cellar: Basic Steps
 Every site is different, but most root cellar construction projects follow the same general sequence.
1. Decide What You Will Store
A family storing a few crates of potatoes and carrots does not need the same space as a homestead storing apples, squash, canned goods, onions, and root vegetables. Create a storage list before deciding size. Include shelves, bins, walkways, and room for airflow.2. Pick the Location and Confirm Drainage
Watch how water moves across the site after rain. If the area stays wet, choose another location or plan drainage before building.3. Check Permits and Structural Needs
A freestanding underground room, hillside cellar, or basement modification may require permits, engineering, or inspections. Local rules vary, especially when electrical work, retaining walls, structural changes, or excavation are involved.4. Excavate Safely
Excavation may produce a large amount of soil. Some soil may be reused for backfill, grading, or landscaping. If you have extra material, our guide on what to do with dirt from your yard can help you think through reuse and disposal options.5. Build the Foundation, Walls, and Roof
Common materials include concrete, block, stone, wood framing, waterproofing membranes, insulation, gravel, drainage pipe, and treated exterior materials where appropriate. If your design uses block or masonry, plan the debris stream before work begins. Broken masonry, rejected blocks, and old concrete should be kept separate from light trash. Our guide to concrete disposal can help with heavy material planning, while brick disposal may be useful if the project involves brick or block debris.6. Install Ventilation
Most root cellars need a low intake vent and a high exhaust vent. Cool air enters low, warmer air exits high, and adjustable vents allow seasonal control. Screen vents to reduce pests. Keep them accessible so they can be cleaned and adjusted.7. Add Shelving and Storage Zones
Use sturdy shelving that will not trap moisture against walls. Leave airflow around crates and bins. Keep produce off the floor unless the design intentionally uses sand, soil, or bins for certain crops.8. Test Before Filling the Cellar
Monitor temperature and humidity for several weeks before relying on the space for a full harvest. Adjust ventilation, moisture, and storage layout based on real readings.Root Cellar Storage Layout
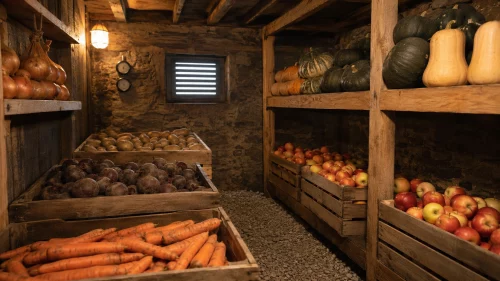 Good root cellar storage separates crops by temperature, humidity, odor, and gas production.
Missouri Extension explains that fruits such as apples and pears give off ethylene gas, which can shorten the storage life of vegetables. Potatoes stored near certain fruits may sprout earlier. Strong-smelling vegetables can also affect nearby produce.
Practical layout tips:
- Keep apples and pears away from potatoes and other vegetables.
- Store onions and garlic in a drier, well-ventilated area.
- Keep root crops in humid bins, crates, or sand where appropriate.
- Store squash and pumpkins in a warmer, drier zone.
- Leave space between shelves and walls for airflow.
- Label bins with crop type and storage date.
- Inspect weekly and remove spoiled produce quickly.
How Much Does It Cost to Build a Root Cellar?
The cost to build a root cellar depends on design, size, soil conditions, drainage, materials, labor, permits, and whether you build inside an existing structure or start from scratch. A simple basement root cellar may cost far less than a fully excavated, reinforced, waterproofed outdoor cellar. A small DIY space may use basic framing, insulation, vents, shelves, and a door. A larger underground block structure may require excavation equipment, gravel, concrete, masonry, drainage, waterproofing, roof framing, insulation, backfill, and electrical work. Budget categories include:- Design or engineering help
- Permits
- Excavation
- Gravel and drainage
- Concrete or block
- Waterproofing
- Insulation
- Door and hardware
- Vents
- Shelving and bins
- Lighting or electrical work
- Debris and excess soil handling