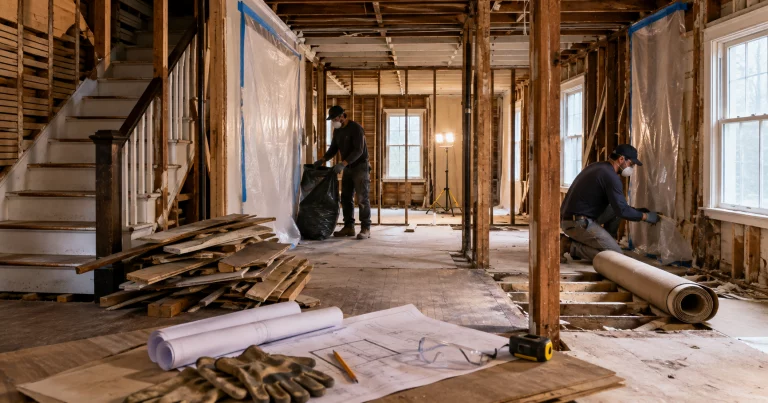
Demolition

Home Theater Installation Guide: How to Set Up a Home Entertainment System

Benjamin Ehinger Benjamin Ehinger Benjamin Ehinger is a Florida-based content writer with 18 years of experience, specializing in dumpster rental and waste removal industry content. His strong research skills allow him to present clear, practical information on topics like pricing, container sizing, and job planning. 12 min read
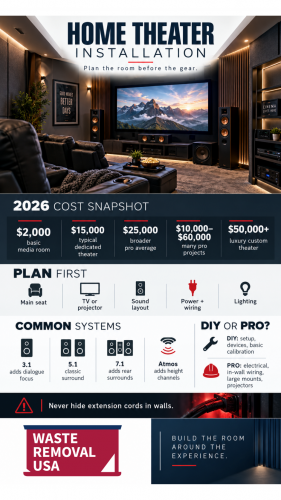
A successful home theater installation starts with the room, not the equipment. Decide where the screen, primary seating, speakers, power, and cables will go before buying a television, projector, receiver, or surround-sound package. For a simple media room, installing a home entertainment system may involve little more than mounting a television, connecting a soundbar or speakers, and organizing a few source devices. A dedicated theater can involve in-wall wiring, multiple speakers, a projector, acoustic treatment, lighting controls, and construction work. The right setup depends on how you actually plan to use the room.

What Should You Plan Before Installing a Home Theater?
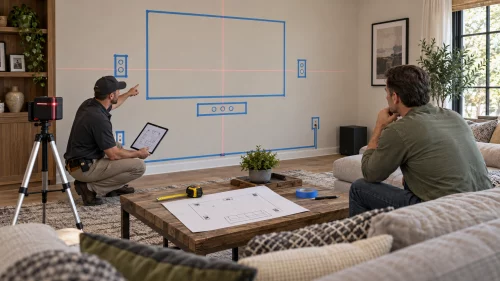
Planning a Home Theater Layout Before buying equipment, answer five questions:
  1. What will you watch or play most often?
  2. How many people normally use the room?
  3. Will you use a TV or projector?
  4. How much surround sound do you want?
  5. Will wiring remain visible or be installed inside walls and ceilings?
Also consider whether the space is a:
  • Living room
  • Family room
  • Finished basement
  • Dedicated theater room
  • Multipurpose media room
A dedicated cinema can prioritize darkness and acoustics. A family room may need to work just as well for daytime television, gaming, conversation, and everyday living.

Start With the Main Seating Position

The main seat is the reference point for almost everything else. Speaker angles, screen height, surround placement, and audio calibration are normally designed around the main listening position. Choose where that seat or primary row will be before deciding exactly where the speakers belong. Avoid placing the primary seating:
  • Directly against the back wall when you have other options
  • Extremely close to the screen
  • Where people must walk between the screen and viewer
  • Under equipment that creates distracting fan noise
Once seating is established, the rest of the system becomes easier to lay out.

How Big Should a Home Theater Screen Be?

There is no single screen-size formula that works for every room. The source’s recommendation of sitting approximately 1.5 to 2.5 screen widths away is a useful historical guideline, but modern 4K displays allow comfortable viewing at closer distances than older low-resolution televisions. Screen size should account for:
  • Seating distance
  • Display resolution
  • Room width
  • Personal preference
  • Viewing angle
  • Content type
A movie-focused theater can use a larger field of view than a room where people frequently watch news, sports, or casual television. Before buying a large display, tape its dimensions onto the wall and sit in the intended seats. If you constantly need to turn your head to follow the picture, the screen is probably too large or too close.

Should You Use a TV or Projector?

Home Theater Installation Both can work extremely well.

Choose a TV When You Want:

  • Strong performance with ambient light
  • Simple installation
  • High brightness
  • Excellent HDR performance
  • Minimal maintenance
  • Easy daytime viewing
Large televisions are now practical for many rooms that once required projectors.

Choose a Projector When You Want:

  • A very large cinematic image
  • A 100-inch-plus screen
  • A dedicated dark room
  • A more traditional movie-theater experience
Projectors depend more heavily on room lighting and screen selection. Do not buy a projector based solely on advertised image size. Its lens has a specific throw ratio, which determines how far it must sit from the screen to create a particular image size. Confirm that the projector can produce your desired screen size from the mounting location before drilling holes.

Mount Projectors to Structural Support

A ceiling-mounted projector needs secure structural attachment. Do not rely on ceiling drywall alone to support the projector. Mounting may require attachment to:
  • Ceiling joists
  • Framing
  • Proper structural blocking
  • An approved mounting system
Also plan:
  • Power
  • HDMI or signal connection
  • Ventilation
  • Service access
before mounting the unit. A ceiling outlet may require a qualified electrician. Do not run a household extension cord through the ceiling cavity to power the projector.

How Should You Mount a Television?

Choose a wall mount rated for:
  • Television size
  • Television weight
  • Required movement
  • Wall construction
The wall also needs appropriate structural support. Studs or installed backing are common mounting points in wood-framed construction. Do not assume ordinary drywall anchors can safely carry a large television simply because the anchor package advertises a high weight rating. Follow both:
  • Television manufacturer instructions
  • Mount manufacturer instructions
Check the location for electrical wiring, plumbing, ducts, and other hidden building systems before drilling.

How High Should a Home Theater TV Be?

For comfortable viewing, the screen should generally allow viewers to watch without repeatedly tilting their heads upward. Eye level often lands around the middle or lower portion of the screen when seated, depending on:
  • Screen size
  • Seating
  • Recline
  • Viewing distance
Fireplace mounting frequently places televisions considerably higher than ideal. If the TV must sit high, consider how that viewing angle will feel during a two-hour movie rather than judging the placement while standing in the room.

What Type of Surround Sound System Do You Need?

The numbers in a surround-sound system describe its speaker configuration.

2.1

  • Left speaker
  • Right speaker
  • One subwoofer

3.1

Adds a center speaker for dialogue.

5.1

Includes:
  • Front left
  • Center
  • Front right
  • Left surround
  • Right surround
  • Subwoofer
This remains an excellent choice for many home theaters.

7.1

Adds left and right rear-surround speakers behind the seating area.

Dolby Atmos

Configurations such as:
  • 5.1.2
  • 5.1.4
  • 7.1.2
  • 7.1.4
add height channels. The last number indicates the number of overhead or height speakers. Dolby’s current speaker setup guides provide layouts for specific configurations.

Where Should Home Theater Speakers Go?
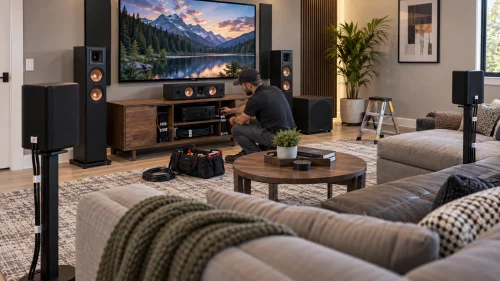
Installing Home Theater Speakers and Wiring Speaker placement matters just as much as speaker price. For a typical surround system:
  • Place the center speaker close to the screen.
  • Position left and right speakers on opposite sides of the display.
  • Aim the main speakers toward the listening position as appropriate.
  • Place surrounds according to the selected surround configuration.
  • Use separate rear surrounds only when the system includes those channels.
The main ear-level speakers should generally be close to seated ear height unless the specific speaker design calls for another position. Do not install every speaker near the ceiling simply because hiding them there looks cleaner. Correct placement normally produces better results than expensive speakers installed in poor locations.

Where Should the Subwoofer Go?

There is no universal best subwoofer position. Low frequencies interact strongly with the dimensions and boundaries of the room. Placing a subwoofer in a corner may produce more bass output, but it can also create:
  • Uneven bass
  • Boomy frequencies
  • Weak spots elsewhere
Try different positions when practical. One common technique is the subwoofer crawl:
  1. Temporarily place the subwoofer near the main seat.
  2. Play bass-heavy content or a test signal.
  3. Listen from several potential subwoofer locations.
  4. Place the subwoofer where bass sounds the smoothest.
Automatic room correction can help afterward, but it cannot completely fix every poor physical location.

What Does an AV Receiver Do?

An AV receiver acts as the central hub for many traditional home theaters. It can:
  • Switch video sources
  • Decode surround-sound formats
  • Power passive speakers
  • Control speaker levels
  • Apply room correction
  • Route video to the TV or projector
Choose a receiver that has enough amplified channels and processing capability for the system you plan to build. If you eventually want a 5.1.4 Atmos system, for example, make sure the equipment can actually support the required number of channels. Also check for features important to your devices, such as:
  • 4K HDR support
  • 4K120 gaming
  • Variable refresh rate
  • eARC
  • Dolby Atmos
  • Appropriate HDMI input count
Do not buy based only on a version number printed on the box. Check whether the actual features you need are supported.

What Is eARC and Why Does It Matter?

Enhanced Audio Return Channel, or eARC, allows compatible televisions to send high-quality audio back through HDMI to an AV receiver or soundbar. That is especially useful when streaming apps run directly on the television. eARC supports high-bitrate formats including:
  • Dolby TrueHD
  • Dolby Atmos
  • DTS-HD Master Audio
  • DTS:X
Both the TV and audio equipment must support the required features. The HDMI Licensing Administrator’s eARC guide explains the current standard.

Which HDMI Cable Should You Use?

Buy for the bandwidth you actually need rather than buying the most expensive cable available. A certified Ultra High Speed HDMI cable supports up to 48 Gbps and formats including 4K at 120 Hz. That is sufficient for many current:
  • Gaming consoles
  • Televisions
  • AV receivers
  • Projectors
HDMI 2.2 introduced the newer Ultra96 HDMI cable specification in 2026, supporting up to 96 Gbps for higher-bandwidth applications. Most beginners building a current 4K theater do not need to replace a properly functioning certified Ultra High Speed cable merely because Ultra96 now exists. Review the official HDMI cable categories when choosing cable types.

Plan In-Wall Wiring Before Closing the Walls

If you are installing home entertainment systems during a remodel, run appropriate cabling while framing cavities remain accessible. Possible wiring can include:
  • Speaker cable
  • HDMI
  • Ethernet
  • Subwoofer cable
  • Control wiring
Use cable specifically rated for its intended in-wall or in-ceiling installation. Consider installing conduit where appropriate so certain signal cables can be replaced later without reopening finished walls. Technology changes much faster than drywall. An accessible pathway can make future upgrades substantially easier.

Never Hide Extension Cords Inside Walls

Extension cords are temporary wiring. The Electrical Safety Foundation International warns against running extension cords through:
  • Walls
  • Ceilings
  • Floors
because concealed cords can overheat and create a fire hazard. If a wall-mounted television or ceiling projector needs power where no receptacle exists, have an appropriate permanent electrical solution installed. Also avoid:
  • Pinching cords behind mounts
  • Stapling power cords to walls
  • Overloading power strips
Electrical additions may require permits or licensed work depending on local rules.

Check Before Cutting Speaker Holes

Installing in-wall or in-ceiling speakers requires cutting into finished surfaces. Before cutting, determine whether the cavity contains:
  • Electrical wiring
  • Plumbing
  • HVAC ducts
  • Framing
  • Fire blocking
A stud finder can help locate framing, but it should not be treated as a perfect map of everything concealed inside the wall. Make a small controlled opening when appropriate rather than immediately cutting the full speaker hole.

Acoustic Treatment Is Not the Same as Soundproofing

These terms are often confused.

Acoustic Treatment

Improves the sound inside the room. Examples include:
  • Absorption panels
  • Bass traps
  • Rugs
  • Curtains
  • Diffusion
These treatments can reduce excessive reflections and improve dialogue clarity.

Soundproofing

Reduces sound transmission between rooms. That can involve:
  • Additional drywall layers
  • Isolation
  • Specialized assemblies
  • Sealing air gaps
  • Door improvements
  • Ceiling and floor construction
Putting acoustic foam on a wall does not automatically prevent movie bass from reaching the bedroom next door. Sound isolation is much easier to plan before the room is finished.

How Should You Control Home Theater Lighting?

Good theater lighting provides enough illumination to move safely without reflecting strongly on the screen. Useful options include:
  • Dimmable ceiling lights
  • Wall sconces
  • Low-level path lighting
  • Blackout shades
  • Automated lighting scenes
Keep direct light away from the screen. Projector rooms benefit particularly from control of outside light. For television rooms, reducing reflections from windows and lamps can matter almost as much as making the room darker.

Should You Add Theater-Style Seating?

Comfort matters more than appearance. Choose seating based on:
  • Viewing height
  • Room width
  • Number of viewers
  • Reclining clearance
  • Speaker locations
  • Walking paths
Tiered seating can improve sight lines in rooms with multiple rows, but a seating riser becomes a construction project rather than simply furniture placement. It may require consideration of:
  • Structure
  • Steps
  • Lighting
  • Electrical wiring
  • Building-code requirements
A single comfortable row is often better than squeezing two crowded rows into a small room.

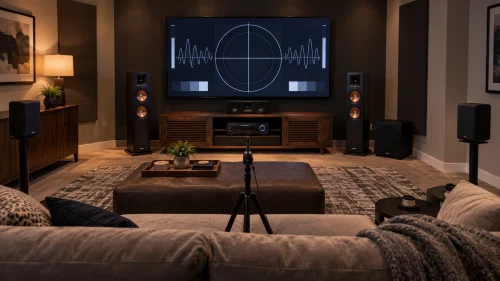
How Do You Calibrate a Home Theater?

Home Theater Audio and Video Calibration After installation, calibration brings the system together.

Start With the Display

Use an appropriate picture mode rather than immediately increasing:
  • Brightness
  • Sharpness
  • Color saturation
Many televisions provide cinema, filmmaker, or similarly accurate picture modes. Advanced calibration can use test patterns or professional measurement equipment.

Then Calibrate the Audio

Many current AV receivers include a supplied measurement microphone and automated room-correction software. The process may adjust:
  • Speaker distance
  • Channel level
  • Delay
  • Crossover settings
  • Frequency response
Place the calibration microphone where instructed rather than holding it by hand. Use automatic calibration as a starting point and verify the final settings.

How Much Does Home Theater Installation Cost in 2026?

Home theater cost varies dramatically because a TV and soundbar in an existing living room is fundamentally different from building a dedicated cinema. Current 2026 national planning figures from Angi’s home theater cost guide estimate approximately:
  • $2,000: basic media-room installation
  • $15,000: typical dedicated theater
  • $50,000+: luxury custom theater
Its broader professional-project data averages about $25,000, with many projects falling between $10,000 and $60,000. Those figures include equipment and room improvements and should not be interpreted as the price simply to mount a TV or connect speakers. Your budget can change substantially based on:
  • Display
  • Speakers
  • Receiver
  • Wiring
  • Construction
  • Lighting
  • Acoustic treatment
  • Seating
  • Automation

What Parts Can You Install Yourself?

A beginner can often handle:
  • Connecting source devices
  • Placing freestanding speakers
  • Cable labeling
  • Equipment setup
  • Streaming-device configuration
  • Basic receiver calibration
More complicated work may justify professional installation when it involves:
  • New electrical circuits
  • Large wall-mounted displays
  • Ceiling projectors
  • In-wall wiring
  • In-ceiling speakers
  • Structural mounting
  • Multiple seating rows
  • Sound isolation construction
  • Advanced system calibration
CEDIA provides home cinema planning information for homeowners considering more complex installations.

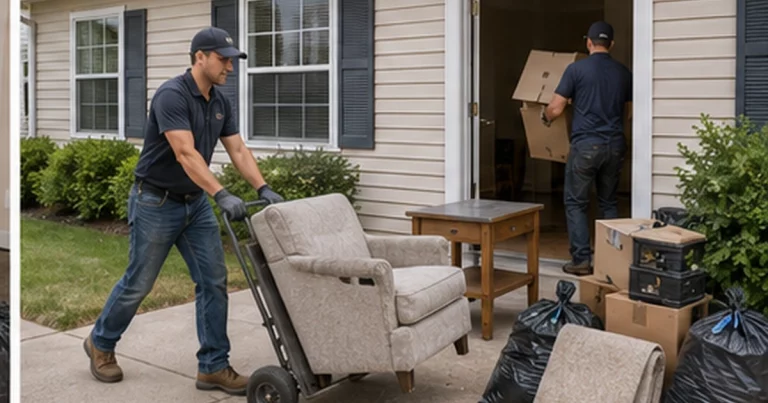
How Should Remodeling Debris Be Handled?

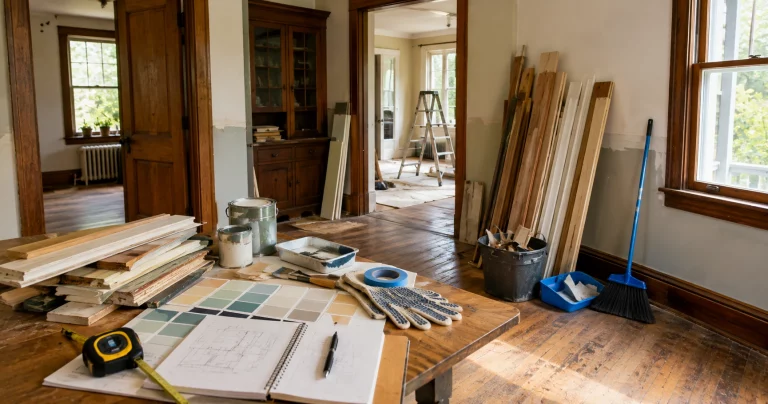
Creating a dedicated theater can generate:
  • Drywall
  • Lumber
  • Carpet
  • Packaging
  • Old cabinetry
  • Trim
  • Ceiling material

Waste Removal USA’s construction debris removal guide can help organize ordinary remodeling material. Smaller room conversions may also be suitable for a 10-yard cleanup container, depending on the amount and type of material. Keep old electronics separate. Televisions, receivers, speakers containing electronic components, batteries, and other devices may have local recycling or disposal requirements. Waste Removal USA’s electronic waste disposal guide explains additional options.

Build the Room Around the Experience You Want

A good home theater installation guide should not begin with a list of expensive equipment. Start with the room. Determine where people will sit, how large the picture should be, how the room can control light, and how speakers can be positioned around the main listening area. Then choose equipment that supports that layout. Plan power and cabling before opening walls. Use properly rated in-wall wiring, keep temporary extension cords out of wall and ceiling cavities, and make sure televisions, projectors, and speakers are supported by appropriate structure. Finally, calibrate the picture and sound instead of assuming factory settings and expensive hardware automatically produce the best result. A thoughtfully installed midrange system can provide a better experience than more expensive equipment placed poorly in a room that was never planned around it.

Frequently Asked Questions

Find answers to common questions