What Does It Really Mean to Demo a House?
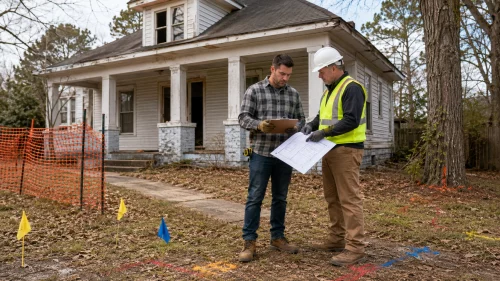 When people say “demo a house,” they often picture a machine knocking down walls. In reality, residential demolition is a staged process that starts long before anything falls.
A full house demolition may include:
- Permit applications
- Utility shutoffs and disconnections
- Hazardous material inspections
- Salvage planning
- Site fencing and safety controls
- Interior cleanout
- Removal of fixtures and finishes
- Structural demolition
- Material sorting
- Debris loading and hauling
- Foundation removal, if required
- Site grading
- Final inspection
DIY Demolition vs. Full House Demolition
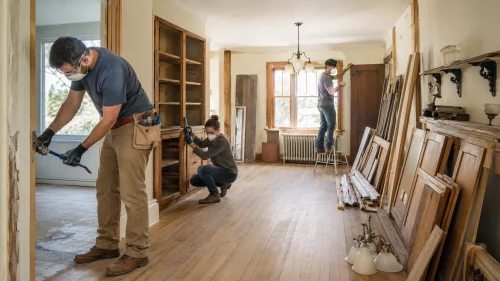 There is a major difference between doing some demolition yourself and tearing down an entire house yourself.
DIY work may be reasonable for:
- Removing cabinets
- Pulling carpet
- Removing interior doors
- Taking down trim
- Removing some non-load-bearing drywall
- Removing fixtures after utilities are safe
- Salvaging usable materials
- Cleaning out contents
- Separating debris
- Structural wall removal
- Roof collapse risk
- Foundation work
- Heavy equipment
- Load-bearing framing
- Hazardous materials
- Utility disconnection
- Public right-of-way issues
- Environmental requirements
- Large debris volumes
- Final site approval
Can You Legally Tear Down a House Yourself?
Sometimes, but not everywhere and not in every situation. Local building departments decide what permits, inspections, contractor licensing, utility disconnections, and debris requirements apply. Some jurisdictions allow an owner-builder to perform certain work on their own property. Others require licensed demolition contractors for full structure removal. Even when DIY demolition is allowed, permits and inspections are usually still required. Before starting, ask the local building department:- Is owner-performed demolition allowed?
- Is a demolition permit required?
- Are separate plumbing, electrical, or sewer permits required?
- Are utility disconnect letters required?
- Is asbestos or lead testing required?
- Is erosion or dust control required?
- Are there rules for sidewalks, streets, or alleys?
- Is a final inspection required?
- What documentation must be kept?
Permits Are Not Optional
A demolition permit protects more than the building department. It creates a record that utilities, safety, environmental concerns, and site conditions were addressed. A permit application may ask for:- Property address
- Owner information
- Contractor information
- Scope of demolition
- Site plan
- Utility disconnect confirmations
- Asbestos survey or documentation
- Lead-safe documentation, if applicable
- Sewer cap or septic abandonment details
- Debris disposal plan
- Erosion-control plan
- Neighbor notification
- Proof of insurance
- Fee payment
Hazardous Materials Can Change the Whole Project
Older homes can contain materials that are dangerous when disturbed. Demolition breaks, cuts, crushes, and aerosolizes building materials, which can spread dust through the property and into the surrounding area. Potential hazards include:- Asbestos insulation
- Asbestos floor tile or mastic
- Asbestos siding
- Asbestos roofing material
- Lead-based paint
- Mold contamination
- Mercury thermostats
- Fluorescent bulbs
- Old fuel or oil tanks
- Pesticides or chemicals
- Treated wood
- Silica dust from concrete, brick, and masonry
Utility Disconnections Must Come Before Demolition
Utilities need to be disconnected, capped, or made safe before demolition begins. Turning off a breaker or closing a valve is not the same as a formal service disconnection. Coordinate with the proper providers for:- Electric service
- Natural gas or propane
- Water
- Sewer
- Septic system
- Internet and cable
- Phone lines
- Well systems
- Fuel tanks
- Solar equipment
- HVAC equipment
Insurance and Liability Matter
Before attempting DIY home demolition, talk to your insurance provider. A standard homeowner policy may not cover demolition-related damage, injuries, equipment operation, or liability to neighbors. If friends or relatives help and someone gets hurt, the financial risk can be serious. Ask about:- Liability coverage
- Damage to neighboring property
- Injuries to helpers
- Damage from dust or debris
- Equipment use
- Fire risk
- Temporary fencing
- Vacant structure coverage
- Contractor insurance requirements
Questions to Answer Before You Touch a Tool
A serious demolition plan should answer practical questions before work begins. If you cannot answer these clearly, the project is not ready. Ask:- Who has legal authority to approve demolition?
- What permit is required?
- Has the mortgage lender or insurer been notified if needed?
- Are utilities disconnected and documented?
- Has the house been checked for asbestos and lead?
- What parts are being salvaged?
- What materials will be separated?
- Where will heavy debris go?
- How will dust and runoff be controlled?
- Who is allowed on the site?
- What happens if the structure becomes unstable?
- What inspections are required before and after work?
Walk the House From the Outside First
Before interior cleanout or demolition, inspect the outside of the home. The exterior often reveals risks that are easy to miss from inside. Look for:- Sagging rooflines
- Bowing walls
- Cracked foundations
- Chimneys pulling away
- Fire or storm damage
- Rotten porches
- Collapsing decks
- Loose siding
- Overhead wires
- Trees leaning over the structure
- Tight access for trucks or equipment
- Neighboring fences, garages, or driveways
Interior Cleanout Comes Before Demolition
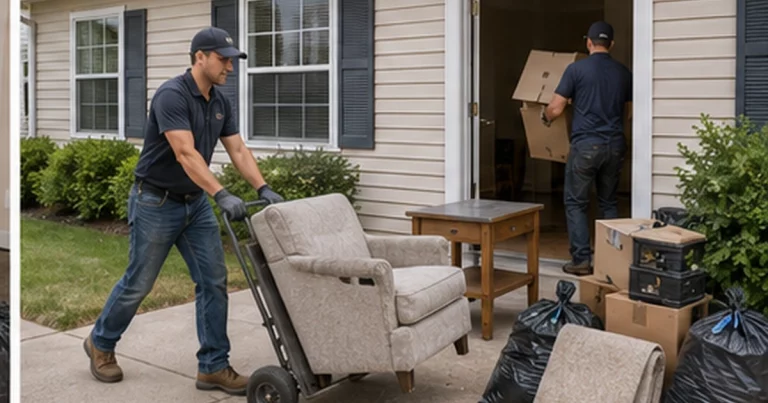
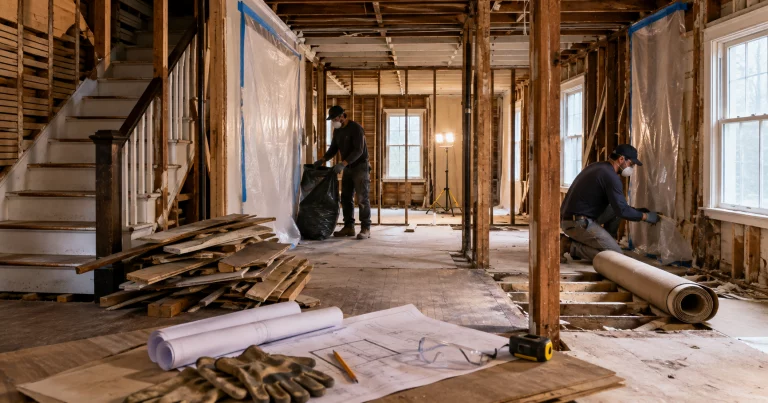
Many homeowners underestimate the cleanout phase. Furniture, clothing, food, trash, boxes, appliances, documents, chemicals, and personal belongings should be removed before demolition begins. This makes the structure easier to inspect and keeps household trash from being mixed with building debris. During cleanout, separate:- Personal items
- Documents
- Donation items
- Reusable furniture
- Appliances
- Electronics
- Household hazardous products
- General trash
- Building materials
Salvage Should Happen Before Destruction
If you plan to save materials, do it before the house is torn apart. Once walls, roofs, and floors collapse into a mixed pile, salvage becomes slower, dirtier, and more dangerous. Potential salvage items include:- Kitchen cabinets
- Bathroom vanities
- Doors
- Windows
- Trim
- Flooring
- Bricks
- Light fixtures
- Plumbing fixtures
- Appliances
- Handrails
- Shelving
- Mantels
- Hardware
- Dimensional lumber
Plan for Basements, Crawl Spaces, and Foundations
The lower part of the house can be the most complicated part of demolition. A slab, crawl space, basement, foundation wall, old chimney base, or porch footing may be heavier and more difficult than the visible house above it. Before demolition, decide whether the foundation will stay or be removed. If a new structure will be built, the builder or engineer may have requirements for foundation removal, soil preparation, compaction, and grading. Basements and crawl spaces may also contain hazards such as:- Old wiring
- Low clearances
- Mold
- Rodent waste
- Standing water
- Sump pits
- Fuel tanks
- Asbestos pipe wrap
- Rotten framing
- Unstable stairs
- Soil or foundation movement
Think About Septic, Wells, and Underground Tanks
Rural properties and older homes may have septic systems, wells, cisterns, oil tanks, or unknown underground structures. These are not minor details. They can affect permits, excavation, future construction, and environmental safety. Before demo, ask whether the property has:- Septic tank
- Drain field
- Dry well
- Water well
- Cistern
- Heating oil tank
- Propane tank
- Underground utilities
- Old foundation remnants
- Buried debris
Keep Records From Start to Finish
Demolition records can matter years later. They may be needed for a property sale, new construction permit, insurance question, tax records, lender issue, or environmental review. Save:- Permit applications
- Approved permits
- Inspection reports
- Utility disconnect confirmations
- Hazardous material test results
- Abatement records
- Contractor invoices
- Hauling receipts
- Disposal receipts
- Recycling or donation receipts
- Photos before, during, and after work
- Final sign-off
The Physical Demands Are Easy to Underestimate
Demolition is exhausting. It involves repetitive lifting, awkward loads, dust, noise, sharp edges, heavy debris, heat, unstable footing, and long cleanup days. DIY demolition often includes:- Carrying drywall
- Pulling nails
- Breaking tile
- Removing flooring
- Handling insulation
- Loading wood
- Moving concrete
- Cutting material
- Working overhead
- Climbing ladders
- Wearing protective gear for hours
Tools and Equipment Needed for Limited DIY Demolition
For small, selective demolition, common tools may include:- Pry bars
- Hammer
- Sledgehammer
- Utility knife
- Reciprocating saw
- Drill
- Screwdrivers
- Wrenches
- Heavy-duty bags
- Wheelbarrow
- Broom and shovel
- Shop vacuum with proper filtration
- Work lights
- Extension cords rated for the work
- Hand truck
- Magnetic sweeper for nails
- Hard hat
- Safety glasses or goggles
- Hearing protection
- Work gloves
- Respirator appropriate for the hazard
- Long sleeves
- Steel-toe boots
- Knee pads
- Dust barriers
Mechanical Demolition Is Not a DIY Learning Project
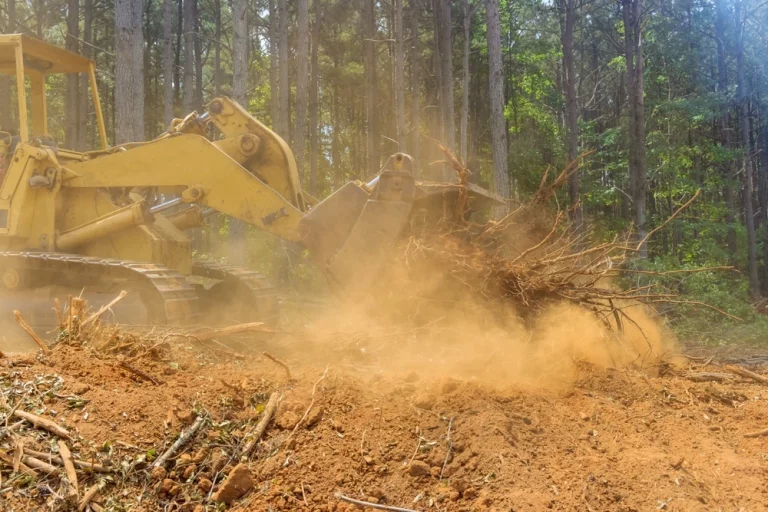
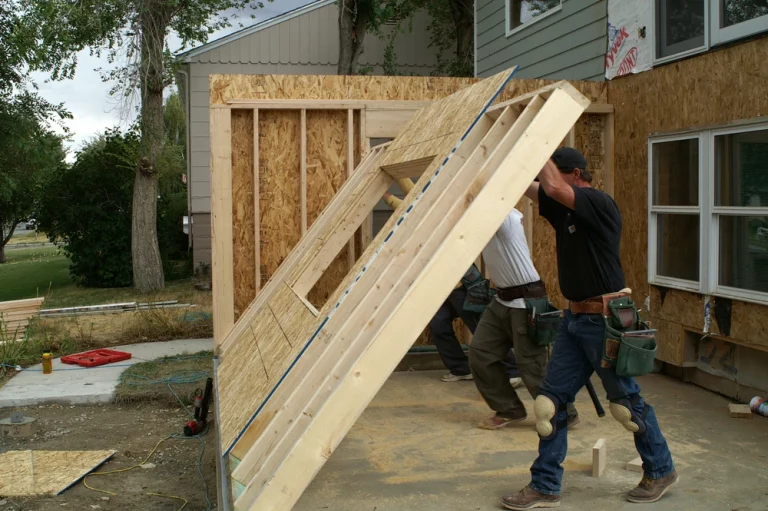
Mechanical demolition uses excavators, skid steers, loaders, and other heavy equipment. It is faster than hand demolition but far more dangerous when operated without training. Heavy equipment can damage foundations, utilities, sidewalks, neighboring structures, trees, underground tanks, and streets. It can also create uncontrolled collapse if the operator does not understand the structure. Mechanical demolition should account for:- Building stability
- Machine reach
- Fall zone
- Debris direction
- Dust control
- Neighboring buildings
- Utility lines
- Underground hazards
- Site access
- Safe loading areas
Deconstruction May Save Materials
Deconstruction is the careful dismantling of a structure to recover usable materials before disposal. It takes longer than mechanical demolition but can reduce waste, support reuse, and sometimes offset costs through donation or resale. EPA’s sustainable management of construction and demolition materials page describes deconstruction as carefully dismantling buildings to salvage components for reuse and recycling. Materials that may be salvageable include:- Cabinets
- Doors
- Windows
- Hardwood flooring
- Light fixtures
- Plumbing fixtures
- Bricks
- Mantels
- Lumber
- Metal railings
- Appliances
- Hardware
- Architectural details
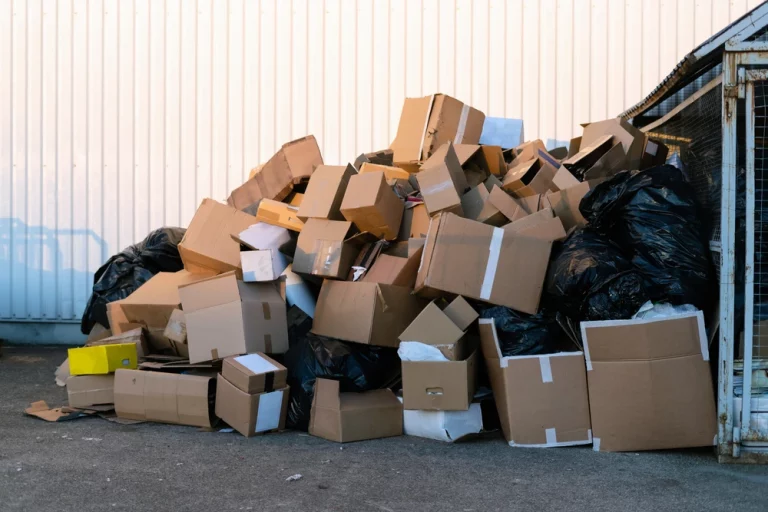
Sorting Demolition Debris Saves Trouble
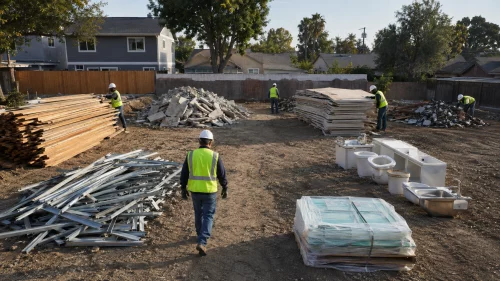 House demolition debris is not one uniform material. Sorting can reduce disposal problems and keep restricted items out of general debris.
Separate:
- Clean wood
- Painted wood
- Metal
- Concrete
- Brick
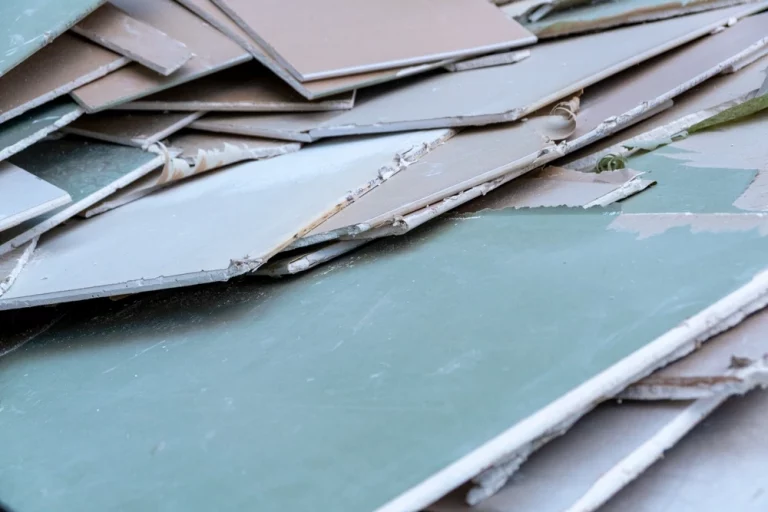
- Drywall and plaster
- Roofing material
- Glass
- Insulation
- Flooring
- Fixtures
- Appliances
- Electronics
- Household hazardous items
- Soil and yard debris
Debris Weight Is One of the Biggest DIY Surprises
A house produces far more debris than most homeowners expect. Wood, plaster, roofing, flooring, tile, brick, and concrete get heavy fast. A pile that looks manageable can exceed hauling limits quickly. Heavy materials that need special planning include:- Concrete foundation pieces
- Brick chimneys
- Masonry walls
- Tile
- Plaster
- Roofing shingles
- Soil
- Stone
- Asphalt
- Wet debris
What Usually Cannot Go with General Demolition Debris
Some items may need separate handling. Rules vary by location and service provider, but common restricted materials include:- Asbestos
- Lead-contaminated material
- Wet paint
- Solvents
- Fuels
- Oils
- Pesticides
- Batteries
- Propane tanks
- Tires
- Electronics
- Appliances with refrigerant
- Fluorescent bulbs
- Mercury thermostats
- Medical waste
- Liquids
- Contaminated soil
The Order of Work Matters
A safe demolition plan moves in a deliberate order. A typical sequence may look like this:- Confirm ownership and legal authority.
- Check local demolition rules.
- Apply for permits.
- Schedule inspections and surveys.
- Identify hazardous materials.
- Disconnect and document utilities.
- Remove personal property.
- Salvage reusable items safely.
- Set up fencing and site controls.
- Protect neighboring property.
- Remove non-structural interior materials.
- Complete structural demolition with qualified help.
- Separate debris.
- Remove foundation if required.
- Backfill, grade, and stabilize the site.
- Complete final inspections.
- Keep all records.
Protect Neighbors and the Community
A house demolition affects more than the property owner. Dust, noise, traffic, debris, vibration, and equipment can affect nearby homes and businesses. Good neighbor planning includes:- Sharing the work schedule
- Following permitted work hours
- Keeping debris contained
- Controlling dust
- Avoiding blocked driveways
- Protecting sidewalks
- Managing truck traffic
- Keeping children and pets away
- Posting required notices
- Responding quickly to concerns
Dust Control Is a Safety Issue
Demolition dust can contain ordinary dirt, wood dust, drywall dust, silica, lead, asbestos, mold, insulation fibers, and other irritants. Dust control matters for workers, neighbors, and anyone who enters the site later. Dust control may include:- Wetting approved materials when appropriate
- Using barriers
- Closing windows on nearby structures
- Covering loads
- Avoiding work during high wind
- Using proper respiratory protection
- Cleaning surfaces carefully
- Separating hazardous material before demolition
When DIY Demolition May Make Sense
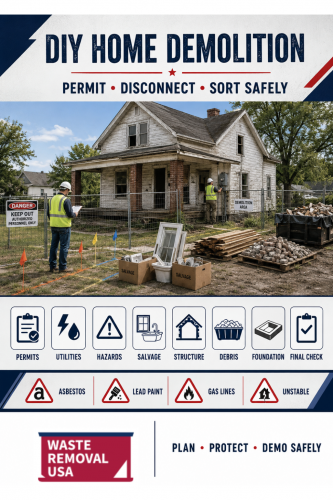 DIY demolition may make sense when the work is limited, non-structural, and properly planned.
Examples include:
- Removing old cabinets
- Taking out carpet
- Pulling trim
- Removing interior doors
- Removing non-load-bearing finishes
- Cleaning out an abandoned house
- Salvaging fixtures before professional demolition
- Removing small sheds, if allowed
- Sorting and staging materials
When to Hire Professionals
Professional help is strongly recommended when the project involves:- Full house demolition
- Structural walls
- Roof removal
- Foundation removal
- Fire-damaged structures
- Flood-damaged structures
- Asbestos
- Lead paint
- Mold contamination
- Heavy machinery
- Close neighboring buildings
- Utility conflicts
- Large trees or tight access
- Multi-story work
- Public sidewalks or streets
- Unstable framing
- Unknown building history
What Happens After the House Is Down?
Demolition does not end when the structure is gone. The site must be made safe and ready for its next use. Post-demolition work may include:- Removing remaining debris
- Pulling foundation material
- Removing footings
- Capping utilities
- Filling holes
- Grading the lot
- Stabilizing soil
- Managing erosion
- Removing temporary fencing
- Completing final inspections
- Saving documentation
Budget Items Homeowners Forget
DIY demolition looks cheaper when only labor is considered. The true cost includes more. Budget for:- Permits
- Inspections
- Hazardous material testing
- Professional abatement
- Utility disconnections
- Tool purchases
- Equipment rental
- Safety gear
- Temporary fencing
- Debris containers
- Hauling
- Disposal fees
- Weight overages
- Traffic or street permits
- Dust control
- Site grading
- Final cleanup
- Emergency repairs
- Insurance gaps