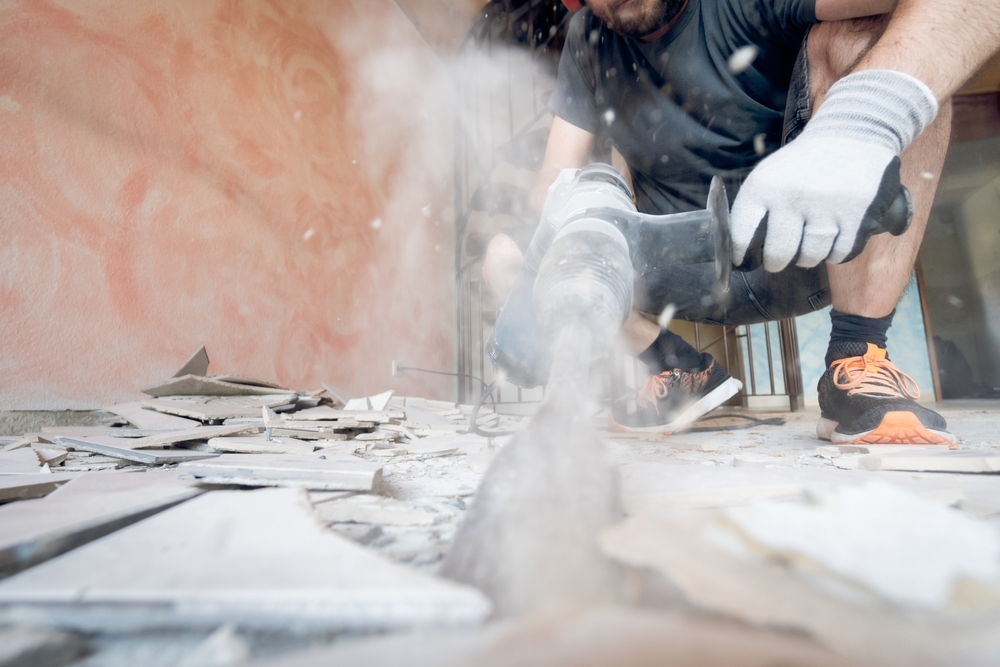
Removing old tile flooring is a task that can significantly update the look of any room, but it requires careful planning and execution. Before starting, gather the necessary tools and protective gear, and understand the steps involved in the process. Whether you’re aiming to replace outdated tiles or preparing the floor for a completely new surface, removing tiles is a dusty and labor-intensive job. It’s important to protect yourself with a respirator, work gloves, and protective eyewear, ensuring your safety throughout the removal procedure.
When you begin the tile removal process, you’ll need to work methodically to avoid damaging the subfloor underneath. Approach each section with patience, using the appropriate tools to lift the tiles and scrape away the adhesive. Once you’ve removed all the tiles, inspect the subfloor for damage and make any necessary repairs before installing new flooring. Remember, during removal, you’ll generate a substantial amount of debris. It’s practical to rent a construction dumpster from Waste Removal USA to handle the waste and keep your work area clean.
 Removing a tile floor requires careful planning, the right tools, and an understanding of the underlying materials. You’ll need to protect yourself from sharp debris and manage the old adhesive and mortar after the tiles have been lifted.
 Before you begin replacing tiles, it’s critical to examine your subfloor for any damage. Ensuring a solid and level base is key to the longevity of your new flooring.
Key Takeaways
- Protective gear is essential for safety during tile removal.
- Careful tile and adhesive removal protects the integrity of the subfloor.
- Renting a dumpster for debris disposal keeps the work area tidy.
Preparation
Before you begin the task of removing your tile floor, it’s important to be thoroughly prepared. This means having the right tools, ensuring safety, and clearing the workspace to create an unobstructed area for the job at hand.Gather Necessary Tools
To remove tile flooring efficiently, you’ll need specific tools. The basic list includes:- Hammer: For breaking up the tiles.
- Chisel: Aided by the hammer to lift edges and chip away at tiles.
- Heavy-duty scraper: For removing tile and adhesive residue.
- Reciprocating saw (optional): Can be useful in some cases to cut through underlayment or if you need to remove large sections of tile.
- Bucket and mop: For cleaning up debris.
Safety Precautions
Your safety is paramount. Make sure to equip yourself with:- Safety goggles: To protect your eyes from flying debris.
- Heavy-duty gloves: To keep your hands safe from sharp tile edges.
- Work boots: To safeguard your feet.
- Respirator or dust mask: To avoid inhaling dust and other particles.
- Ear protection: If using loud power tools.
Clearing the Work Area
Prepare your workspace by doing the following:- Remove furniture: Clear out the room to provide full access to the floor.
- Cover vents and doorways: This helps contain dust and debris.
- Inspect the floor: Look for a starting point where the tile may already be loose or damaged. If some of the ceramic is loose, this can simplify the process.
- Have a disposal plan: Know where and how you will dispose of the old tiles and debris. It’s important to handle waste responsibly.
Tile Removal Process
Removing a tile floor requires careful planning, the right tools, and an understanding of the underlying materials. You’ll need to protect yourself from sharp debris and manage the old adhesive and mortar after the tiles have been lifted.
Starting the Removal
Before you begin, ensure that you have all necessary safety gear, including safety glasses and gloves. Identify a starting point for tile removal, which is often a broken tile or a spot where fixtures have been removed. The article on This Old House provides useful tips on breaking through the first few tiles.Lifting Tiles
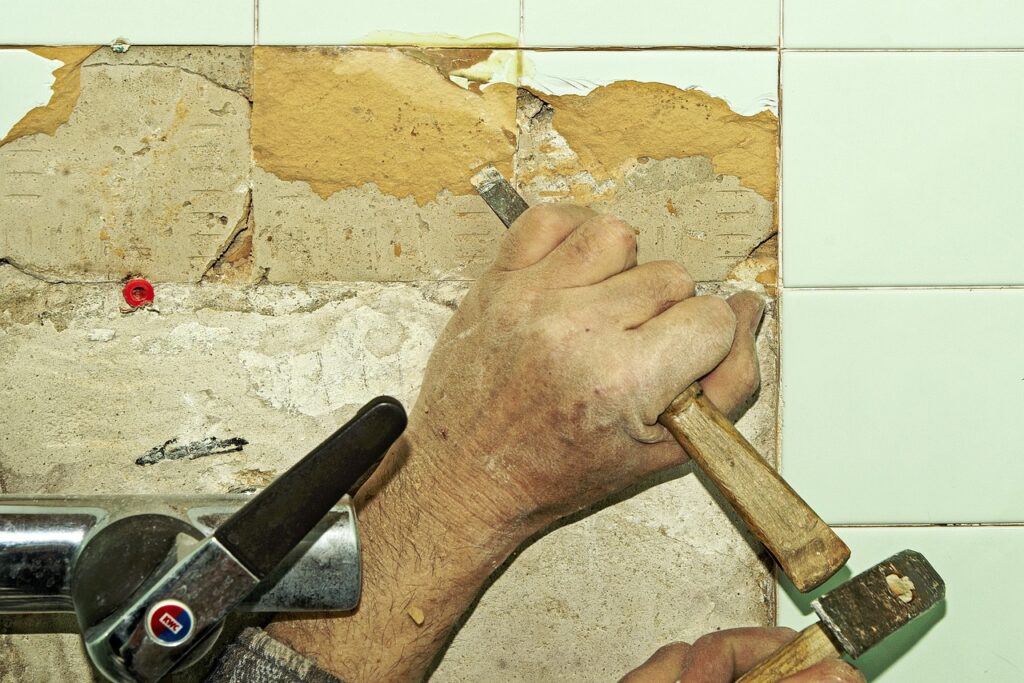
To lift the tiles, work the edge of a tool such as a cold chisel or a flat shovel underneath the tiles. Hammer the tool gently but firmly to begin prying the tiles up. If a tile is stubborn, you may need to strike it in the center with a hammer to break it into manageable pieces. Guidance on prying up tiles can be found in the article from House Digest.Handling Adhesive and Mortar
Once the tiles have been removed, you’ll be left with adhesive or mortar on the subfloor. Using a heavy-duty scraper, chisel away at the hardened material. Be patient as this can be time-consuming. If you’re dealing with a large amount of adhesive, consider the advice offered by HGTV to maximize efficiency.Subfloor Inspection
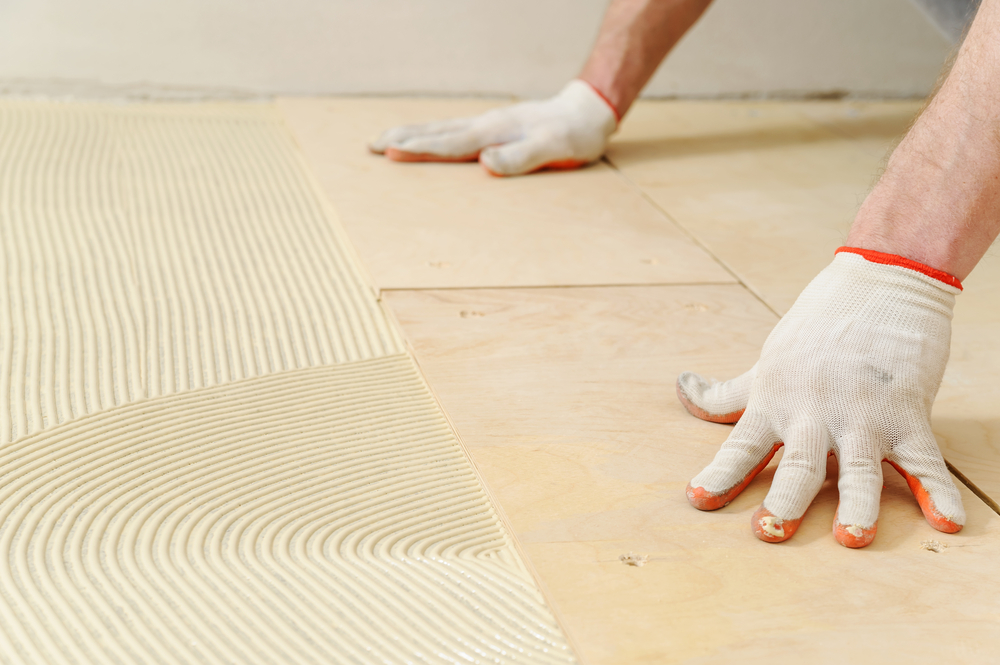
Before you begin replacing tiles, it’s critical to examine your subfloor for any damage. Ensuring a solid and level base is key to the longevity of your new flooring.
Assessing Subfloor Damage
When you’ve removed the old tile floor, take a close look at the subfloor to identify any signs of damage. Check for areas that are soft to touch, discolored, or emit a musty odor, which can indicate moisture problems or mold. Also, listen for squeaking when applying pressure to the subfloor, as this might suggest loose nails or compromised structural integrity. If you find areas with significant damage, such as through the Bob Vila article on subfloor replacement, consult a professional before proceeding.Repair and Preparation
If your inspection reveals minor issues, make repairs to ensure a solid foundation for the new tiles. Start by resecuring any loose areas with screws appropriate for your type of subfloor. For plywood, use screws intended for wood, while concrete subfloors may require concrete filler for cracks or holes. When faced with significant subfloor damage, replacement of the affected area might be necessary to avoid future tile breakage. Be sure to follow proper installation techniques or consider professional help for optimal results, as shown in the HGTV guide on tile floor removal. After repairs, ensure the subfloor is clean, dry, and level for the best outcome with the installation of new tiles.Disposal of Tile Debris
When you remove your old tile flooring, you’ll accumulate a substantial amount of debris. Proper disposal is essential to prevent environmental harm and to comply with local regulations.Responsible Disposal Methods
- Rent a Roll-off Dumpster: For large projects, consider renting a local roll-off dumpster to handle the volume of tile debris. This option is convenient as the rental company will take care of the disposal for you once you fill it.
- Heavy Duty Trash Bags: For smaller projects, use heavy duty trash bags to collect tile debris. You should double-bag to prevent punctures and spills.
- Recycling Centers: Check with local recycling centers that accept construction materials. Some facilities may even repurpose old tile, turning your waste into a resource.
- Hazardous Waste Regulations: If your tile contains asbestos or other hazardous materials, follow your local hazardous waste disposal guidelines.
Final Cleanup
After removing your tile floor, it’s crucial to properly clean the subfloor and ensure the area is safe and ready for future flooring installation.Surface Cleaning
Begin by sweeping up all debris, dust, and tile fragments from the subfloor. It’s important to use a heavy-duty broom or a shop vacuum for optimal results. Gather and dispose of all tile pieces and dust systematically, working from one corner to the other, to avoid leaving any hazardous material behind.Final Inspection
Inspect the subfloor meticulously for any remaining adhesive or sharp edges. If mastic or mortar residue is present, a floor scraper can be used to remove it. This ensures a smooth surface, which is essential for any new flooring materials. Also, be alert for any nails or screws that may be protruding, as these can damage new flooring or cause injuries if not removed.Frequently Asked Questions
When it comes to removing floor tiles, the right approach can save you time and protect your subfloor. These FAQs cater to commonly encountered scenarios and your specific needs during the tile removal process.What is the most efficient method for removing floor tiles from a concrete base?
For a concrete base, the most efficient method involves using a chisel and hammer or a power floor scraper to lift the tiles. Preparing the area and using the appropriate tools can make the process smoother and faster.How can you effectively remove tile flooring from a wood subfloor without causing damage?
To avoid damaging a wood subfloor, it’s essential to work gently and meticulously. Use a heat gun to soften the adhesive and a floor scraper or putty knife for prying up the tiles.What techniques are best for removing bathroom floor tiles?
In bathrooms, where space is limited, start by removing the toilet and any fixtures. Then, using a hammer and chisel or an oscillating tool, work on small sections at a time to remove the tiles effectively.What is the safest way to remove floor tile adhesive after tile removal?
Once tiles are removed, dissolving the remaining adhesive with a solvent is safe for both concrete and wooden subfloors. Scraping the softened adhesive off then follows. Ensure proper ventilation when using solvents.How can you remove ceramic floor tiles without breaking them during the process?
To remove ceramic tiles without breaking them, start at a broken tile or use a grout remover on a section of grout. Carefully lift the tiles after loosening them with a chisel placed at a low angle.What are the estimated costs associated with professional removal of tile flooring?
Professional removal of tile flooring can vary widely, typically ranging from $3 to $6 per square foot. Factors affecting cost include the tile type, removal difficulty, and disposal requirements.RECENT BLOGS
 A Homeowner’s Guide to Flash Flood Preparation, Cleanup, and Long-Term Protection
Date: May 27 ,2025
 Everything You Need to Know About Garbage Bin Rental: Sizes, Costs, and Practical Tips for Every Project
Date: May 14 ,2025

 Safe Disposal Methods for Refrigerators: Recycling, Donation, and Removal Options
Date: April 29 ,2025

Our Reviews


LATEST BLOGS
