October 23, 2023 - Benjamin Ehinger
Dumpster Rental for a Renovation: How to Properly Plan and Execute a Clean-up During a Renovation Project
CALL NOW 844-762-8449Dumpster Rental for a Renovation: How to Properly Plan and Execute a Clean-up During a Renovation Project
Are you knee-deep in renovation debris and dust? Don’t let the mess overwhelm you! We’ve got the ultimate guide to managing and cleaning up after your renovation project. From renting a dumpster to tackling the nitty-gritty details, we’ll show you how to plan and execute a successful clean-up. Picture this: you’ve just completed a home renovation, and the excitement of your newly revamped space is dampened by the sight of debris and the cloud of dust lingering in the air. It’s a common scenario that can leave you feeling overwhelmed and uncertain about the next steps. But fear not! Our guide is here to help. In this comprehensive article, we’ll share expert tips, strategies, and essential steps to ensure a proper clean-up. We understand the pain points of managing renovation debris and dust, and we’re here to arm you with the knowledge and resources to tackle them head-on. When you need a renovation dumpster rental, Waste Removal USA has you covered! So, if you’re ready to conquer the chaos and regain peace in your newly renovated space, join us as we dive into the world of managing renovation debris and dust. Get ready for a cleaner, fresher future!How to Clean Up After a Home Renovation
Cleaning up after a home renovation is a crucial step to restore cleanliness and order to your living space. While it may seem overwhelming, following a systematic approach can simplify the process. Here are essential steps to ensure a successful clean-up after your renovation project:Remove Debris
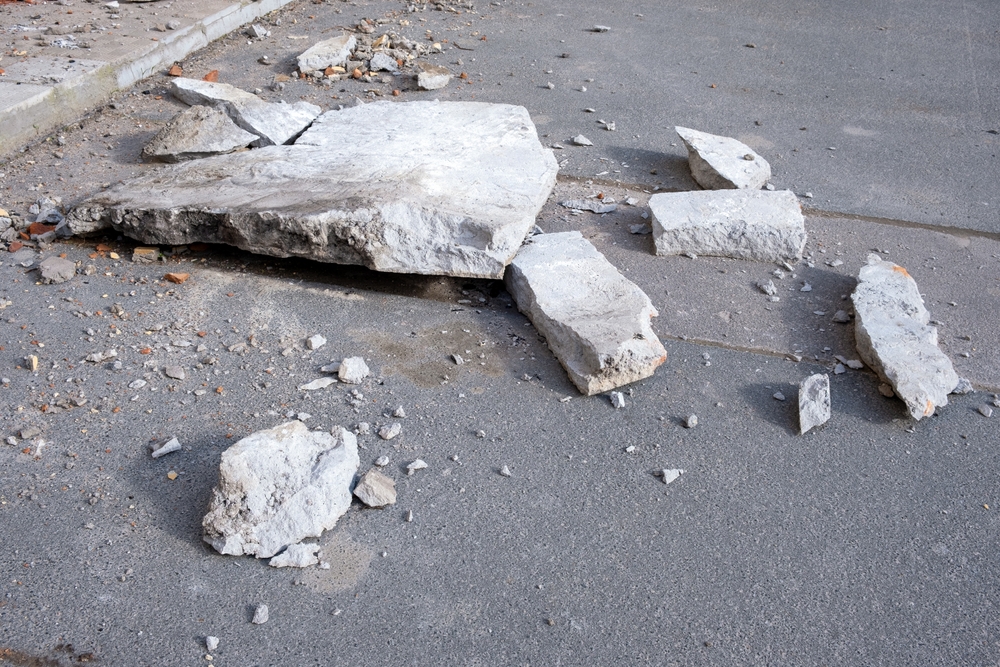
Start by clearing out any construction debris, such as leftover materials, broken tiles, or demolished fixtures. Use heavy-duty trash bags to collect and dispose of the waste properly. Consider a residential dumpster rental for convenient disposal.Wipe Down Hard Surfaces
Thoroughly clean hard surfaces, including countertops, cabinets, and floors. Use an appropriate cleaner for each surface to ensure they are free from dust, grime, and any residue. Remember to pay attention to corners and hard-to-reach areas.Vacuum and Mop
After removing debris, vacuum the entire area to eliminate any fine dust particles. Use a vacuum machine with high-efficiency particulate air (HEPA) filters to capture even the smallest particles. Follow up with mopping to restore cleanliness to the floors.Put Everything Back in Place
Return furniture, appliances, and decorative items to their original positions. Take this opportunity to reassess your space and consider any reorganizing or decluttering that may be necessary. By following these steps, you can effectively clean up after a renovation project, ensuring a fresh and orderly living environment. Remember, a clean and organized space contributes to the overall success and enjoyment of your newly renovated home.Choosing the Right Dumpster for Your Renovation Project
When it comes to managing renovation debris and ensuring a successful clean-up process, renting a dumpster plays a vital role. Here are some key points to consider while exploring dumpster rental options:Comparison of Different Dumpster Options
Size Selection: To choose the right dumpster size for your project, evaluate the amount of debris you expect to generate. Consider factors like the scope of the renovation, the types of materials involved, and the estimated duration of the project. Opting for a dumpster that’s too small can lead to multiple trips and increased costs, while selecting one that’s too large may be unnecessary and costlier. Common renovation dumpster sizes include 15-yard dumpsters, 20-yard dumpsters, and 30-yard dumpsters. Cost Optimization: Research and compare prices, taking into account various rental services in your area. Look for any additional charges like delivery, pick-up, or weight limits. Some companies may offer attractive discounts for extended rental periods or specific project types. Accepted Materials: Ensure that the dumpsters you’re considering can accommodate the types of materials you’ll be disposing of during your renovation. Commonly prohibited items include hazardous materials, flammables, and certain appliances. Checking ahead of time can save you from complications and potential penalties. If you need more information on this topic you can read our article titled, What can I put in my dumpster rental? Investing time in this research phase will help you make an informed decision and select the most suitable dumpster service for your specific needs. By choosing the right size, optimizing costs, and ensuring compatibility with the materials you’ll be disposing of, you can lay the foundation for a successful clean-up process during your renovation project.Tips for Removing Debris During Your Renovation Project
During a remodel, managing debris is essential to keep the worksite safe and organized. Proper debris removal not only contributes to a more efficient workflow but also ensures a clean and clutter-free environment. Here are some recommended guidelines and strategies to help you effectively manage debris during your remodeling project.1. Prepare before the renovation
Before starting the remodeling process, set up a designated area to collect and store debris. This can be a secured bin or area designated by your contractor. Ensure that it is easily accessible and won’t hinder the progress of the project.2. Implement debris management strategies
During the remodeling process, implement debris management strategies to minimize clutter and maintain a safe working environment. Some effective strategies include:- Regularly clean and sweep the work area to prevent debris buildup.
- Use tarps or plastic sheeting to cover and protect surfaces from dust and debris.
- Encourage workers to dispose of waste properly, using designated collection bins or bags.
- Sort debris into different categories, such as recyclables, hazardous materials, and general waste, for proper disposal.
3. Dispose of debris responsibly
After completing the remodeling project, it’s crucial to dispose of debris responsibly. Consider the following steps:- Identify local regulations and guidelines for debris disposal.
- Separate recyclable materials from general waste to reduce environmental impact.
- Rent a dumpster that complies with local regulations.
- If possible, repurpose or donate any salvageable materials to minimize waste.
4. Follow recommended guidelines
Adhering to industry-recommended guidelines ensures a smooth debris removal process. These guidelines may include:- Use personal protective equipment (PPE) to protect yourself and others during debris removal.
- Follow proper techniques for lifting and carrying heavy debris to avoid injuries.
- Consult with professionals or contractors for specific guidelines related to your remodeling project.
RECENT BLOGS
Our Reviews
Glenda Lanier Prowell
1721758635
I have ordered an 11 yard dumpster to be delivered to my house.Lonier was extremely helpful and answered all my questions. The rate was very reasonable.
Cedric Smikle
1721660395
Amber was extremely professional and courteous. She answered all of my questions and even some that I didn’t know I needed to ask.
Cait Kaider
1721243051
I highly recommend Waste Removal USA for their responsiveness and how the staff work hard to provide exceptional customer service. They have done well by us and our clients. Thank you!
Easom Family
1721223306
Louiner Pierre-Louis Is awesome! Did a great job. Will definitely be using this same company for all my dumpster needs because of his awesome customer service! Thank you!!!
tabitha Vazquez
1720539988
Wonderful and fast customer service!
LATEST BLOGS


