February 29, 2024 - Benjamin Ehinger
DIY Bathroom Remodel: Essential Steps for a Successful Renovation
CALL NOW 844-762-8449
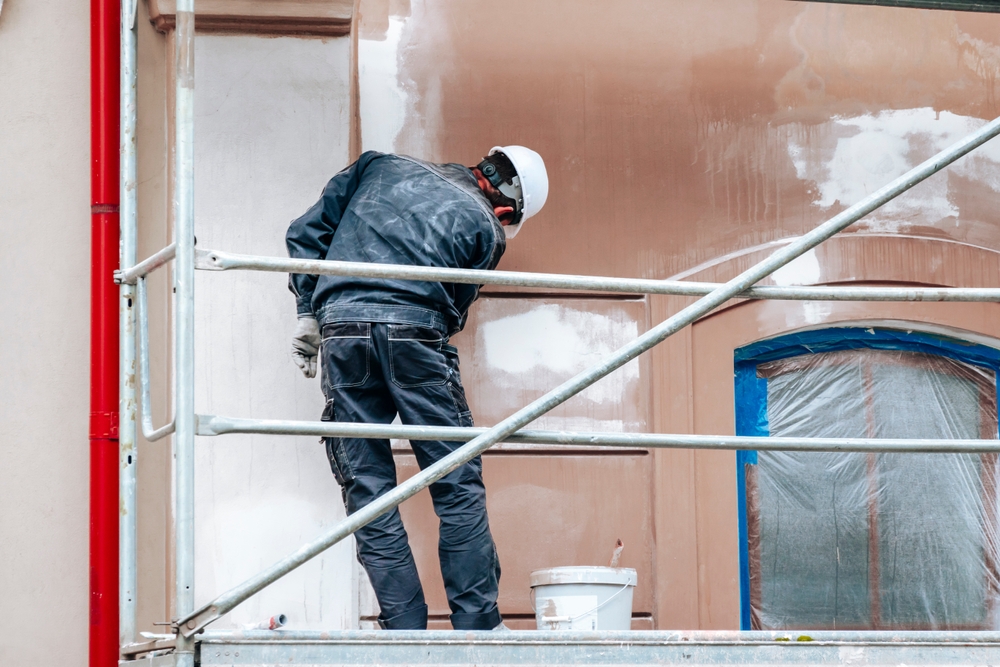
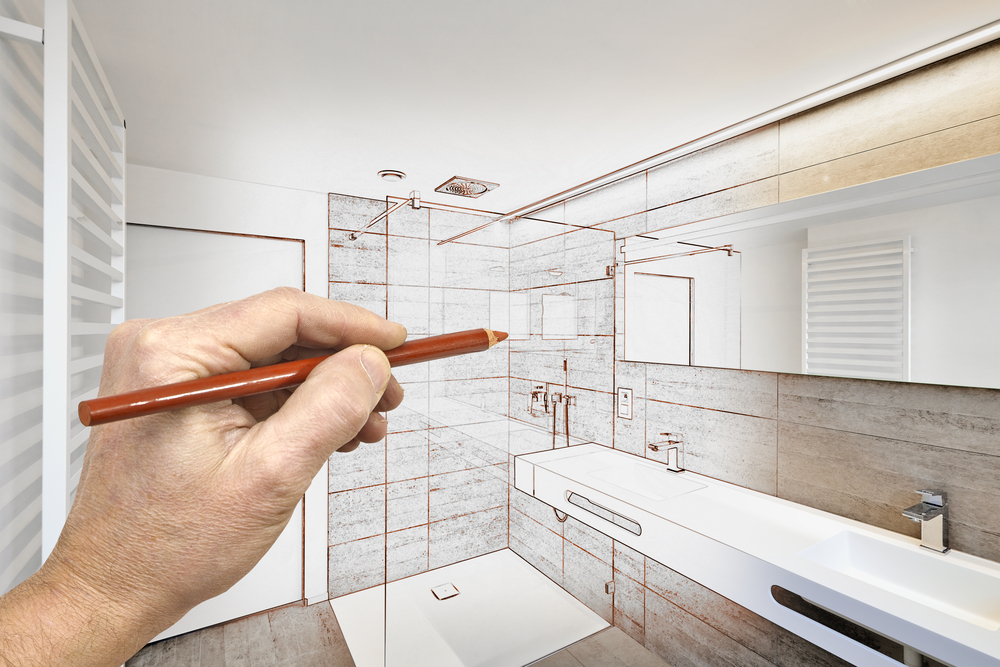
Embarking on a DIY bathroom remodel can be a rewarding venture, giving you the chance to flex your creative muscles while increasing the value and comfort of your home. Before you begin, it’s essential to properly plan your renovation project, mapping out each step from demolition to the finishing touches. Setting a realistic budget and timeline will help keep the project on track, and considering a small home dumpster rental will ensure you have a convenient way to dispose of debris.
During the process, you’ll likely encounter various stages, including demolition, where you’ll remove old fixtures and tiles, and the installation phase, where new materials and fixtures will be put in place. Attention to detail during the finishing touches will ensure a polished and professional result. Remember, a well-executed bathroom remodel not only enhances your living space but also can significantly increase the resale value of your property.
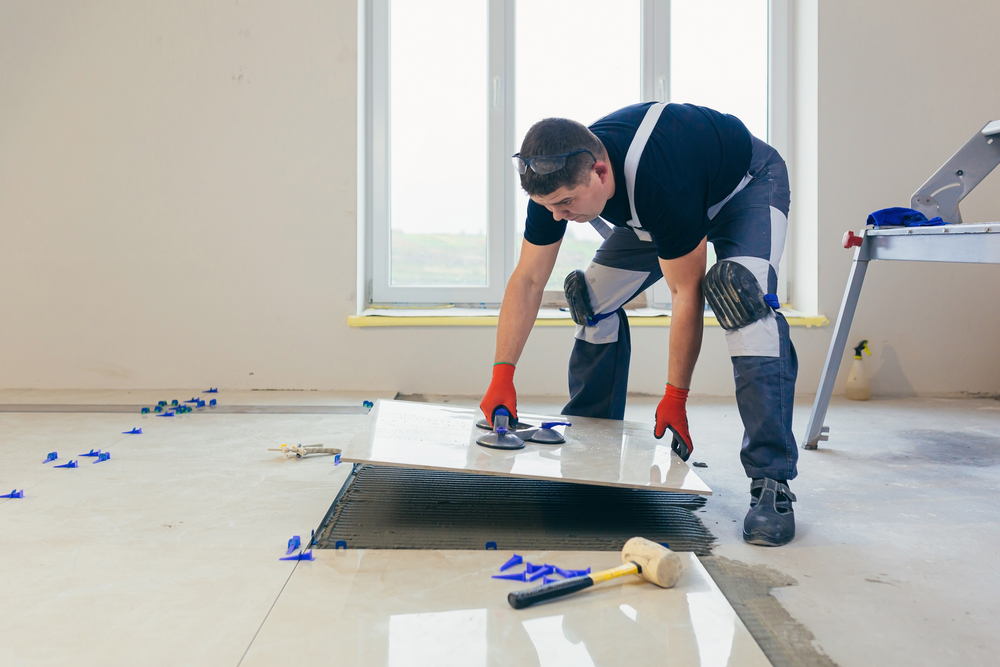
 Once the planning is in place and all the preparatory work has been completed, the installation phase begins, transforming your bathroom concept into reality by systematically introducing the functional elements. This phase requires precision and attention to detail.
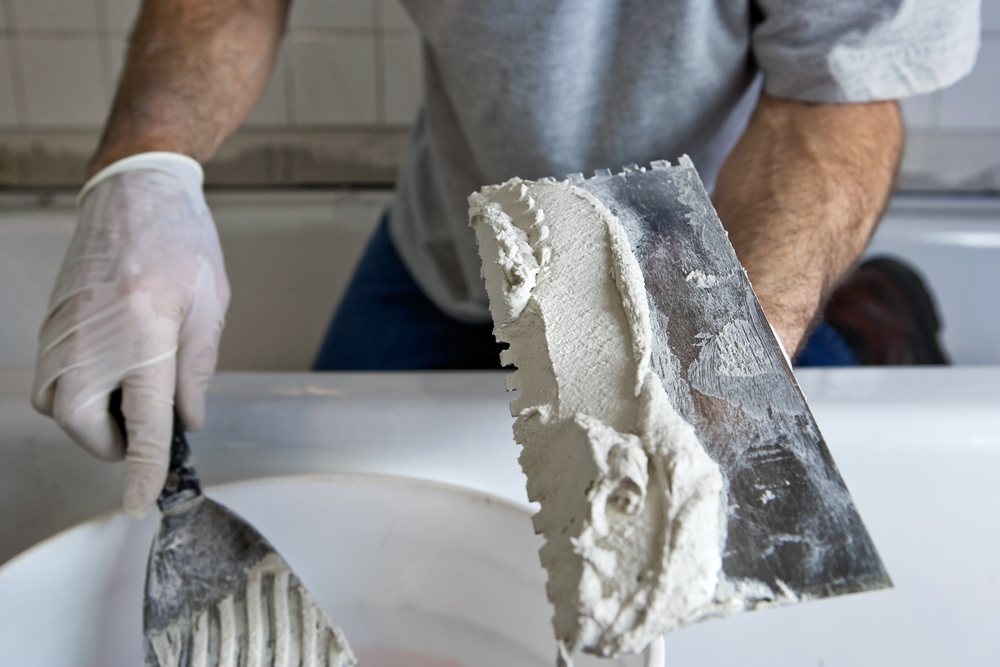 During your DIY bathroom remodel, efficient cleanup and waste management are crucial to maintaining a safe work environment and ensuring legal disposal of materials.
Materials Sorting:
Separate your waste into recyclables, hazardous materials, and landfill items. Recyclables include metals and certain plastics, while hazardous materials like old paint cans and solvents require special disposal methods.
Key Takeaways
- Adequate planning and budgeting are vital for a successful DIY bathroom remodel.
- Consider renting a small home dumpster for efficient debris management during the project.
- A detailed approach to the installation and finishing stages is crucial for a professional-quality result.
Planning Your DIY Bathroom Remodel
Embarking on a DIY bathroom remodel requires careful planning and attention to detail. Ensuring you have a solid plan in place for your budget, design, and timeline is critical for a successful renovation.Setting a Budget
Begin by establishing a concrete budget for your remodel. Account for all costs including materials, tools, and any unforeseen expenses. Here’s an example to guide you:- Materials: Tiles, fixtures, paint, etc.
- Labor: Plumbing work, electricity, etc. (if not doing it yourself)
- Miscellaneous: Permits, waste disposal, etc.
- Contingency: 10-15% of the total budget for unexpected costs.
Design and Layout
The design and layout phase is when you decide on the aesthetic and practical aspects of your bathroom. Keep in mind the following:- Functionality: The layout should cater to your daily routines.
- Style: Choose a cohesive style that aligns with your home.
- Space Optimization: Utilize space-saving solutions for smaller bathrooms.
Timeframe and Deadlines
Setting a realistic timeframe and deadlines is crucial. This will ensure steady progress and help manage your own expectations. When planning, consider:- Project Phases: Demolition, construction, installation, and finishing touches.
- Personal Schedule: Allocate time based on your availability and flexibility.
- Milestones: Establish key milestones to track progress throughout the project.
Demolition and Preparation
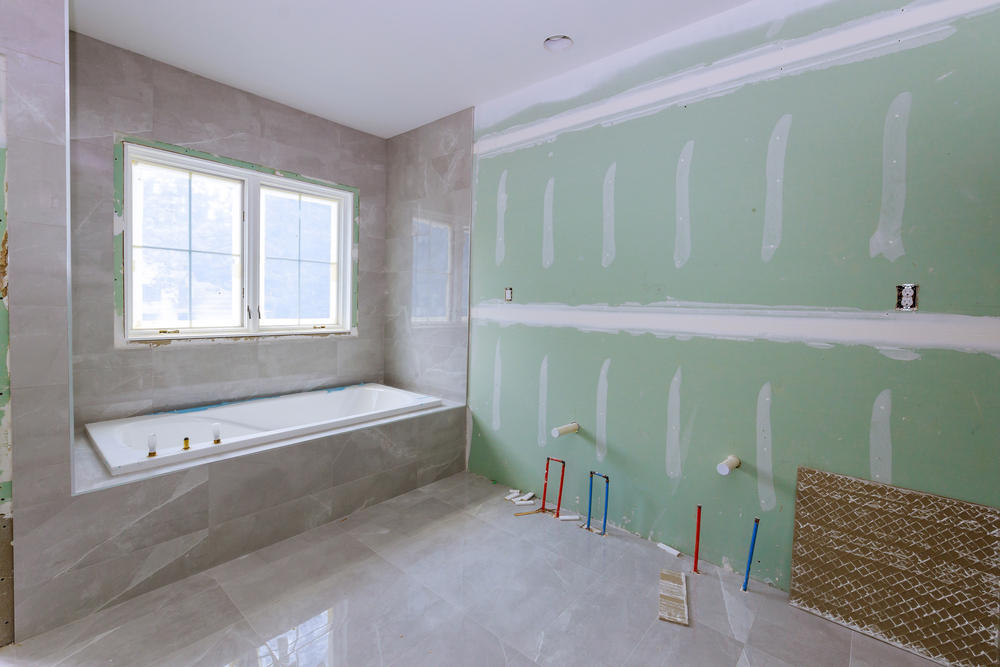
Before you begin tearing out your old bathroom, mastering the process of safe demolition and preparation is crucial. This includes understanding safety measures, removing fixtures methodically, and handling plumbing and electrical work with caution.Safety Protocols
Your safety is the top priority. Ensure personal protective equipment (PPE) such as gloves, goggles, and a dust mask are worn at all times. The area should be well-ventilated, and pathways clear of debris. Consider renting a residential dumpster to manage the waste efficiently.Removing Fixtures
Start by meticulously disassembling and removing all fixtures including the sink, toilet, and bathtub. Use a screwdriver or a wrench to loosen and detach the fixtures. Be measured and careful to prevent damage to the plumbing behind the walls.Handling Plumbing and Electrical Work
Before working on plumbing or electrical lines, shut off the water supply and power to avoid accidents. If you feel unsure, consult or hire professionals. Disconnect and cap the plumbing lines with precision, and label electrical wires for an organized reinstallation process later on.Installation Phase
 Once the planning is in place and all the preparatory work has been completed, the installation phase begins, transforming your bathroom concept into reality by systematically introducing the functional elements. This phase requires precision and attention to detail.
Plumbing Installation
Proper plumbing installation is crucial for a smooth-running bathroom. This step includes running new water supply lines and installing drainpipes for fixtures. Your bathtub and shower require careful configuration to prevent leakage, while the sink and toilet need connections to both water lines and waste lines. Always ensure shut-off valves are installed for easy maintenance.Electrical Work
In the electrical work phase, you must adhere to local building codes for safety. Re-route or install new wiring for lights, outlets, and switches according to the bathroom layout. GFCI outlets are essential around moisture-prone areas. If this step is beyond your expertise, hiring a licensed electrician is recommended.Tiling and Flooring
Tiling demands a level foundation and precise work for a lasting finish. Starting with a waterproof membrane is crucial, especially in wet areas. Select slip-resistant tiles for safety and measure carefully to minimize wastage and ensure a clean look. Grouting should be applied with a firm hand for a polished appearance. When it comes to flooring, confirm that your chosen material can withstand a high-moisture environment.Fixture Installation
Once the groundwork is laid, install the bathroom fixtures. This includes sinks, toilets, bathtubs, or shower enclosures. Secure fixtures properly and verify that they function correctly without leaks. Pay attention to the manufacturer’s instructions during installation, especially for any sealant application around the fixtures to prevent water damage.Finishing Touches
After the main fixtures of your bathroom remodel are in place, the finishing touches add personality and flair to your space. These details are vital in creating a cohesive look and ensuring that your bathroom is not only functional but also aesthetically pleasing.Painting and Decoration
When you’re painting, choose a durable, mold-resistant paint specifically designed for bathrooms. Apply two coats for the best coverage, allowing ample drying time between each. Consider a semi-gloss or high-gloss finish for easier cleaning. For decoration, select items that complement the color scheme and style of your bathroom, such as framed artwork or a decorative vase. Keep decorations minimal to avoid clutter, which can detract from the new features of your remodel.Installing Accessories
Properly installing accessories is crucial for both look and function. Begin by positioning your Delta Trinsic Fixtures or other chosen hardware at convenient heights. Align towel bars, hooks, and toilet paper holders with the design elements of your bathroom. Ensure screws are securely fastened into wall studs or use suitable anchors to prevent accessories from loosening over time. For a unified look, choose accessories that match in color and style.Cleanup and Waste Management
 During your DIY bathroom remodel, efficient cleanup and waste management are crucial to maintaining a safe work environment and ensuring legal disposal of materials.
Materials Sorting:
Separate your waste into recyclables, hazardous materials, and landfill items. Recyclables include metals and certain plastics, while hazardous materials like old paint cans and solvents require special disposal methods.
- Recyclables:
- Metals
- Plastics (check local recycling guidelines)
- Hazardous Materials:
- Paint
- Solvents
- Batteries
- Landfill Items:
- Broken tiles
- Old fixtures
- Tools: Secure and store your tools properly.
- Debris: Sweep up and dispose of construction debris daily.
- Containment: Seal off the work area with plastic sheeting.
- Filtration: Invest in an air filtration system.
- Dumpster Rental:
- Size according to project scale.
- Place in an accessible location.
Frequently Asked Questions
Before launching into a DIY bathroom remodel, it’s crucial to arm yourself with a clear plan, budgetary considerations, and an understanding of what projects to start with. Here, find succinct answers to common queries to address your bathroom renovation needs.What are the essential steps to take when starting a DIY bathroom remodel?
Begin by assessing your bathroom’s current layout, plumbing, and electrical wiring. Develop a clear plan that includes your design preferences, functional needs, and timeline.How can I reduce the cost of bathroom remodeling?
Save money by doing what you can on your own, like demolition or painting, and shop for bargains on fixtures and materials. Opt for less expensive alternatives that look similar to high-end materials.What are some affordable bathroom remodeling ideas?
Incorporate small upgrades like new fixtures, a fresh coat of paint, or refinishing existing items. Consider updating hardware for a cost-effective yet noticeable change.How can I estimate the cost of a DIY bathroom remodel?
Document all materials, fixtures, and any tools you may need to purchase or rent. Remember to factor in unexpected expenses for a more accurate budget.What are common pitfalls to avoid during a bathroom renovation?
Avoid common mistakes such as underestimating the time required, overlooking ventilation, or ignoring the bathroom’s waterproofing needs. Make sure to conform to local building codes.Which bathroom remodeling projects should a beginner DIYer tackle first?
Start with simpler tasks such as painting, installing new hardware or accessories, and replacing small fixtures. Gain confidence with these before moving on to more complex projects.What size roll off dumpster is best for a DIY bathroom remodel project?
The size will depend on the extent of your project, but typically a 10-yard dumpster is sufficient for a bathroom remodel. If you are doing a complete tear-out, consider a larger size.RECENT BLOGS
Our Reviews
Glenda Lanier Prowell
1721758635
I have ordered an 11 yard dumpster to be delivered to my house.Lonier was extremely helpful and answered all my questions. The rate was very reasonable.
Cedric Smikle
1721660395
Amber was extremely professional and courteous. She answered all of my questions and even some that I didn’t know I needed to ask.
Cait Kaider
1721243051
I highly recommend Waste Removal USA for their responsiveness and how the staff work hard to provide exceptional customer service. They have done well by us and our clients. Thank you!
Easom Family
1721223306
Louiner Pierre-Louis Is awesome! Did a great job. Will definitely be using this same company for all my dumpster needs because of his awesome customer service! Thank you!!!
tabitha Vazquez
1720539988
Wonderful and fast customer service!
LATEST BLOGS
