June 20, 2024 - Benjamin Ehinger
How to Handle Debris from Window Replacement Projects: Efficient Cleanup Strategies
CALL NOW 844-762-8449
When undertaking a window replacement project, managing the resulting debris is a critical component of the process. It ensures that your property remains tidy and safe, and it contributes to environmental responsibility by proper waste segregation and disposal. As a homeowner looking to replace old windows, it’s important to be aware of the various types of debris that might be generated, from broken glass and old window frames to packaging materials for new windows.
Controlling the dust and waste during the replacement is just as important as choosing the right windows for your home. Adequate preparation can help contain the potential mess, and planning for the management of debris can minimize disruptions to your daily life. With a roll off dumpster rental from Waste Removal USA, keeping debris under control is easier. Recognizing the different materials involved, from glass to metals and plastics, and knowing what can be recycled or repurposed, is key to effective debris management.
 When it comes to installing new windows, the core steps involve securing the window firmly in place and applying the finishing touches that ensure both functionality and aesthetic appeal. The installation process requires careful handling of tools and materials like caulk and shims, and knowledge of procedures tailored to the window type, such as high-performance or curved windows.
 After your windows have been replaced, it’s crucial to ensure the integrity of the installation and address any issues that may compromise your home’s comfort or efficiency.
Key Takeaways
- Managing debris is a crucial step in window replacement projects.
- Preparation is essential to minimize mess and ensure efficient cleanup.
- Identifying recyclable materials helps reduce waste and environmental impact.
Preparing for Window Replacement
Effectively preparing for window replacement involves precise measurements and a clear understanding of window types. This ensures compatibility with your space and enhances the performance and aesthetics of your home.Measuring and Ordering
Before ordering your new windows, it’s crucial to obtain accurate measurements of the existing openings. Using a tape measure, carefully determine the dimensions of the window’s height, width, and depth from different points to account for any variances due to rot or damage.- Width: Measure the distance horizontally between the jamb sides at the top, middle, and bottom of the window.
- Height: Measure vertically from the head jamb to the sill at the left, center, and right.
- Depth: Exclude any removable sashes and measure the depth of the frame from the outside to the inside stop where the window sash rests against.
Window Removal Process
Removing old windows can be a messy task, but with proper preparation and techniques, you can effectively manage the cleanup. Ensure to protect your space and utilize the right tools for a smooth removal process.Safeguarding the Area
Before beginning the removal of old windows, it’s crucial to cover floors and protect furniture to prevent damage and contain debris. Lay down drop cloths or plastic sheeting over flooring and any important items in the vicinity, including shrubs and other landscaping elements outside that could be affected by falling debris. If you have pets or children, plan ahead to keep them away from the work area for their safety and to prevent disruption. Clear the space around the window of any window treatments and wall hangings to create ample storage space for tools and the removed window.Techniques for Removal
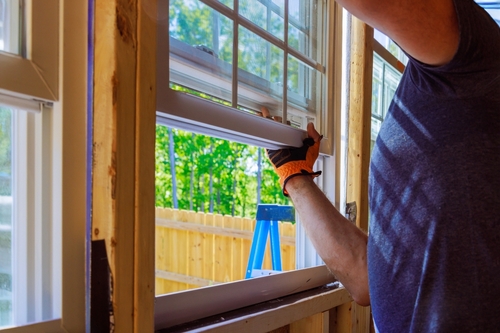
To remove an old window, first, score the paint around the stop moldings using a utility knife. Gently pry away the moldings with a screwdriver or a similar tool. Always start from the corner and work your way around carefully to avoid breaking the moldings. This might allow them to be reused after the new installation. After the moldings are removed, check for and extract any fasteners or nails holding the old window in place. Support the window while removing these fasteners to prevent it from falling. Proceed with caution to ensure a safe and efficient removal.Installing New Windows
When it comes to installing new windows, the core steps involve securing the window firmly in place and applying the finishing touches that ensure both functionality and aesthetic appeal. The installation process requires careful handling of tools and materials like caulk and shims, and knowledge of procedures tailored to the window type, such as high-performance or curved windows.
Securing the Window
Before anything else, ensure the window opening is ready for the new installation. This involves cleaning out any debris and checking the opening for squareness. For a wood insert replacement window or insert replacements, which are common in pocket window installation, it’s essential to:- Measure carefully to make sure the new window will fit the existing opening. Aim to leave about 1/4 inch of space for adjustments.
- Check for level and plumb by using a spirit level. Small wooden pieces called shims are often used to achieve the exact positioning.
- Apply caulk to the sill of the window opening before setting the window in place.
- Place the window in the opening.
- Use shims to center the window in the opening and to keep it square.
- Fasten the window to the opening using screws, making sure it remains level.
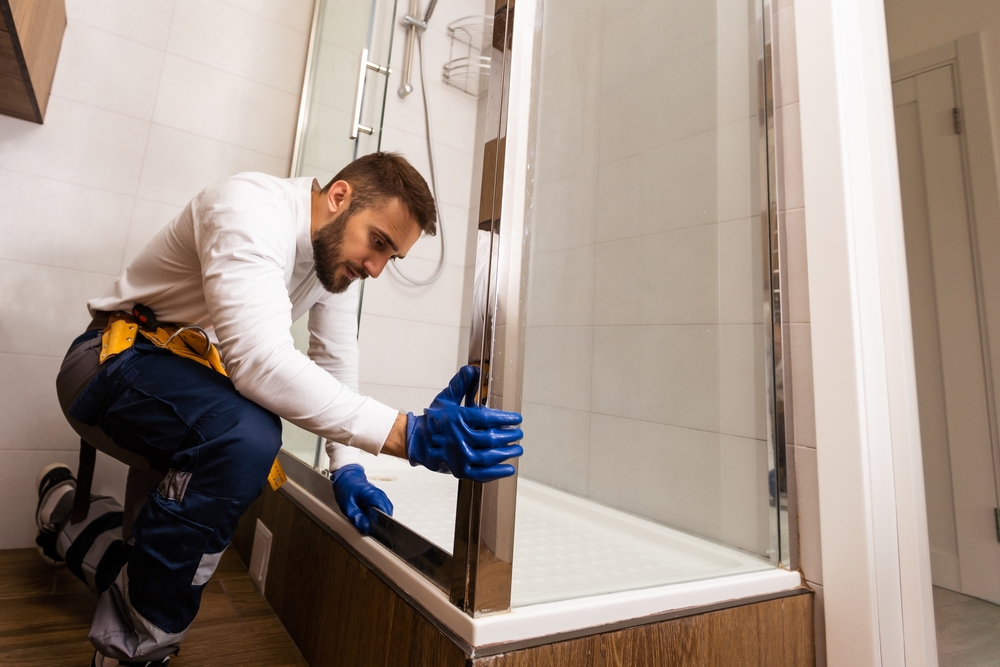
Finishing Touches
Once the window is secured, it’s time for the detailed work that contributes to both the window’s energy efficiency and its appearance:- Insulation: Fill any gaps between the window and the framing with insulation foam, which can help enhance the window’s energy efficiency.
- Caulking: Apply a bead of high-quality caulk around the exterior of the window to seal it. Make sure to smooth it out for a finished look.
- Using a finishing tool or a small piece of wood can aid in creating a clean caulk line.
- Trim work: If necessary, install interior and/or exterior trim to cover the space between the new window and the wall.
Debris Management and Cleanup
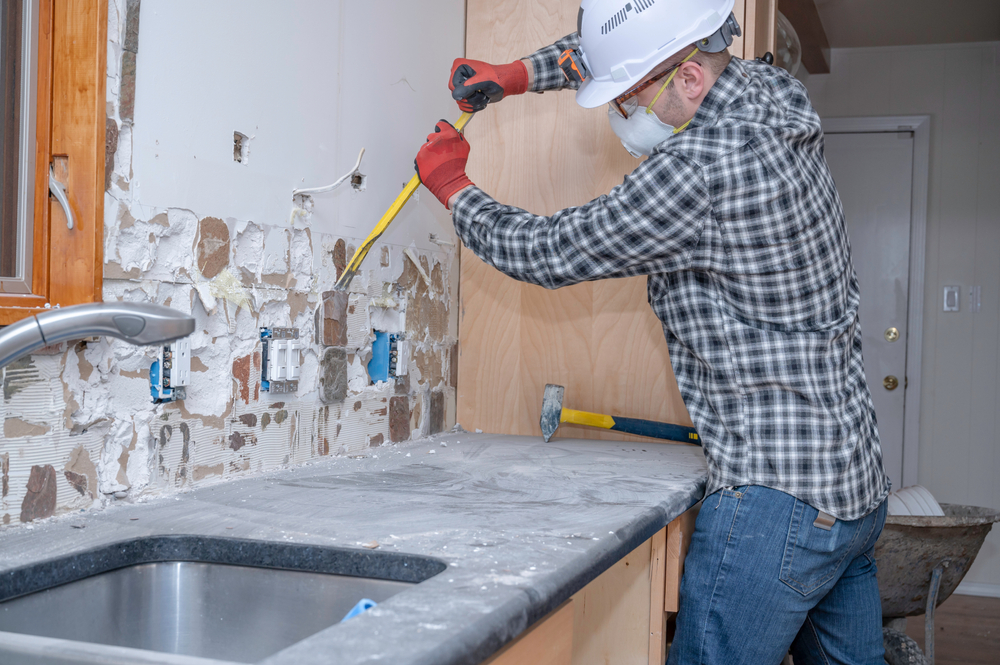
Efficient debris management and cleanup are critical to ensuring a tidy and hazardous-free workspace after window replacement projects. Proper disposal of materials and thorough cleaning protect against air infiltration and maintain the integrity of your new high-quality replacement windows.Handling Construction Waste
Firstly, identify the construction waste, including materials like old windows, damaged exterior trim, and unused caulking. Time spent on sorting this waste into recyclables and non-recyclables is time saved later. Metals and certain plastics can often be recycled, while other materials may need special disposal:- Recyclables: Metal frames, glass panes, rigid plastics.
- Non-recyclables: Old sealants, non-recyclable plastic sheets, fiberglass insulation.
Cleaning the Worksite
After the removal of debris, cleaning takes precedence. Start with a thorough vacuuming to remove dust and small particles. Follow with:- Dust Removal: Wipe down all surfaces with a damp cloth to collect fine dust.
- Vacuuming Carpets and Floors: Use a high-EPA filter vacuum to minimize air infiltration from leftover dust.
- Disposing of Protective Materials: Remove and discard any protective sheeting used during installation.
- Final Inspection: Check all newly-installed windows for leftover caulking or materials that may impact the window’s performance.
Post-Installation Considerations
After your windows have been replaced, it’s crucial to ensure the integrity of the installation and address any issues that may compromise your home’s comfort or efficiency.
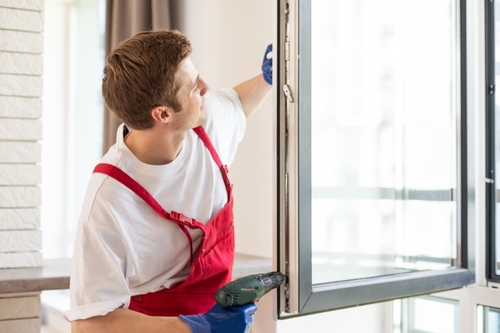
Inspecting the Installation
Once the installation crew has left, take the time to inspect their workmanship. Check for any visible gaps between the window frame and your home’s walls, which are not only unsightly but could lead to air leaks. You should feel secure in the aesthetic appeal and stability of the new windows; they should sit flush with the wall with no irregularities. If you have any doubts, it may be worth having a professional, especially if you lack extensive home-remodeling experience, to assess the installation. This is particularly pertinent if the windows are not on the ground floor, as issues might be more challenging to spot from a distance.Addressing Gaps and Drafts
Findings from your inspection can sometimes require action. Gaps and drafty areas can often be resolved with simple caulking or weather-stripping, both doable tasks for someone with basic carpentry skills. This process doesn’t usually take up much estimated time, but it’s essential for preventing long-term damage and energy inefficiency. However, significant issues might demand additional work, potentially even a re-installation. If drafts or air leaks persist, it can lead to increased utility bills and reduce the aesthetic appeal and overall comfort of your space.Frequently Asked Questions
Window replacement can generate significant debris, and effective management is crucial to maintaining a clean environment. Here’s how to tackle the challenges of mess, dust, disposal, potential damage, disruption, and interior cleanliness during the process.What precautions should be taken to manage the mess during window replacement?
To manage the mess during window replacement, start by laying drop cloths or plastic sheeting around the work area to capture debris. Ensure the workspace is well-defined and secure to prevent debris from spreading, and keep a vacuum on hand for immediate clean-up of any particles that escape containment.Are there any steps homeowners should follow to prepare for the dust from installing new windows?
Homeowners should cover furniture and seal off the area where windows are being replaced to minimize dust spread. Remove or cover any nearby items to protect them from dust, and consider an air purifier to maintain air quality during installation.How should debris be disposed of safely after a window replacement project?
Debris should be collected promptly after the project and sorted according to your local waste management guidelines. Larger items, like old window frames, may require special disposal or recycling, so check with your local regulations or hire a professional debris removal service to ensure safe and eco-friendly disposal.Can window replacement projects affect the condition of the surrounding walls?
Yes, window replacement projects can affect the surrounding walls. There’s potential for minor cosmetic damage during removal of old windows or installation of new ones. Prepare to touch up paint or patch small areas after the project. Structural damage is uncommon but can occur, especially if the window opening is altered.What can be expected in terms of disruption during a window installation?
Expect some level of noise, movement, and workers’ presence during a window installation. However, professional installers strive to minimize disruption. You may choose to relocate children or pets for the duration of the project and plan for some rooms to be inaccessible temporarily.What are the best practices for containing interior mess during window replacement?
The best practices for containing interior mess during a window replacement include creating a barrier between the work area and the rest of the home using plastic sheeting or a zippered dust barrier. Additionally, cleaning up promptly at the end of each workday and using tools equipped with dust extraction can greatly reduce interior mess.RECENT BLOGS


Our Reviews

Natalie Davidson
1719440638
Heather provided the best customer service that I have received in a very long time. She was knowledgeable, informative without being pushy, friendly and efficient. I really appreciated all of her help.

glenda prowell
1719242299
Louiner made it easy to make arrangements to have a dumpster put in my driveway. He was able to answer all my questions and made the entire process simple.

Glenda Lanier Prowell
1719241850
I have ordered an 11 yard dumpster to be delivered to my house.Lonier was extremely helpful and answered all my questions. The rate was very reasonable.

debbie Craton
1718740650
Heather was SUPER friendly and worked with me to get me whst I needed.I am very glad I called Waste Removal

adorna hayward
1718635411
Very pleasant to work with. Makes you want to call her back specifically.