March 28, 2024 - Benjamin Ehinger
How to Remove Siding from Your House: A Step-by-Step Guide
CALL NOW 844-762-8449
Removing siding from your home can seem like a daunting task, but with the right approach, it’s something you can accomplish yourself. It’s important to start this project by understanding the type of siding you are dealing with, as the removal process can vary for materials like vinyl, wood, or other materials. While removing siding is a task many homeowners choose to undertake as a means of saving costs on renovations, safety should always be a priority. Wearing protective gear and following a systematic approach can prevent damage to your property and ensure your well-being.
Prior to starting the actual removal process, ensure that you are prepared. Gather all the necessary tools and equipment you will need, such as a zip tool for vinyl siding or a pry bar for wood. It’s worthwhile to consider a local dumpster rental for the discarding of old materials, keeping your workspace clean and safe. Waste Removal USA can provide a suitable dumpster for your trash and disposal needs, which is essential for an efficient clean-up. Once you have everything in place, you can begin the step-by-step process of carefully dismantling the siding, inspecting the underlying structures, and preparing for any repairs or replacement needed.
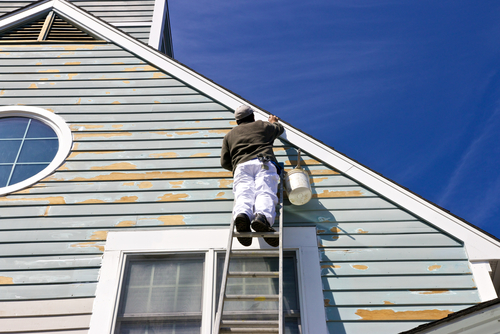 When you’re ready to remove vinyl siding, the process generally involves the use of specialized tools and careful handling of the siding panels. Your goal is to avoid damaging the underlying materials as you detach each piece.
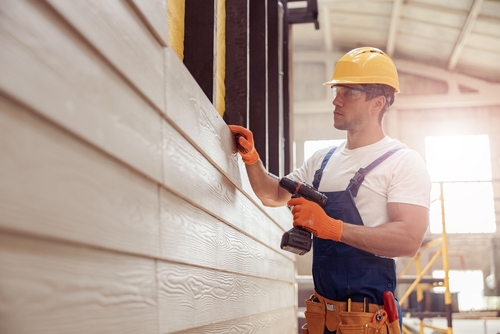 Replacing siding is a straightforward task that significantly enhances the exterior of your home. With precise measuring and cutting of the replacement siding, and ensuring each piece is properly secured and fits snugly, you will achieve a professional result.
Key Takeaways
- Proper preparation and safety measures are imperative for successful siding removal.
- A systematic approach tailored to the siding type helps prevent property damage.
- Secure a dumpster from Waste Removal USA for streamlined disposal and cleanup.
Preparation and Safety Measures
Before diving into your siding removal project, understanding the scope and ensuring you have the right tools and safety gear is imperative. Your safety is paramount, and having a clear plan will streamline the process.Assessing the Project Scope
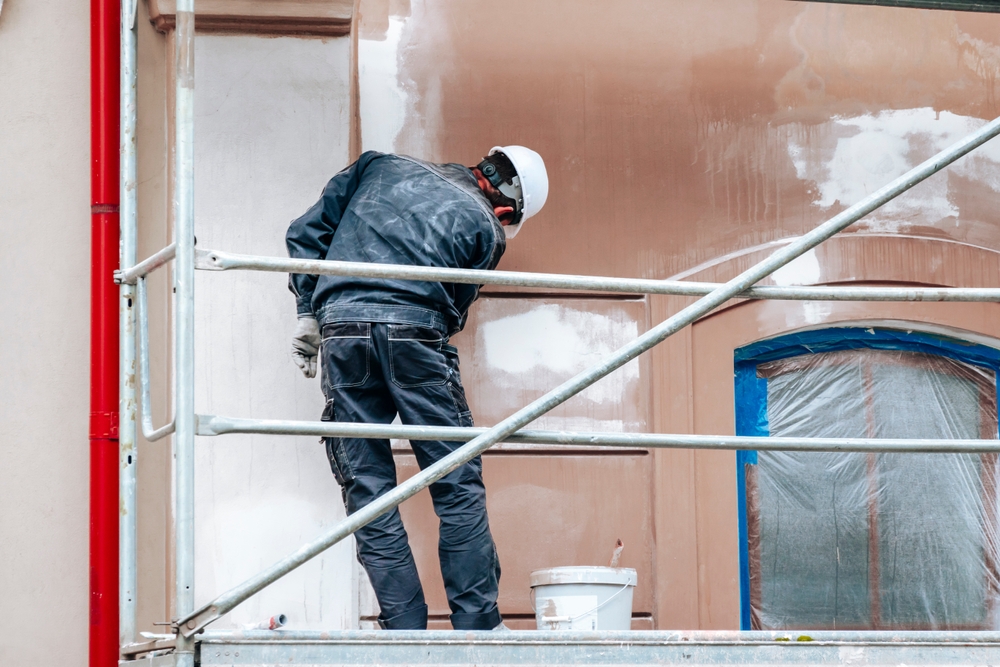
Determine the extent of the area you’ll be working on. If your house is large, you might consider completing one side at a time to avoid prolonged exposure of underlying structures to the elements. Decide if you will need ladder or scaffolding based on the height and access to the work area.Gather Necessary Tools
For the task, you will need the following tools:- Pry bar: to remove nails and to pry siding away
- Hammer: to assist in nail removal
- Utility knife: for cutting through caulk or trimming siding
- Zip tool: essential for vinyl siding removal
Safety Precautions
Safety must not be overlooked. Always wear protective gloves and safety goggles to guard against sharp edges and flying debris. Check the stability of your ladder or scaffolding before climbing, and wear sturdy, non-slip footwear. Be mindful of electrical lines and be sure to cut power if necessary to avoid electrocution risks.Understanding Siding Types
Before you decide to remove siding from your house, it’s crucial to understand the specific type you’re dealing with. Each material has its own set of characteristics regarding durability, maintenance requirements, and methods of removal.Vinyl Siding
Vinyl siding is a popular choice due to its durability and low maintenance. It’s usually lightweight, making it easier to handle than some other types. Moreover, vinyl is often recyclable, reducing its environmental impact. To remove vinyl siding, start by unlocking the panel from the bottom and proceeding upward.Wood Siding
Wood siding offers a classic look and can last a long time with proper care. It varies from lightweight to more robust, depending on the type of wood used. However, removing wood siding requires delicacy to avoid damaging the underlying structure.Fiber Cement Siding
Fiber cement siding is lauded for its durability and resistance to many common problems that affect wood and vinyl. It’s heavier than vinyl siding and requires more care when removing to prevent breakage.Hardboard and Stucco Siding
Hardboard siding is a durable engineered wood product, but it is susceptible to moisture if not properly maintained. Stucco siding, on the other hand, is a durable and energy-efficient coating applied over a wire or wood lath base. Stucco removal is labor-intensive and requires a careful approach to avoid damage to the property.Removing Vinyl Siding
 When you’re ready to remove vinyl siding, the process generally involves the use of specialized tools and careful handling of the siding panels. Your goal is to avoid damaging the underlying materials as you detach each piece.
Using the Zip Tool
The zip tool is essential for separating vinyl siding panels. Slide the zip tool beneath the strip-and-lip connection where two panels meet. Apply slight downward pressure to unlock the lip and slide the tool along the edge to systematically disengage the pieces.Detaching Panels and Nails
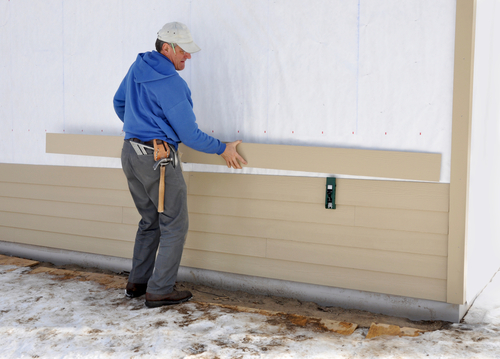
After you’ve separated the siding from the strip-and-lip connection, gently remove vinyl siding panels by lifting them away from the wall. Locate the nails securing the panels to the wall and use a nail puller or a pry bar to remove them carefully. As you detach each panel, stack them neatly to avoid creating a mess and to make disposal or further work like replace vinyl siding more manageable.Removing Wood and Other Siding Materials
When you’re ready to take on the project of removing siding from your house, having the right tools and understanding the material-specific techniques will expedite the process and help avoid damage.Prying Off Panels
To remove wood siding, you’ll need to start by carefully prying off the panels. Equip yourself with a pry bar and a hammer to loosen the nails that are securing each siding panel to your house. Work your way from top to bottom, gently lifting the bottom edge of each panel with the flat end of the pry bar. A flat bar may be particularly handy for getting into tighter spaces without causing harm to the wood or underlying structure.- Tools: Pry bar, hammer, flat bar
- Technique: Loosen nails from the siding, work top to bottom, use the flat end to lift siding
- Additional Tools: Circular saw for damaged panels
- Caution: Set saw depth to avoid structural damage
Handling Specialty Siding
Different siding materials may require special tools or techniques. If you’re dealing with siding materials other than wood, such as vinyl or fiber cement, the approach changes. Some types of siding are interlocked and need to be unzipped with siding removal tools. For nails that remain after removing panels, try using a nail punch or nail puller to extract them without damaging the siding.- Specialty Tools: Siding removal tool, nail punch, nail puller
- Approach: Depending on the siding type, unzip or gently detach without causing breakage
Inspecting and Repairing Underlying Structures
Before reapplying new siding, it’s essential to assess and mend any issues with the underlying structures. Damage left unaddressed could lead to further deterioration and impact your home’s integrity.Checking for Water Damage and Rot
Begin by examining the exposed sheathing for signs of water damage and rot. These problems often manifest as discolored, soft, or crumbly wood. Use a screwdriver to probe suspect areas—if the tool easily penetrates the wood, it indicates rot. It’s critical to replace any compromised material to prevent structural issues.- Identify: Look for any discoloration, warping, or mold on the sheathing.
- Assess: Carefully press against the sheathing to check for softness, which implies rot.
- Mark: Use chalk or a marker to outline all areas needing replacement.
Repairing Sheathing and Insulation
After removing damaged sections, you will install new plywood or OSB sheathing. Cut the replacement pieces to fit the openings precisely, using shims if necessary to ensure a flush fit with existing sheathing.- Materials: Use weather-resistant plywood or OSB for sheathing.
- Fit: Measure twice, cut once, and test-fit before securing.
- Secure: Fasten the new sheathing with galvanized nails or screws.
- Remove: Take out any old and degraded insulation.
- Replace: Install new insulation, making sure it fits snugly between the framing.
- Check: Ensure there are no gaps or compression, as this can reduce effectiveness.
Replacing Siding
 Replacing siding is a straightforward task that significantly enhances the exterior of your home. With precise measuring and cutting of the replacement siding, and ensuring each piece is properly secured and fits snugly, you will achieve a professional result.
Measuring and Cutting New Siding
When replacing siding, take accurate measurements of the area to ensure your new materials will fit perfectly. For vinyl siding, measure the length of the panel needed and then cut the new siding to size using a circular saw with a fine-toothed blade, ensuring to leave a little extra to account for expansion and contraction. If you’re working with wood siding, utilize the old piece as a template for cutting the new plywood sheet, allowing for the necessary groove placements.Securing Siding and Ensuring Proper Fit
After cutting the new siding to the correct size, align it with the wall studs and begin securing it with nails. For vinyl siding, it’s essential to nail in the center of the slots to allow for movement and avoid nailing too tightly. When installing replacement siding, make sure the nails are long enough to penetrate at least 3/4 inch into the studs. Verify that each piece of siding locks firmly into the groove of the one below for a secure fit. Don’t forget to check the alignment after each piece to ensure it’s level and that you properly install any necessary flashing to prevent water damage.Disposal and Recycling of Old Siding
When replacing your siding, you’ll need to consider how to properly dispose of the old material or whether it can be recycled. Managing old siding responsibly ensures that you minimize the environmental impact and comply with local regulations.Responsible Disposal
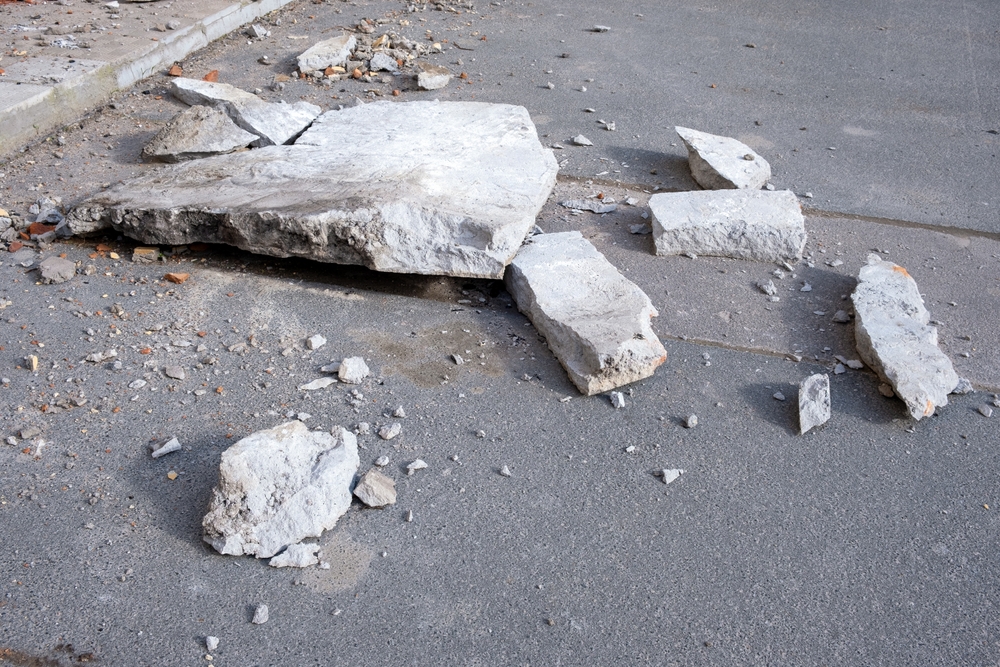
When disposing of old siding, especially materials like vinyl or wood, renting a construction dumpster can be an effective solution. You should clearly label your dumpster as containing construction waste, and check with the rental company about any restrictions they may have. Assess the total amount of siding to be removed to select the appropriate dumpster size; this ensures all waste is contained and can be hauled away easily.- Vinyl Siding: While not typically recyclable through curbside programs, vinyl can be disposed of in a dumpster.
- Wood Siding: Old wood siding may need to be checked for lead paint before disposal. Untreated wood is often accepted at waste management facilities.
Recycling Options
Recycling siding can be more environment-friendly and often is a viable option, depending on the material:- Vinyl Siding: Seek out specialized recycling facilities that accept vinyl. These facilities grind the old siding into pellets for reuse in new products.
- Wood Siding: If the old wood siding is untreated and unpainted, it may be accepted by wood recycling centers, which repurpose it for mulch or wood chips.
Finishing Touches and Cleanup
After you’ve successfully removed the siding, it’s crucial to address the finer details to ensure your house is not only visually appealing but also protected from the elements.Sealing and Painting
Before you reintroduce any fixtures, it’s essential to seal any exposed areas to prevent moisture ingress. If you’ve installed replacement siding, make sure it is completely sealed at the seams. Once sealing is complete, choose a color that complements your home and apply a coat of weather-resistant paint. Allow it to dry according to the manufacturer’s instructions.- Seal: Use a high-quality sealant around windows and doors.
- Paint: Select a paint designed for exterior use. Apply evenly with a brush or sprayer.
Reinstalling Fixtures
Once the paint is dry, you can move on to reinstalling fixtures such as gutters and flashing. Be meticulous with reinstallation to not compromise the siding’s integrity or the paint job.- Gutters: Attach them securely while ensuring they are aligned properly to direct water away from your home.
- Flashing: Install flashing around the door and windows to prevent water intrusion.
Where to Purchase Supplies and When to Hire a Contractor
When you’re planning to remove siding from your house, purchasing the right supplies is critical, and knowing when to call in a professional can save time and ensure safety.Finding the Right Materials
To get started, you’ll need to visit your local hardware store or contact a manufacturer to find the materials for your project. Look for tools such as a pry bar, hammer, and siding removal tool. You’ll find various siding options available, from vinyl to wood, each requiring different methods and tools for removal. If you suspect there is asbestos in your siding, special precautions must be taken, and this material will need to be wetted during removal. Tools & Materials:- Pry bar
- Hammer
- Siding removal tool
- Safety equipment (gloves, goggles)
- Disposal bags (for asbestos-containing materials)
Deciding on DIY vs Professional Help
Determining whether to undertake siding removal yourself or hire a contractor depends on several factors, including skill level, the size of the project, and safety concerns. If this is a DIY venture, ensure you feel confident handling tools and understanding the nuances of siding removal. Taking on this project requires a significant time commitment and a basic understanding of your house’s structure. For complex projects or if asbestos is present, it is critical to hire a licensed and insured contractor versed in proper removal techniques. This will ensure the safe disposal of hazardous materials and compliance with local regulations.- Assess your skill level and available time.
- Determine the complexity of the siding to be removed.
- Consider safety risks like asbestos or lead paint.
- Research local contractors with good reputations and proper licensing.
Frequently Asked Questions
When tackling siding removal from your house, it’s important to use the correct techniques and tools. This ensures not only your safety but the integrity of your home’s structure. Here are some targeted answers to common queries.How can I replace vinyl siding by myself?
Replacing vinyl siding by yourself involves safely removing the damaged pieces and securing new siding in place. Use a zip tool to unhook the lower lip of a piece of vinyl siding above the damaged section, lift it to expose the nails, and then remove the nails and siding.What is the best method for removing wood siding without causing damage?
To remove wood siding without damage, carefully pry off each board using a flat bar and hammer. Begin at the top of the wall and progress downwards, taking care not to splinter the wood as it comes off.Are there any specialized tools required for vinyl siding removal?
Yes, a zip tool is an essential and specialized tool for vinyl siding removal. It’s designed to disconnect pieces of siding safely and efficiently without damaging the material.What is the proper technique for removing siding around windows?
To remove siding around windows, accurately cut the siding with a utility knife and remove the fasteners or clips. Work around the window carefully to prevent damage to the frame and trim.Can siding be removed from the bottom of the house without harming the upper sections?
It’s advised to start siding removal from the top and work downwards to avoid harming the upper sections. If you must remove siding from the bottom, do so cautiously and ensure that the upper siding is well-supported.What precautions should be taken to safely remove vinyl siding in the middle of a wall?
When removing vinyl siding in the middle of a wall, protect the surrounding areas by using careful techniques to unhook and remove the siding. Always wear protective gloves and eyewear, and make sure your ladder is stable.RECENT BLOGS
Our Reviews
Glenda Lanier Prowell
1721758635
I have ordered an 11 yard dumpster to be delivered to my house.Lonier was extremely helpful and answered all my questions. The rate was very reasonable.
Cedric Smikle
1721660395
Amber was extremely professional and courteous. She answered all of my questions and even some that I didn’t know I needed to ask.
Cait Kaider
1721243051
I highly recommend Waste Removal USA for their responsiveness and how the staff work hard to provide exceptional customer service. They have done well by us and our clients. Thank you!
Easom Family
1721223306
Louiner Pierre-Louis Is awesome! Did a great job. Will definitely be using this same company for all my dumpster needs because of his awesome customer service! Thank you!!!
tabitha Vazquez
1720539988
Wonderful and fast customer service!
LATEST BLOGS

