February 27, 2024 - Benjamin Ehinger
How to Remove a Kitchen Countertop: A Step-by-Step Guide
CALL NOW 844-762-8449
Removing a kitchen countertop is a common task in home renovation projects that can refresh the aesthetic of your kitchen or make way for a new installation. If your current countertop has outlived its utility or you’re updating your kitchen’s design, understanding the proper removal process is essential. It’s a task that can be completed by most do-it-yourself enthusiasts with the right preparation and tools.
When preparing to remove your old kitchen countertop, safety cannot be overstressed. Ensuring you have the appropriate tools and understanding the steps involved will make the process smoother. Remember, during any major home renovation project, including this one, considering a residential dumpster rental might be necessary to manage debris and keep your workspace clean and safe.
 Before you begin, understand that removing a kitchen countertop requires careful steps to protect your space and ensure a smooth process. You’ll be detaching your sink and appliances, loosening the countertop fasteners, and then lifting away the countertop.
 When installing your new countertop, preparation is key. Ensure that your old countertop has been properly removed. For guidance on removal techniques, the Easy Steps for Removing a Kitchen Countertop can be beneficial. Here are some tips to make your new countertop installation a success:
Key Takeaways
- A well-planned countertop removal protects safety and prevents damage.
- Proper tools and understanding of the process ensure efficient countertop removal.
- Debris management, such as a residential dumpster rental, is crucial for a clean workspace.
Safety Precautions
Before you begin the process of removing your kitchen countertop, prioritizing safety can prevent accidents and injuries. The following guidelines will ensure you are prepared to handle tools and materials safely.Shutting Off Utilities
- Electricity: Ensure that all electrical power is turned off at the circuit breaker before removing a countertop, especially if you’ll be working near any electrical outlets.
- Water: Locate and turn off the water supply valves to prevent any leaks or water damage during the removal. Disassemble the sink and disconnect any water lines. For guidance, visit How to disconnect the sink from the countertop.
Using Protective Gear
- Eye Protection: Always wear safety glasses to shield your eyes from dust and debris.
- Hand Protection: Durable gloves are necessary to protect your hands from sharp edges and splinters.
- Breathing Safety: If you’re working in a dusty environment or with materials that may produce harmful particulates, consider wearing a dust mask.
Clearing the Workspace
- Maintain a Clear Area: Remove any kitchenware or objects that could obstruct your workspace or pose a tripping hazard.
- Children and Pets: Ensure they are kept away from the work area to prevent accidents. For more tips on safe handling, take a look at How to safely handle heavy equipment.
- Proper Lifting: If you’re dealing with heavy countertops like granite, enlist help to lift them safely. Avoid solo attempts as this can lead to injury.
Tools and Materials
Before starting your countertop removal project, ensure you have all the necessary tools and select quality materials that will suit your new countertop installation.Gathering Necessary Tools
Your success in removing a kitchen countertop hinges on having the right tools. Make sure to gather the following:- Power drill/driver: Crucial for removing screws that hold the countertop in place. Learn about countertop removal tools at HGTV.
- Razor knife and paint scraper: A razor knife will slice through sealants, while a paint scraper will pry up the countertop. Effective tools for countertop removal include these for manipulating adhesives.
- Hammer and pry bar: A hammer can help in loosening the countertop, and a pry bar lifts it off. Methods to detach your countertop can involve these tools.
- Stud finder and flashlight/headlamp: These tools will help you find the secure points and give you visibility in dim areas. Identify crucial steps for prep.
Selecting Replacement Materials
Choosing the right materials for your new countertop involves considering durability, aesthetic, and maintenance requirements. Here’s what you should keep in mind:- Material type: Options range from laminate, granite, quartz, to marble. Each has its own pros and cons in terms of durability, resistance to heat, and ease of cleaning. Explore countertop materials.
- Adhesive: The right kind of adhesive will provide a firm hold and depend on the type of material you select. Ensure compatibility to avoid future issues.
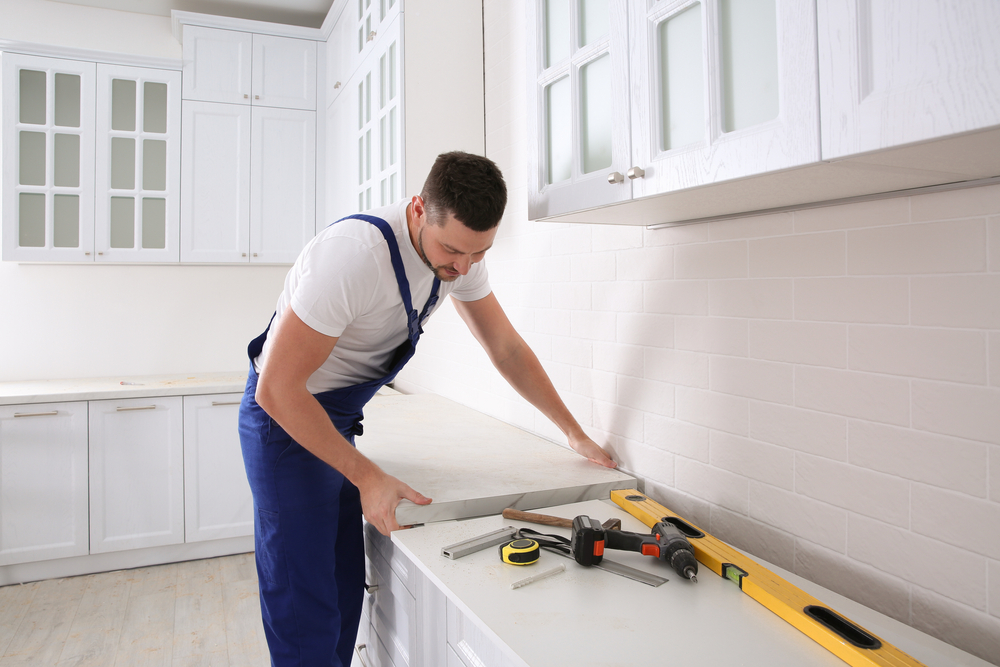
Removal Process
Before you begin, understand that removing a kitchen countertop requires careful steps to protect your space and ensure a smooth process. You’ll be detaching your sink and appliances, loosening the countertop fasteners, and then lifting away the countertop.
Detaching Sink and Appliances
First, you must disconnect and remove the sink and any appliances that are attached to your countertop. This usually means turning off the water supply and possibly the gas supply if you have a gas stove. Next, undo the clips or brackets that hold your sink in place. Double-check for any caulk around the sink and carefully cut it with a utility knife. Any appliances, like a cooktop, should be removed following the manufacturer’s instructions.Loosening Countertop Fasteners
Your countertop is secured to the base cabinets with brackets or screws. Locate these by looking underneath the countertop. Remove the screws with a drill or screwdriver. For countertops bonded with adhesive, use a putty knife to gently pry and loosen the glue. Be cautious not to damage the base cabinets as you work.Lifting the Countertop
After all fasteners and adhesives have been removed, carefully lift the countertop from the base cabinets. Some countertops, specifically stone ones, are extremely heavy and might require multiple people or professional help for removal. Check for any areas where the countertop might still be adhered to the cabinets and gently pry loose. Remember to keep your back straight and lift with your legs to prevent injury.Cleanup and Preparation for New Countertop
Once your old countertop has been successfully removed, it’s important to focus on cleaning up the debris and preparing the area for your new countertop. This stage is crucial for ensuring that your new surface fits perfectly and looks great.Disposing of Old Materials
Disposing of your old kitchen countertop materials requires careful planning. Depending on the material, some parts of your countertop might be recyclable. You should:- Segregate materials like metal, wood, or stone.
- Contact local disposal companies about the proper disposal of non-recyclable materials.
- Consider offering reusable materials for repurposing or donation if they’re in good condition.
Preparing the Cabinets and Surface
Before installing your new countertop, ensuring that the cabinets and surface are ready is essential. Here’s what to focus on:- Check for any damage or uneven areas on the cabinet tops; these may need repair or leveling to guarantee a stable surface.
- Clean the top of the cabinets thoroughly to remove any dust or debris using a damp cloth.
- Verify that all cabinets are securely fastened and can support the weight of the new countertop.
- Use a level to check for uneven spots on the cabinetry that could affect the placement of the new countertop. Any discrepancies can usually be corrected with shims.
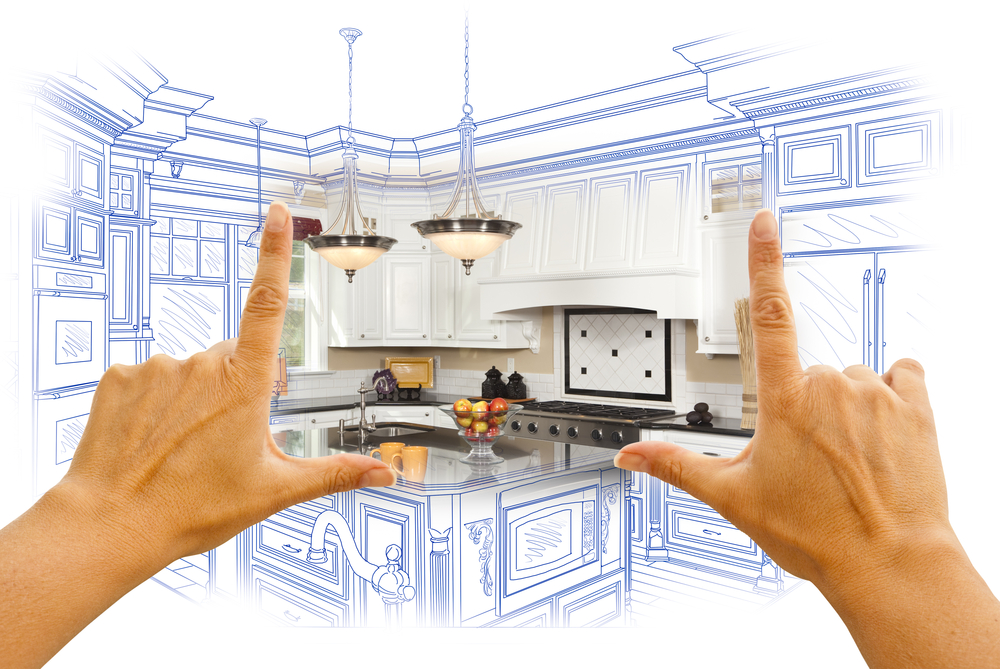
Installation Tips for New Countertop
When installing your new countertop, preparation is key. Ensure that your old countertop has been properly removed. For guidance on removal techniques, the Easy Steps for Removing a Kitchen Countertop can be beneficial. Here are some tips to make your new countertop installation a success:
- Preparation:
- Clear the workspace and make sure the base cabinets are level and secure.
- Verify measurements for sinks, cooktops, and any other built-in appliances.
- Materials Needed:
- Find the right adhesive for the material of your countertop.
- Have all your tools on hand, such as drills, screws, and a level.
- During Installation:
- Take into account the recommended overhang, usually about an inch from the cabinet base.
- Check for level across the cabinets to avoid any future problems.
- Securing the Countertop:
- Apply adhesive as per the manufacturer’s instructions.
- Align the countertop precisely with the base cabinets.
- Use clamps to hold the countertop in place as the adhesive sets, if necessary.
- Finishing Touches:
- Seal any gaps between the wall and the countertop.
- If your countertop is stone or wood, apply a sealant to protect the material.
Frequently Asked Questions
Removing countertops involves a careful approach to prevent damage to your cabinets and walls. Below are answers to guide you through the removal process.What steps are needed to safely remove a countertop that is glued on?
To remove a glued countertop, start by disconnecting any fixtures and appliances. Apply caulk softener to the adhesive and allow it to penetrate. Gently pry the countertop away using a putty knife, taking care not to damage the underlying cabinets.How can I remove the kitchen countertop and sink without causing damage?
Begin by shutting off the water supply and removing the sink. Use a utility knife to cut through any caulk or sealant. Unscrew the countertop fasteners from underneath and carefully lift the countertop from the cabinets.What precautions should be taken when detaching a countertop from wood cabinetry?
Protect the surface of your wood cabinetry by covering it with a drop cloth. Use a pry bar gently to lift the countertop, being mindful not to apply too much force that can rip or damage the wood.What is the correct method to disconnect a kitchen countertop from the wall?
If your countertop is attached to the wall, cut through any adhesive or caulk along the backsplash with a razor knife. Carefully pry the countertop away from the wall using steady and even pressure.Is it possible to remove a laminate countertop edge, and if so, how?
Yes, removing a laminate countertop edge is possible. Insert a putty knife under the edge and gradually work it loose. If necessary, apply heat with a hair dryer to soften the adhesive before removal.Can laminate be stripped off a countertop, and what is the best approach?
Stripping laminate off a countertop requires patience. Begin by heating the laminate with a hairdryer or heat gun to loosen the glue, then carefully pry the laminate away starting at the edges. If required, use a paint scraper for stubborn areas.RECENT BLOGS


Our Reviews

Glenda Lanier Prowell
1721758635
I have ordered an 11 yard dumpster to be delivered to my house.Lonier was extremely helpful and answered all my questions. The rate was very reasonable.

Cedric Smikle
1721660395
Amber was extremely professional and courteous. She answered all of my questions and even some that I didn’t know I needed to ask.

Cait Kaider
1721243051
I highly recommend Waste Removal USA for their responsiveness and how the staff work hard to provide exceptional customer service. They have done well by us and our clients. Thank you!

Easom Family
1721223306
Louiner Pierre-Louis Is awesome! Did a great job. Will definitely be using this same company for all my dumpster needs because of his awesome customer service! Thank you!!!

tabitha Vazquez
1720539988
Wonderful and fast customer service!
LATEST BLOGS
