June 21, 2024 - Benjamin Ehinger
How to Use a Dumpster for a DIY Parking Pad Project: A Step-by-Step Guide
CALL NOW 844-762-8449
Creating a DIY parking pad is an excellent way to add value and utility to your property. A well-constructed parking pad provides a sturdy and reliable spot for your vehicles, saving your lawn from tire damage and improving the overall appearance of your home. This kind of project can be particularly cost-effective if you choose to use a dumpster rental service for the disposal of soil, grass, and other debris. By leveraging a local dumpster, you streamline the process, keeping your workspace clean and ensuring that waste is handled efficiently and responsibly.
Before embarking on your parking pad project, preparing the ground is essential. This involves excavating the area to a suitable depth and ensuring that the foundation is level. Selecting the right materials is also crucial for the durability and maintenance of your parking pad. Whether you opt for concrete, gravel, pavers, or another material, your choice will affect both the construction techniques and the long-term upkeep of your parking pad.
 The foundation of a durable DIY parking pad lies in selecting robust materials that cater to both stability and drainage requirements.
 To ensure the longevity and aesthetic appeal of your DIY parking pad, regular maintenance is essential. This includes both keeping the pad clean and safeguarding it against the elements.
Key Takeaways
- A DIY parking pad project enhances your property and can be executed cost-effectively.
- Proper preparation of the site and waste management with a dumpster are pivotal steps.
- Material selection directly impacts the construction process and the longevity of your parking pad.
Planning Your Parking Pad Project
Before laying the foundation of your parking pad with heavy materials like concrete or pavers, it’s crucial to accurately evaluate your space and establish a layout design that best suits your property and needs.Assessing the Area and Materials
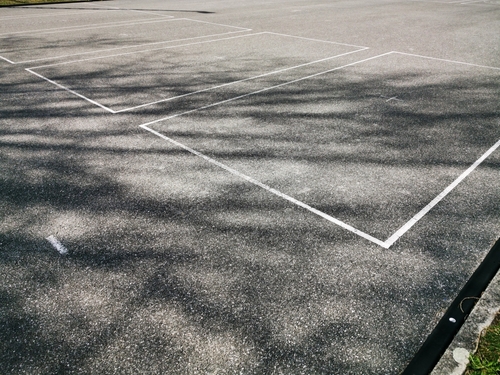
When planning to install a parking pad, the first step is to accurately measure the designated Area. This ensures you’ll have enough room for your vehicle and any additional space needed for easy access. If you’re contemplating a surface that drains well, Gravel might be the material of choice, especially if you’re aiming for an Eco-Friendly option that minimizes runoff. On the other hand, Concrete offers a more permanent solution, while Pavers provide a balance between aesthetics and durability. Each material has its preparation requirements, such as sub-base depth and compaction needs, which impact both the project timeline and budget.- Measurements: Confirm dimensions to accommodate your vehicle(s) with extra room for walking.
- Materials Consideration:
- Gravel: Affordable, good for drainage, eco-friendly but requires maintenance.
- Concrete: Long-lasting, low-maintenance but can be expensive and is less eco-friendly.
- Pavers: Durable, permeable options available, customizable designs.
Design and Layout Considerations
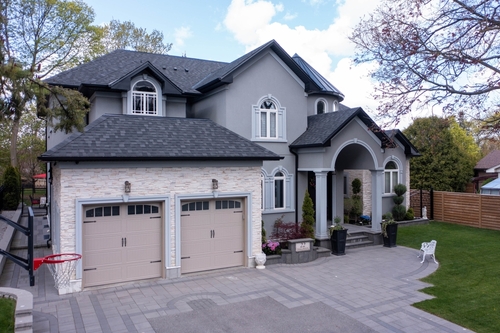
Your driveway extension should not only be functional but also complement your existing landscape. Integrate the parking pad with your garden or shed by considering the layout’s impact on surrounding features. The addition should be a seamless extension rather than an afterthought. When sketching out your design, consider the flow of traffic into and out of the pad, and ensure that the slope is correct for water drainage to prevent pooling. If your parking pad is near a garden, consider bordering it with eco-friendly pavers to enhance the look and functionality of the space.- Design Sketch: Draft a to-scale layout to visualize traffic patterns and aesthetic alignment.
- Layout Considerations:
- Traffic Flow: Ensure the parking pad aligns with your driveway for smooth vehicle movement.
- Slope: Design with a slight incline for proper drainage.
- Garden Integration: Use pavers to create a beautiful border that adds to your garden’s appeal.
Preparing the Ground for Installation
Before laying the foundation for your parking pad, precise measurements and a thorough site preparation are crucial steps. They ensure stability and longevity of your parking area.Excavation and Groundwork
Firstly, measure the intended parking pad area to determine the amount of materials needed. When you start excavating, dig to a depth of at least 4 to 6 inches for light vehicle use and 8 to 12 inches for heavier vehicles. This excavation creates a stable base for your parking pad. Procedure:- Mark: Outline the parking pad area with landscape timbers or spray paint.
- Excavate: Remove topsoil and grass within the marked area using a shovel or machinery for larger areas.
- Tamp: After excavation, use a tamping tool or a plate compactor to tamp down the soil, which helps to prevent future settling and provides a solid base for the parking pad.
Laying the Landscape Fabric
Landscape fabric plays a key role in preventing weed growth and separation of the gravel from the underlying soil. Steps:- Cut the fabric to match the shape of your excavated area.
- Lay the fabric over the tamped ground, ensuring overlap at all edges to prevent weeds from finding their way up through the seams.
Choosing the Right Materials
The foundation of a durable DIY parking pad lies in selecting robust materials that cater to both stability and drainage requirements.
Types of Gravel and Concrete Pavers
When considering types of gravel, you have multiple options, each providing different aesthetic and structural benefits. Pea gravel is small and smooth, often used for the top layer due to its pleasing look but it may shift over time. For a more stable base, consider using crushed stone gravel; its angular pieces lock together, making it an ideal first layer for your parking pad. For those preferring a more structured appearance, concrete pavers offer a versatile and sturdy option. They come in a variety of shapes and sizes, allowing for customizable patterns. Brick pavers are another timeless choice, imbuing your parking pad with a classic feel. Both concrete and brick pavers require proper installation over a gravel base for maximum effectiveness.Benefits of Compactable Gravel
Compactable gravel serves as a solid foundation due to its ability to compress and create a level surface that’s resistant to movement. It’s crucial for your parking pad’s integrity, especially when supporting heavy vehicles. Concrete mix can be poured over a well-compacted gravel layer, delivering a steadfast parking area that withstands various weather conditions. By opting for compactable gravel, you’re setting your DIY project up for long-term success.Construction Techniques
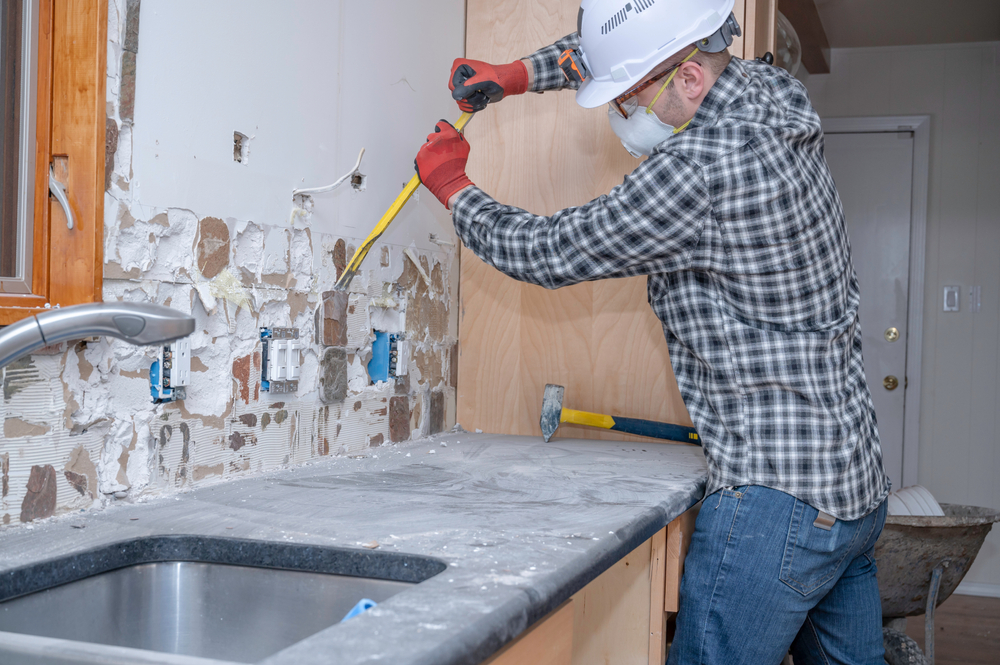
Building a parking pad with a roll-off dumpster for the debris requires meticulous attention to the foundation and the stability of the pad’s periphery. Careful planning and precision in these steps are critical to a successful and lasting construction.Setting a Solid Foundation
First and foremost, ensure that the ground where you intend to place your parking pad is level. This will provide the necessary traction and stability for the vehicles that will park on it. Begin by marking out the desired dimensions of your pad and excavate to a depth of at least 18 inches. Apply a layer of paver base gravel and compact it thoroughly to create a solid, even foundation. The pattern of the paver stones you select for the base layer is essential; typically, a herringbone or basketweave pattern will offer more stability and distribute weight evenly. Remember, a firm base is critical to prevent shifting or sinking.- Steps to create the foundation:
- Clear and level the designated area.
- Apply a base layer of paver gravel.
- Compact the gravel until it is solid and even.
Securing Edges and Corners
Once the foundation is set, focus on securing the edges of your parking pad. For this, you’ll need screws, a drill, and, depending on your design, possibly hinges and handles if the pad needs to be movable or adjustable for any reason.- Secure the perimeter with robust edging materials, like treated lumber or metal edging.
- Drill pilot holes and use screws to fasten the edging in place, ensuring that the corners are square and tight.
- If your design includes hinges for sectional pieces, attach them carefully to ensure that they operate smoothly without warping.
- Install handles if the sections of your pad need to be lifted or removed for access to what’s underneath.
Maintaining Your DIY Parking Pad
To ensure the longevity and aesthetic appeal of your DIY parking pad, regular maintenance is essential. This includes both keeping the pad clean and safeguarding it against the elements.
Cleaning and Upkeep
Regular cleaning is key to maintaining your parking pad’s appearance and preventing damage. Here’s a straightforward plan to keep your pad in top shape:- Weekly Sweeping: Use a stiff broom to sweep away debris and leaves that can cause stains.
- Monthly Inspection: Look for signs of wear or cracks, especially if you have a concrete pad.
- Stain Removal: Address spills quickly to avoid permanent stains. For oil or fluid stains, use a degreaser and follow up with soapy water.
- General Care: If you have a gravel pad, rake it periodically to ensure an even surface. For those using concrete dumpster rentals during the project, ensure all trash is removed post-construction to avoid debris buildup.
Preventing Weather Damage
Your parking pad is exposed to the elements, so take measures to protect it from weather-related damage:- Drainage: Ensure proper drainage to prevent water accumulation which can weaken the base of your pad, especially during rainy seasons.
- Sealant: If you have a concrete pad, apply a concrete sealant every few years to prevent cracks from water freeze-thaw cycles.
- Heavy Equipment Use: When using a tractor or other heavy equipment for maintenance, be cautious to avoid damaging the surface.
- Snow and Ice: In winter months, remove snow promptly and consider using a plastic shovel to prevent scratches or damage to the pad surface. Avoid harsh chemicals that can erode concrete.
Frequently Asked Questions
In any DIY gravel parking pad project, understanding the right materials and methods is crucial for longevity and functionality. Here’s what you need to know to tackle the task like a pro.What materials are needed to build a DIY gravel parking pad?
To build a gravel parking pad, you’ll need a durable geotextile fabric to prevent weed growth, a substantial quantity of crushed stone for the base layer, and finer gravel for the top layer. Adding materials like edging can help maintain the pad’s shape.How do you properly prepare the ground for a parking pad?
Ground preparation begins with removing topsoil and organic material. Then, level the ground, ensure proper drainage, and compact the soil before adding base materials. It’s essential for stability and to prevent future sinking.What steps are involved in constructing a parking pad with pavers?
Constructing a parking pad with pavers involves excavating the area to an appropriate depth, laying down a layer of gravel, installing edge restraints, and laying the pavers tightly together. Sand is then sweeping over the surface to fill the joints.What are inexpensive options for creating a parking pad?
One cost-effective option is to use gravel or recycled concrete. These materials are less expensive than pavers and can still provide a solid, permeable surface for parking.How can you build a parking pad on sloped terrain effectively?
To build on a slope, you’ll need to create a level base, which may involve terracing or installing retaining walls. Proper drainage is also critical to prevent erosion and maintain the integrity of the parking pad.What considerations are important for front yard parking pad design?
When designing a parking pad for the front yard, consider local regulations, the aesthetics of the materials chosen, and how the design integrates with your landscape. It should be functional while also enhancing curb appeal.RECENT BLOGS


Our Reviews

Natalie Davidson
1719440638
Heather provided the best customer service that I have received in a very long time. She was knowledgeable, informative without being pushy, friendly and efficient. I really appreciated all of her help.

glenda prowell
1719242299
Louiner made it easy to make arrangements to have a dumpster put in my driveway. He was able to answer all my questions and made the entire process simple.

Glenda Lanier Prowell
1719241850
I have ordered an 11 yard dumpster to be delivered to my house.Lonier was extremely helpful and answered all my questions. The rate was very reasonable.

debbie Craton
1718740650
Heather was SUPER friendly and worked with me to get me whst I needed.I am very glad I called Waste Removal

adorna hayward
1718635411
Very pleasant to work with. Makes you want to call her back specifically.