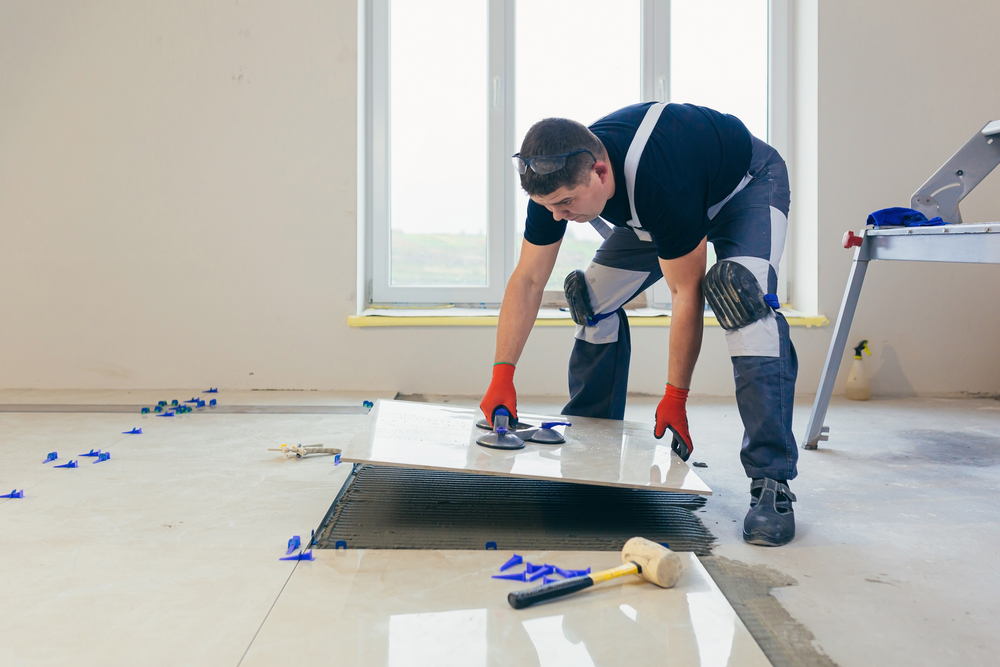
April 23, 2024 - Benjamin Ehinger
DIY Home Improvement Essentials: Quick Projects for Impactful Changes
CALL NOW 844-762-8449
Embarking on DIY home improvement projects can be both fulfilling and economical, offering you the chance to personalize your space to better fit your style and needs. Whether you’re looking to refresh a room with a new coat of paint or you’re ready to overhaul your backyard with a handmade fire pit, the possibilities are endless. Gaining the confidence to handle these projects begins with understanding the scope of work and securing the right tools for the job, which ensures both safety and success.
As you plan your DIY projects, remember that meticulous design and space planning will serve as your blueprint to transforming any area of your home. From selecting the right paint finishes to mastering installation techniques for various features and finishes, your attention to detail during the planning phase will have a substantial impact on the final result. Moreover, integrating energy-saving improvements can lead to significant savings in the long run, while regular maintenance and repairs will keep your home looking its best for years to come.
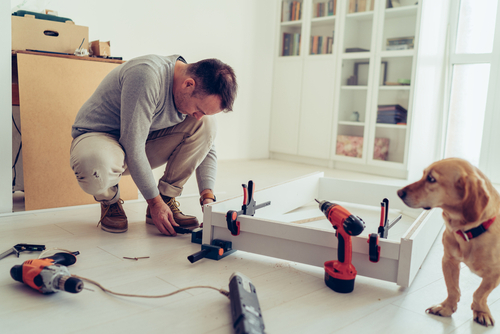 When embarking on a DIY home improvement project, carefully consider your design and space planning strategy. In the realm of interior design, effective space planning is the cornerstone that assures both aesthetics and functionality coalesce.
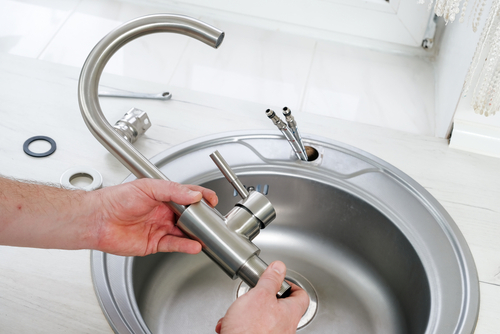 When considering home improvement, installing and replacing features like faucets, lighting fixtures, cabinet doors, and mirrors can refresh the look and functionality of your space.
Faucets:
Remember, safety is paramount in DIY projects. Always follow manufacturer instructions and utilize proper protective gear when necessary.
Remember to consider your region’s climate and environment when selecting materials and plants. Whether you’re looking to host summer barbecues or simply enjoy a quiet evening under the stars, a well-designed outdoor area can significantly increase your home’s leisure and aesthetic value.
Weatherstripping: Adding or replacing weatherstripping can greatly improve energy efficiency, especially in older homes. Inspect your windows and doors for worn-out strips and replace them as needed.
Energy Efficiency: Consider energy-efficient appliances and lighting. These have a higher upfront cost but pay off in the long term through reduced energy consumption. Research products with the ENERGY STAR label for the best savings.
Drafty Windows: If replacement isn’t an option, consider using heavy-duty, clear plastic sheets on a frame or tape clear plastic film to the inside of your window frames during the cold winter months. Also, installing insulating drapes or shades can make a significant difference.
Remember, even small changes can lead to significant savings on your energy bills over time.
Be confident in your DIY abilities and take on home maintenance and repair tasks with care and attention. With the right approach and tools, you can keep your home functioning smoothly.
Key Takeaways
- Personalization and cost-saving are prime benefits of DIY home improvement.
- Successful projects hinge on comprehensive planning and the correct tools.
- Maintenance, energy efficiency, and safety are crucial for long-lasting results.
Planning Your DIY Home Improvement
Before you begin your home improvement journey, remember that a well-devised plan and proper research can make the difference between a successful DIY endeavor and an unfinished project. Establishing a clear plan and budget are first steps you can’t skip.Choosing the Right DIY Home Improvement Project
To select a DIY home improvement project, assess your home’s needs and your own skill set. Start by:- Identifying areas of improvement: List down parts of your home that need updates or repairs.
- Evaluating your abilities: Match projects with your skills and experience level.
Organizing Your Plan
Once you’ve selected a project, organizing your plan is crucial:- Gather Information: Conduct thorough research to understand all aspects of the project.
- Create a Timeline: Allocate time realistically, considering your day-to-day responsibilities.
- Set a Budget: Break down costs and add a cushion for unexpected expenses.
- Prepare Tools and Materials: List everything you will need, and check off items as you acquire them.
Safety and Tools
When undertaking any DIY home improvement project, prioritizing safety and understanding the tools you’ll be using is essential. These guidelines will help you avoid common mistakes and protect yourself during the process.Designing and Space Planning
 When embarking on a DIY home improvement project, carefully consider your design and space planning strategy. In the realm of interior design, effective space planning is the cornerstone that assures both aesthetics and functionality coalesce.
Kitchens
Your kitchen is the heart of your home. Focus on creating a balance between storage and space. Utilize the walls for open shelving and consider vinyl flooring for a durable and easy-to-clean surface.- Utilize Corners: Choose corner drawers or lazy Susans.
- Lighting: Ensure ample lighting above work areas.
Bathrooms
For bathrooms, prioritize efficient use of space. Think vertical storage and wall-mounted cabinets to maximize floor area.- Mirrors: Use larger mirrors to create the illusion of space.
- Color Palette: Choose lighter colors for a more open and airy feel.
Storage
Effective storage solutions are key to a tidy and well-organized space. Built-in units and multi-purpose furniture can serve dual functions without cluttering the room.- Under-bed Storage: Aim for beds with built-in drawers.
- Floating Shelves: They offer storage without sacrificing floor space.
Flooring
Choosing the right flooring significantly impacts the space. Vinyl flooring is a versatile and resilient choice, suitable for high-traffic areas like the kitchen and bathroom.- Patterns: Select patterns that visually expand the space.
- Maintenance: Consider ease of cleaning and resistance to moisture.
Painting Techniques and Tips
Preparing Your Space
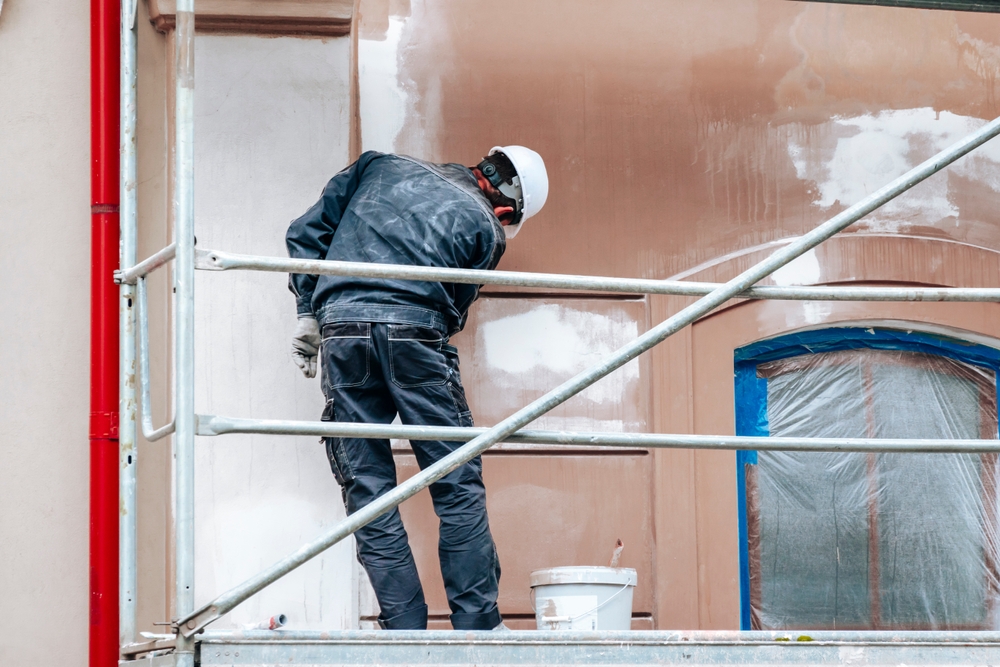
Before you begin, ensure your working area is clean and clear. Remove or cover furniture and use drop cloths to protect your floors. Prep your walls with a thorough cleaning; any dust or grease can compromise your paint job.Essential Tools
Gather all necessary tools before starting:- High-quality brushes
- Rollers
- Painter’s tape
- Sandpaper
- Putty for patching
Choosing Your Paint
Select a paint type suitable for your room—semi-gloss for kitchens and bathrooms, and perhaps a flat or eggshell sheen for living areas. Don’t forget to mix your paint thoroughly to blend the pigments and resins.Painting Trim
Begin with the trim, including crown molding and chair rail. Use a small angled brush for precise control. Allow the paint to dry completely before taping off the edges to start on your walls.Painting Techniques
Apply paint using smooth, even strokes. When painting walls:- Start at the top near the ceiling.
- Work your way down in sections.
- Roll paint in a ‘W’ shape; then fill in without lifting the roller.
- Overlap sections to avoid marks.
Installing and Replacing Features
 When considering home improvement, installing and replacing features like faucets, lighting fixtures, cabinet doors, and mirrors can refresh the look and functionality of your space.
Faucets:
- To replace a faucet, first turn off the water supply. You’ll need an adjustable wrench and some plumber’s tape. After removing the old faucet, apply the plumber’s tape to prevent leaks before installing the new fixture.
- Replacing lighting can dramatically change a room’s ambiance. Ensure the power is switched off at the circuit breaker before you begin. Wiring a new light fixture typically involves matching the colored wires and securing them with wire nuts.
- Updating cabinet doors is a straightforward process:
- Remove the old doors using a screwdriver.
- If painting, sand and prime the doors before applying a fresh coat of paint.
- Align and attach new doors, ensuring they are level and even.
- When installing a new mirror, it’s essential to locate the studs in your wall for secure mounting. Use a stud finder for accuracy and choose the right hardware to support the mirror’s weight.
| Step | Tool Needed | Additional Tips |
|---|---|---|
| Turn off water | Wrench | Check for leaks after install |
| Remove old faucet | Adjustable Wrench | Keep parts organized |
| Secure new faucet | Plumber’s Tape | Do not overtighten |
| Wire new light | Wire Nuts | Confirm power is off |
| Hang mirror | Stud Finder | Use appropriate anchors |
Wall Treatments and Finishes
When you decide to give your home a fresh look, wall treatments and finishes can drastically change the atmosphere of your space. Here’s how you can accomplish a transformation with a few popular options:- Wallpaper: An excellent way to introduce pattern, color, and texture to your room is by choosing a striking wallpaper. You can opt for classic designs or modern geometrics to tailor to your style. Wallpaper application is straightforward; just ensure your walls are clean, and the adhesive is applied correctly for long-lasting results.
- Tile Backsplash: Particularly in your kitchen or bathroom, a tile backsplash combines functionality with aesthetic appeal. Ceramic tiles are a durable choice, resistant to heat and moisture, making them a practical yet stylish solution. Arranging the tiles can be a form of creative expression, with a variety of layouts possible such as herringbone or subway patterns.
- Ceramic Tile: Using ceramic tile is not limited to backsplash areas; it can also be applied as a wall treatment itself. It offers you endless options in terms of colors, sizes, and finishes. Plus, ceramic tile is known for its durability and ease of maintenance. When installing, make sure to evenly apply mortar and grout for a professional finish.
- Paint: A simple, cost-effective way to refresh your room. Consider adding a bold accent wall for a touch of drama.
- Wood Trim: For a sophisticated look, adding wood trim details can provide depth and elegance.
- Eco-Friendly Options: Look into sustainable materials like lime plaster for a unique and environmentally conscious choice.
Flooring Installation Basics
When embarking on a DIY flooring project, preparation is key. You’ll want to choose the right type of flooring for your space and consider both aesthetics and functionality.- Vinyl Flooring: Vinyl is a versatile choice and can mimic hardwood or tile at a lower cost. It’s durable and water-resistant, ideal for high-traffic areas.To install vinyl planks:
- Ensure your subfloor is flat and clean.
- Plan the layout by measuring the room and determining plank alignment.
- Begin at one corner, following manufacturer instructions for laying down planks, as vinyl varieties might differ.
- Ceramic Tile: This offers a hard-wearing surface, perfect for moisture-prone areas like bathrooms.For ceramic tile installation:
- Start with a clean, level surface.
- Apply mortar, lay your tiles carefully, and maintain consistent grout spacing.
- Allow the mortar to set before applying grout.
- Floating Shelves: Although not a flooring, integrating floating shelves can complement your updated space.
- Locate the studs for secure anchoring.
- Mark your shelf placement clearly.
- Use a level and brackets for a stable installation.
Outdoor and Garden Projects
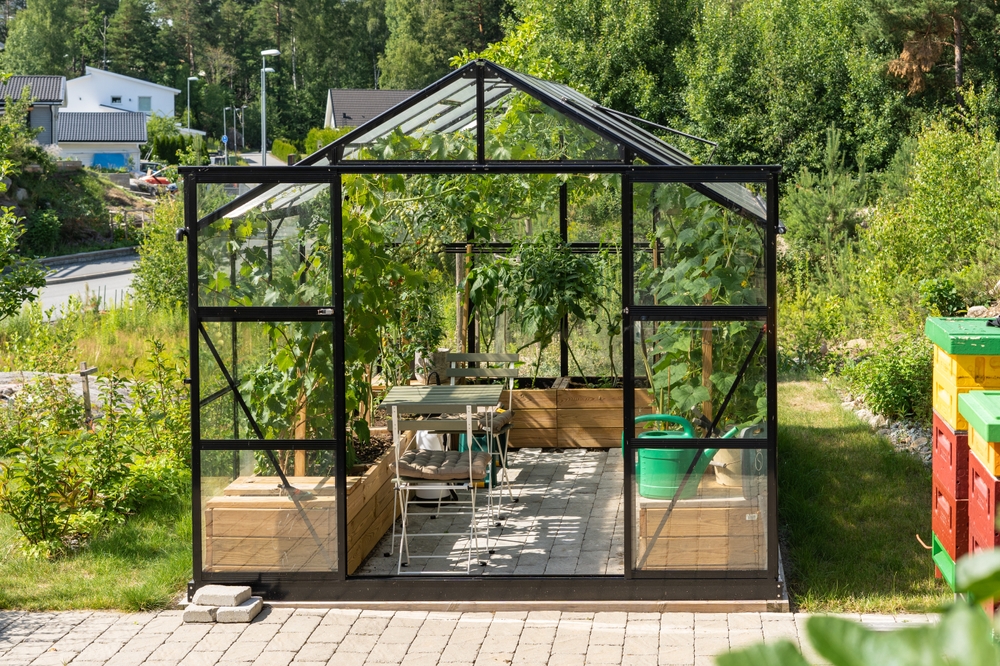
Transforming your outdoor space starts with envisioning its potential. You can create a serene area for relaxation or an active zone for gatherings, depending on your lifestyle. Below are some project ideas to enhance your garden and outdoor living areas:- Build a Pergola: A pergola offers both aesthetic charm and functional shade. Constructing one can be a weekend project that provides a focal point for your outdoor space. If you’re looking for detailed plans, consider visiting Family Handyman for inspiration.
- Outdoor Lighting: Brighten up your evenings with string lights that cast a warm glow, making any outdoor gathering cozy. Strategically placed lights can illuminate walkways, highlight garden features, and enhance safety.
- Stone Patio: A flagstone patio can be an elegant addition to your backyard. It requires planning and physical work, but the result is a durable and beautiful area for outdoor dining or lounging. If you’re concerned about the complexity, step-by-step guides are available at The Spruce.
| DIY Project | Estimated Time | Skill Level |
|---|---|---|
| Pergola | 2-3 days | Intermediate |
| String Lights | 1-2 hours | Beginner |
| Stone Patio | 1-2 weeks | Intermediate |
Energy Saving Improvements
Making your home more energy-efficient can be a rewarding project. Here are some key improvements that can help reduce your energy bills. Drafts: Check your home for drafts, especially around windows and doors. These can be major culprits in energy loss. Use draft stoppers or apply sealant to cracks where you feel air leaks. Insulation: Improving your home’s insulation is a solid investment. It’s critical to focus on the attic, basement, and crawl spaces to keep warm or cool air from escaping.| Area | Improvement Strategy |
|---|---|
| Attic | Add or upgrade insulation |
| Windows | Install energy-efficient window films or double-glazing |
| Doors | Apply weatherstripping or replace old door sweeps |
| Ducts | Seal and insulate heating and cooling ducts |
Finishing Touches
When you’re close to completing your DIY home improvement project, it’s the finishing touches that can truly bring your hard work to life and reflect your personal style. Paying attention to small details will set apart a functional space from a finished, polished interior that feels like home. Decorating your space is key in personalizing your environment. Whether it’s through the placement of artwork, the choice of color palette, or the selection of accessories, these elements contribute significantly to the atmosphere of your home. For woodwork and trim, including crown molding, here are some steps to follow:- Measure the length of each wall to determine the required lengths of trim.
- Cut your trim pieces at a 45-degree angle for corners to ensure a seamless fit.
- Nail the trim into place, making sure it’s level and evenly spaced.
- Choose your material (tiles are a popular choice for their durability and range of designs).
- Layout your pattern before attaching to ensure you’re happy with the design.
- Apply adhesive evenly, set your tiles in place, and then grout between the tiles once secured.
Maintenance and Repairs
When tackling DIY home improvement, it’s essential to have a grasp of basic maintenance and repair skills. Your home’s longevity relies on regular upkeep, and understanding how to address common issues is both cost-effective and satisfying. Plumbing:- Leaks: Identify and address leaks promptly to prevent water damage.
- Clogged Drains: Use a plunger or a plumber’s snake to clear blockages.
- Faucet Fixtures: Replacing washers or cartridges can solve most dripping faucets.
- Use a larger screw if the material allows.
- Insert a rubber band between the screwdriver and screw for a better grip.
- Utilize a screw extraction kit to remove the faulty screw.
| Maintenance Task | Suggested Tools | Frequency |
|---|---|---|
| Inspect pipes for leaks | Wrench, Sealant | Bi-Annual |
| Clearing Clogs | Plunger, Plumber’s Snake | As Needed |
| Aligning Objects | Spirit Level | As Needed |
| Tighten or Remove Screws | Screwdriver, Rubber Band, Extraction Kit | As Needed |
Frequently Asked Questions
Before diving in, keep in mind that the right tools and a little know-how can turn any home improvement dream into a reality, and always consider safety first in your DIY endeavors.What are some cost-effective DIY home improvement projects for beginners?
Starting with painting a room can transform your space with minimal expense. Additionally, installing new door handles or cabinet knobs offers a quick and affordable fresh look to your home.Should I rent a dumpster when handling a DIY home improvement project?
If your project involves substantial demolition or material disposal, it’s wise to rent a local dumpster to keep the site clean and safe, and to efficiently manage waste.How can I make significant improvements to my small house with a limited budget?
Utilize space-saving furniture and DIY storage solutions. Enhancing lighting with both natural light and LED fixtures can also make your small house feel more spacious and welcoming.What is the most popular DIY project for enhancing living spaces?
One of the most popular and impactful DIY projects is creating built-in shelving. It adds both character and functional storage to living spaces.What strategies can I use to upgrade my home decor without spending a lot of money?
Repurpose existing items, such as refinishing old furniture, or use inexpensive materials like peel-and-stick wallpaper to create an accent wall.Which home improvement tasks should I prioritize when starting on DIY upgrades?
Focus on projects that improve your home’s value and quality of life, such as updating your kitchen or bathroom fixtures, or ensuring home efficiency through proper insulation and sealing.Can you suggest simple DIY hacks to streamline home improvement efforts?
Employing painting tools like edgers for cleaner paint lines or using laser levels for precise installations can save time. Organize your tools and materials before starting to make the process more efficient.RECENT BLOGS
Our Reviews
Glenda Lanier Prowell
1721758635
I have ordered an 11 yard dumpster to be delivered to my house.Lonier was extremely helpful and answered all my questions. The rate was very reasonable.
Cedric Smikle
1721660395
Amber was extremely professional and courteous. She answered all of my questions and even some that I didn’t know I needed to ask.
Cait Kaider
1721243051
I highly recommend Waste Removal USA for their responsiveness and how the staff work hard to provide exceptional customer service. They have done well by us and our clients. Thank you!
Easom Family
1721223306
Louiner Pierre-Louis Is awesome! Did a great job. Will definitely be using this same company for all my dumpster needs because of his awesome customer service! Thank you!!!
tabitha Vazquez
1720539988
Wonderful and fast customer service!
LATEST BLOGS
