Creating a concrete driveway with a paver border adds an elegant touch to your home while increasing its curb appeal. Integrating pavers into the design not only enhances the appearance but also provides additional structural support to your driveway. For those undertaking this project, careful planning and execution are essential to achieve a durable and visually appealing outcome.
When planning your driveway project, consider the benefits of using a concrete dumpster rental to efficiently dispose of old materials from an existing driveway. Proper preparation and a well-laid foundation are crucial steps before pouring the concrete. This ensures longevity and minimizes potential problems over time.
The incorporation of paver borders adds a stylish accent to your driveway while allowing for customization in color and pattern. Once installed, this combination requires minimal upkeep, ensuring your driveway remains an attractive feature for years to come.
 Installing a concrete driveway involves precise preparation and execution. Key tasks include pouring and spreading the concrete evenly, followed by smoothing and finishing for a polished look.
 To ensure your concrete driveway with a paver border remains durable and visually appealing, regular maintenance and strategic care are crucial. This involves periodic cleaning, sealing, and addressing repairs or replacement needs as they arise.
Key Takeaways
- Careful planning and foundation preparation are essential.
- Paver borders enhance aesthetics and support.
- Minimal upkeep keeps your driveway looking great.
Planning Your Driveway Project
When planning a concrete driveway with a paver border, it’s crucial to evaluate your available space and select materials that enhance durability and curb appeal.Evaluating Space and Layout
Begin by assessing the space available for your driveway. Measure the length and width to determine the overall area. Consider any existing structures like garages or pathways that could influence the layout. Think about the ease of vehicle access and turning space, especially if you have multiple cars. Visualizing the layout of your driveway and its integration with existing structures will enhance functionality and aesthetics. Make sure to factor in local regulations or homeowner association guidelines that might affect your plans.Choosing Materials for Durability and Aesthetics
Selecting high-quality materials ensures a long-lasting driveway. Choose durable concrete as the main surface for its strength and low maintenance. For the border, consider pavers in various styles and colors to complement your home’s exterior. Look at cost-effective options, balancing price with aesthetics. Prioritize materials that can endure harsh weather without compromising your driveway’s appearance. Textured or colored pavers can add visual interest. Using borders not only protects the driveway edges but also elevates overall curb appeal, making your driveway a standout feature.Preparation and Foundations
To create a durable concrete driveway with a paver border, pay close attention to the groundwork. Proper excavation and layering ensure stability and longevity, preventing issues like cracking or sinking over time.Excavating the Driveway Area
Begin by marking the driveway dimensions using stakes and string to ensure accuracy. Clear the area of vegetation and debris, including roots, which can jeopardize the foundation. Excavate the site to a depth of 12-18 inches, which allows space for subbase, base layers, and the concrete slab. Use machinery like a skid-steer loader for larger driveways to speed up the process. Ensure the surface has proper drainage by grading the excavation with a slight downward slope away from buildings. This prevents water pooling which can damage your concrete driveway over time.Laying the Subbase and Base Layers
Start by laying a subbase of crushed stone, spread evenly at a depth of about 4 inches. Compact this layer using a plate compactor. This step is crucial for supporting the driveway and preventing settlement. Next, add a base layer of finer crushed stone or gravel, recommended to be 4-6 inches thick. Compact again. Ensure a solid, even plane to provide the right support for the concrete. The quality of these foundational layers directly affects the driveway’s durability. Proper compaction is vital to prevent future cracking and sinking, so take your time to adequately compress each layer before moving on to the concrete pour.Installing the Concrete Driveway
Installing a concrete driveway involves precise preparation and execution. Key tasks include pouring and spreading the concrete evenly, followed by smoothing and finishing for a polished look.
Pouring and Spreading Concrete
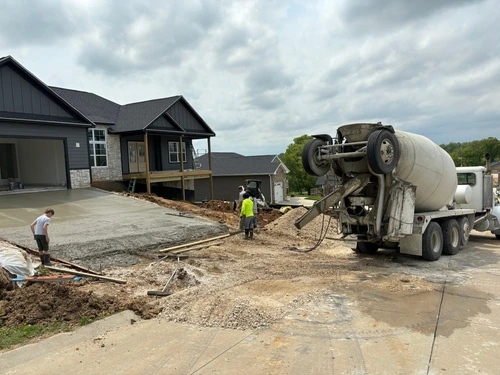
Begin by preparing the area with a compacted base to ensure stability. Use forms to contain the concrete and maintain the desired shape. When you’re ready to pour, start at one end, working systematically to avoid gaps. Distribute the concrete evenly with a hoe or rake, ensuring a consistent thickness across the driveway. It’s important to work quickly, as concrete can set rapidly. Consider using a rebar grid for reinforcement, which increases resilience and extends the lifespan of your driveway. Ensure the concrete fills all corners and edges to establish a solid, uniform base.Smoothing and Finishing Surfaces
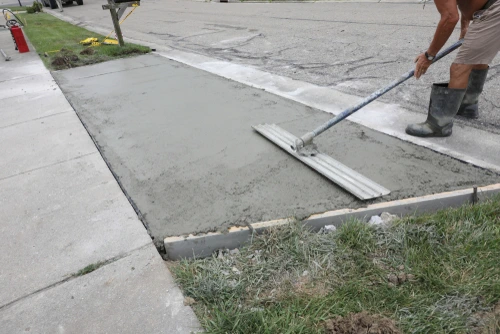
Once the concrete is poured, begin smoothing it using a bull float. This removes lumps and brings excess water to the surface, aiding the curing process. Afterward, switch to a trowel for finishing touches on the surface, giving it a smooth, polished appearance. Be vigilant about timing; if concrete starts setting, the surface can become uneven. For a non-slip finish, broom the surface lightly before it completely dries. Don’t forget to cut expansion joints using a concrete saw, which helps prevent cracking as the concrete cures and temperature changes occur.Incorporating Paver Borders
When creating a concrete driveway with paver borders, it’s crucial to consider design patterns and material options. Additionally, understanding the proper installation techniques ensures durability and enhances the driveway’s aesthetics.Design Patterns and Material Options
Choosing the right paver materials and patterns can dramatically affect the look and function of your driveway. Clay pavers provide a classic, warm appearance and are durable for high-traffic areas. Alternatively, cement pavers are versatile, available in various shapes and colors, and often more budget-friendly. When considering design patterns, the herringbone pattern is a popular choice due to its visual interest and strength. This interlocking pattern is especially effective at distributing weight evenly, reducing movement over time. Other patterns, like basketweave or running bond, offer distinct looks and can complement different home styles. Evaluate the surrounding landscape and architecture to select the most suitable material and pattern for your project.Installation Techniques for Paver Borders
Accurate installation of paver borders is essential to ensure they last and maintain their appearance. Start by marking the layout and excavating the border area to a depth that will accommodate the base, bedding sand, and the height of the pavers. Install a stable base layer using compacted gravel to provide a solid foundation. This prevents shifting and settling. Next, add a layer of bedded sand for leveling and set each paver with careful alignment. Using a mallet, secure the pavers tightly against each other to avoid gaps. Finally, sweep sand into the joints and compact the entire border to lock it in place, ensuring a finished and polished look.Driveway Maintenance and Upkeep
To ensure your concrete driveway with a paver border remains durable and visually appealing, regular maintenance and strategic care are crucial. This involves periodic cleaning, sealing, and addressing repairs or replacement needs as they arise.
Regular Cleaning and Sealing
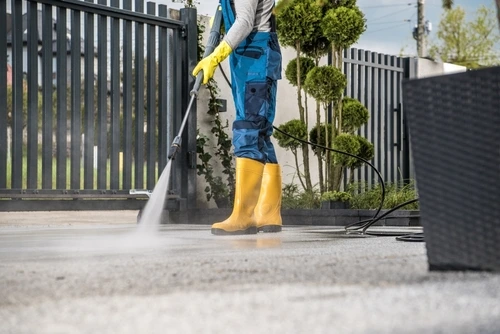
Consistent cleaning is essential to maintain the pristine condition of your driveway. Debris, dirt, and stains can accumulate over time, potentially leading to damage. A simple sweep followed by a pressure wash helps prevent this buildup. Applying a sealer is another important step in driveway upkeep. Sealers protect against moisture infiltration, which can cause cracks and erosion. It’s typically recommended to seal your driveway every two to three years, depending on environmental conditions and use. Quick Tips for Best Results:- Sweep regularly to remove loose debris.
- Pressure wash to tackle stubborn grime and stains.
- Reapply sealer every few years to prolong the surface’s life.
Repair and Replacement Strategies
Even with regular cleaning and sealing, wear and tear may necessitate repairs or replacements. Concrete driveways can develop cracks due to temperature changes, and timely intervention is key. For minor cracks, crack fillers or sealers can be effective solutions. These are relatively easy to apply and prevent further deterioration. For significant damage or structural issues, consulting a professional is advised as they can assess and recommend appropriate action. If you have an asphalt driveway with a black surface, similar principles apply. Regular checks for wear and seal coating every two to three years can extend its lifespan. Steps for Handling Damage:- Use crack fillers for minor repairs.
- Consider professional help for major issues.
- Regularly inspect for wear and tear to address problems early.
Frequently Asked Questions
When creating a concrete driveway with a paver border, planning is essential. You’ll need to consider factors like drainage, material choice, and climate impact. Understanding these will help ensure a durable and attractive driveway.How can one ensure proper drainage when installing a concrete driveway with a paver border?
To ensure proper drainage, incorporate a slight slope away from buildings to guide water runoff effectively. Using permeable pavers for the border can also enhance drainage, keeping water from pooling. Additionally, install a drainage system, such as French drains, to manage excess water.What are the recommended materials for the base of a driveway to ensure longevity?
The base should be made of coarse, compacted gravel or crushed stone to provide a stable foundation. A layer of geotextile fabric can prevent soil erosion and keep the base intact. These materials help distribute weight and prevent cracking over time.What maintenance is required to keep a paver-bordered driveway in top condition?
Regular maintenance includes cleaning with a pressure washer to remove dirt and debris. Sealing the pavers can protect against stains and weather damage. It’s also important to inspect for any weed growth or shifting and address these issues promptly to maintain the driveway’s appearance and structure.What steps must be taken to prepare the ground before laying a concrete driveway and paver border?
Proper ground preparation involves removing existing vegetation and debris, then excavating the area to the necessary depth. Compact the soil to ensure stability. After excavation, lay a gravel base, compact it, and level the surface to create a uniform foundation for the concrete and pavers.In what way does climate affect the choice of materials for a driveway with paver edging?
In colder climates, choose materials that withstand freeze-thaw cycles. Concrete must be mixed with additives to resist cracking. For pavers, consider materials like concrete or brick that are durable in extreme temperatures. In hot climates, lighter colored pavers can reflect sunlight and keep the surface cooler.How does the cost of installing a concrete driveway with a paver border compare to other driveway options?
Installing a concrete driveway with a paver border can be more costly than plain asphalt due to the added materials and labor. However, the aesthetic appeal and potential increase in property value can offset this cost. It is typically less expensive than high-end options like natural stone driveways.RECENT BLOGS
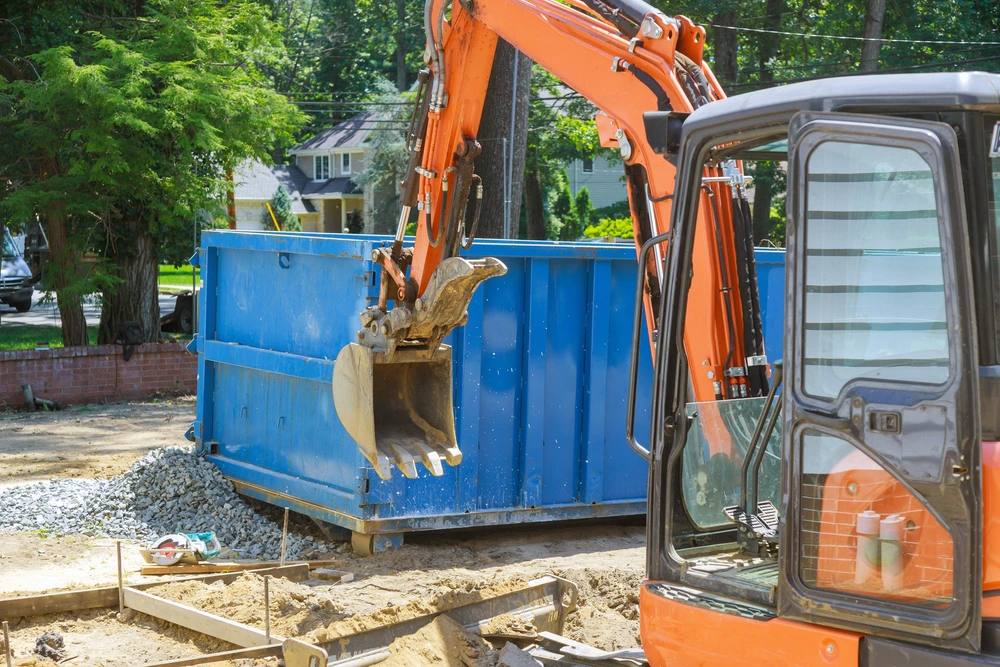 Mini Dumpsters vs. Full-Sized Dumpsters for Contractors: Choosing the Right Fit
Date: March 06 ,2025
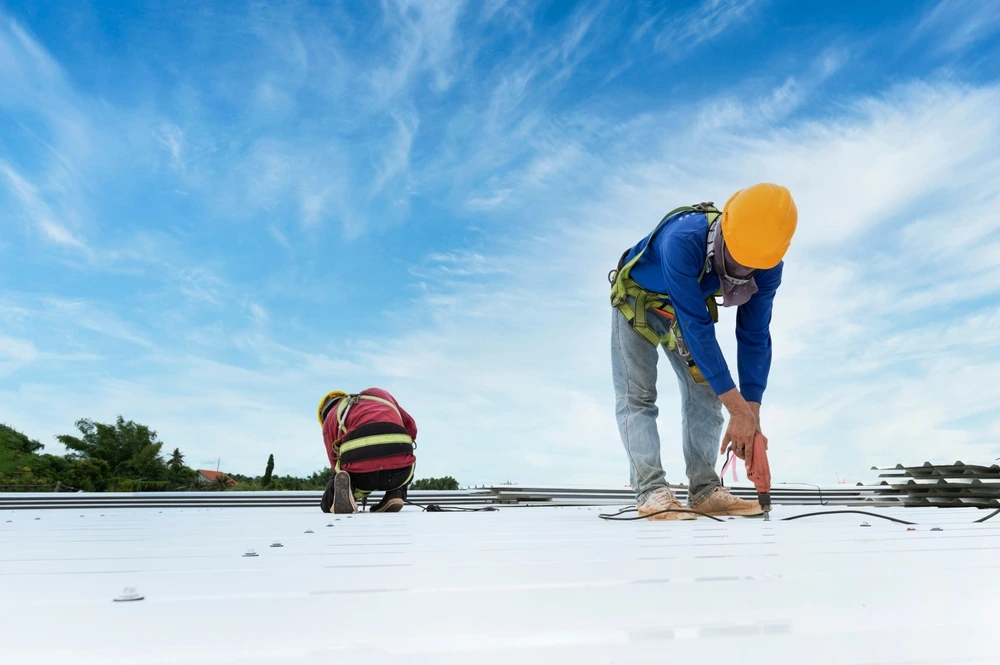 How to Manage Waste in Commercial Roofing Projects: Effective Strategies for Sustainability
Date: March 05 ,2025

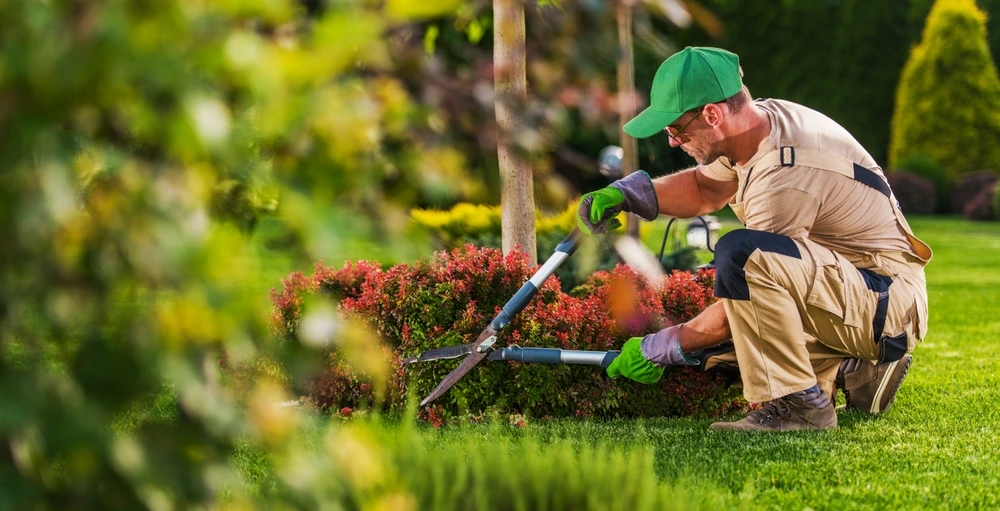 Choosing a Dumpster Rental for Landscape Contractors: Essential Tips and Considerations
Date: February 26 ,2025
Our Reviews

Bobby Huggins Jr
1741638541
Mr.Jackson was very professional and very informative, thank you.

SYBLE SMITH
1741621790
Vanessa was very professional and knowledgeable of the service being provided. She found my previous inquiry and completed the service quickly.

Kyle Sluzar
1740416748
Amber was great to work with! She understood our challenges and needs and set us up with the best services available on the market. The transparency was very nice!

Omar Alvarez
1738270298
Great to do business with!!!! Very helpful. Thank you!!!

Mary Maddox
1736039672
We were very pleased with the dumpster & with customer service. Everyone I spoke to was very nice, very helpful & very professional.
LATEST BLOGS